
Easy DIY, Home Decor, Outdoor Living
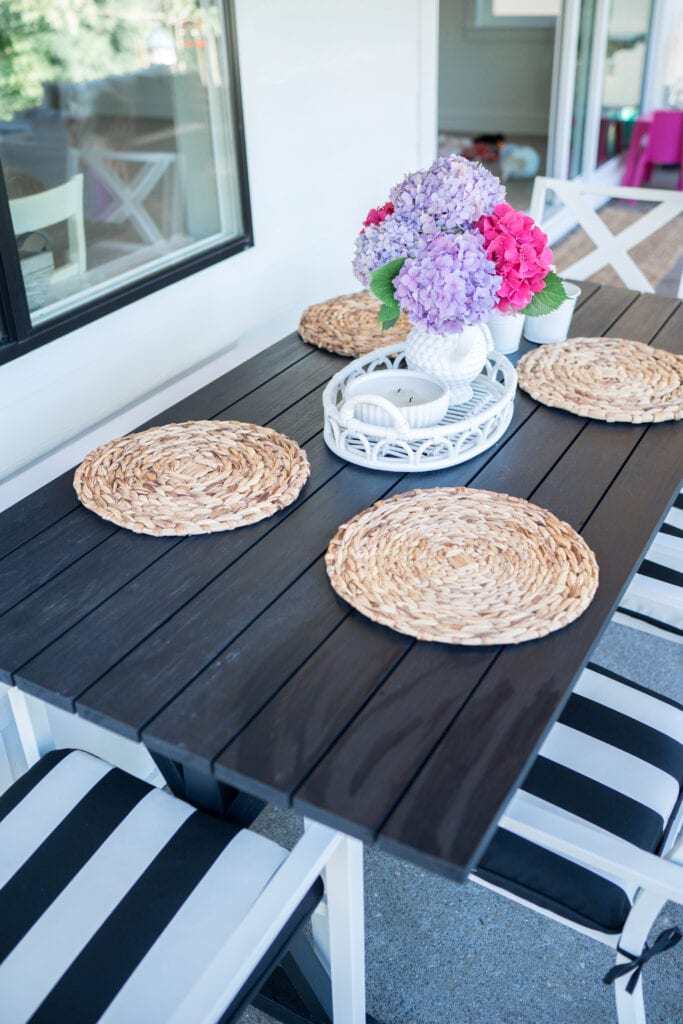
We are getting so close to moving into the new house and have started on a few projects while we have some down time! The first one Ryan tackled was a DIY patio storage bench. We are planning on adding some board and batten throughout the house, so this gave him so good practice! We will now have a covered patio, which means more porch hangs since we don't have to worry about rain. I picked up a new dining table for the patio and I can't wait to put it together! I grabbed it from Bed Bath & Beyond. They have a bunch of cute outdoor items right now. Anyways, back to the bench!


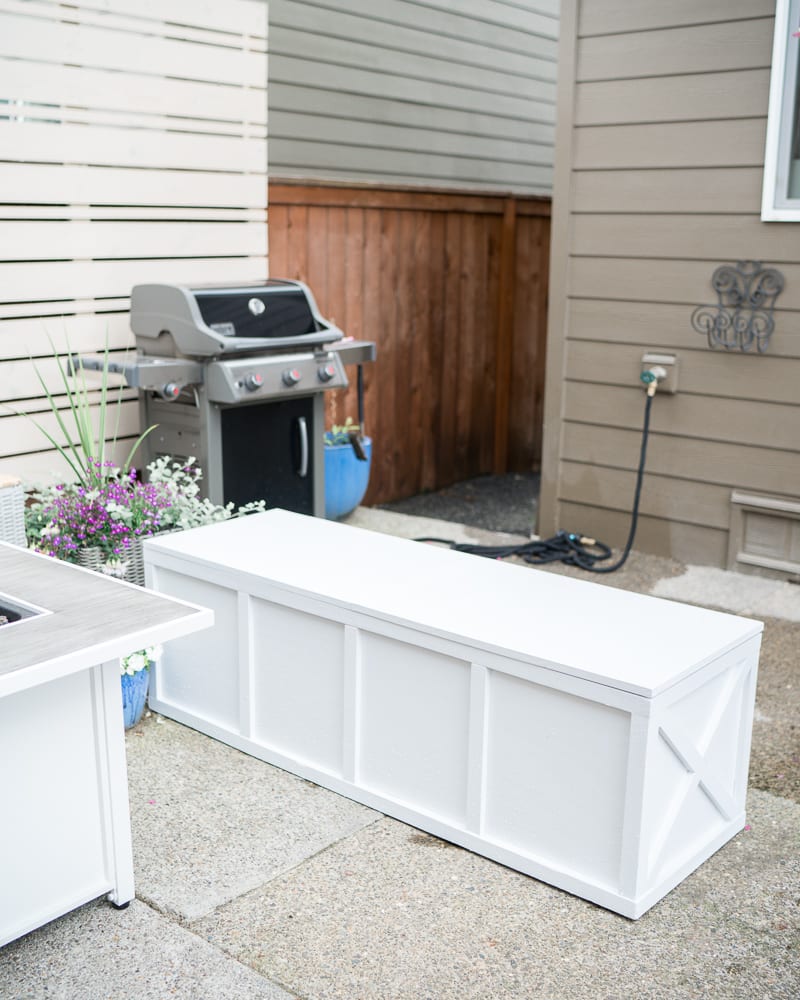
Our DIY patio storage bench took Ryan about a weekend + a few evenings for the paint. He picked up a few new saws for our upcoming projects, so this was a good time to learn how to use them!
This bench can have so many different uses. It could be a really cute entry way bench or mudroom bench. I would even use it in a play room for some toy storage and it would also be a bench to sit on.
These are more investment pieces if you are going to do any type of woodworking. We are going to do a lot of wood projects (board and batten, shiplap, etc) so we invested in these.
Ryan wrote up the directions and I hope they help!
First, determine the size of your bench. We are going to use bench as seating for a table, so with the table having a length of 72”, I opted to make the bench 60”. Determine wood needs.
Our bench was going to be 60” long, 18” deep, and 18” high. Unfortunately, we did not have access to a vehicle capable of carrying 4’x8’ sheets of plywood, so I built the box in 2 halves and joined them. As such, I ended up needing 7 sheets of 2’x4’ sheets of 3/4” plywood.
I also used furring strips for the decorative touch. So my total lumber was (7) sheets 2’x4’ Plywood 3/4”, BCX Grade, (1) 8’ long 2”x4”, and (8) 8’ long 1”x2”.
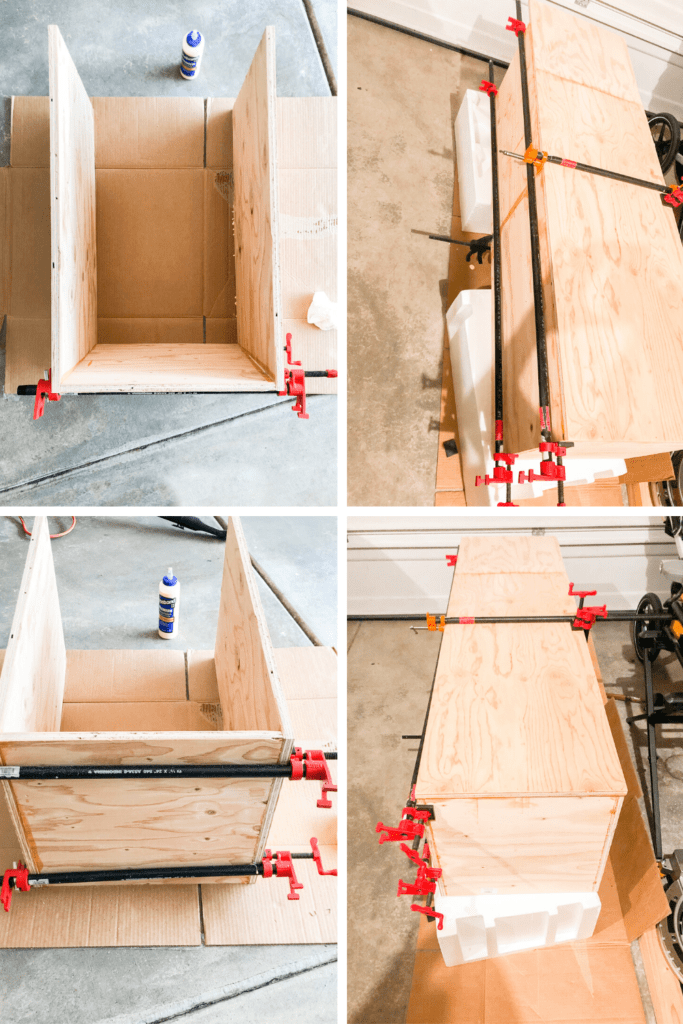
With all the lumber purchased, the next step was to cut the plywood to the needed lengths. For my bench, it was going to be 60” long, but built in 2 halves, so each half needed to be 30” long and 18” wide.
My end pieces needed to be 16.5” long by 18” wide. This made a section that was roughly 30” long by 18” height by 18” deep. I did this for both sides. Plywood was cut to length and width with a table saw, but this could also be done with a circular saw, you just need straight lines.
Glue generally forms a stronger joint than nails, so I glued nearly everything together with exterior wood glue. I used pipe clamps to hold it while the glue dried. The limited number of clamps and needing to wait around an hour for each joint to dry caused some slowdowns in the project.

Since the box is built in 2 parts, I used a 2”x4” to create some added support at the middle seam. I glued in mid bench support to help.
Repeat the last 2 steps for the other side. Cut the top and bottom, then measure the glued pieces to get a precise size for the top and bottom and cut those pieces. Glue the two ends together.
This will require some long clamps and wouldn’t have been necessary if I had just used 4’x8’ sheets of plywood. While the bench ends up strong, at this stage, it’s easy to break the glue joint, so be careful when handling.
I glued the bottom on while gluing the ends together. This was also one of only a few places I used finishing nails. The finishing nails weren’t used to try and hold the bench together, but to help apply pressure as the glue dried since I was short on clamps.
You can also see I forgot to cut my bottom to length before gluing it, oops. Nothing a quick cut from the circular saw can’t handle.
Now the bench was essentially complete, but not pretty. I used the 1”x2”’s to make it look more pleasing. First, a top and bottom trim. The top trim also makes a nice handle while moving the bench. Again, you'll want to use glue to get a strong joint.
You really want to use a clamp about every 12”. All trim pieces were cut with a miter saw, but a circular saw would work too, just be careful to cut straight and get the length right each time.

The top trim needs to go all the way around, as does the bottom trim. I cut the corners at a 45 degree angle to create a nice corner, but as long as they join up nicely it shouldn’t matter. You can always use wood filler or sand to get a nice corner.
Now’s also a good time to mention that you should clean any glue that runs down the wood before it dries. It’s easy to wipe off, but if it dries you’ll have to sand it off.
Once all the trim is on, it’s time to prime the bench. Since the bench will be outdoors, I used an outdoor primer. This was a water based primer. I learned that water based primers bring out the wood grains, so after each coat of primer dries, sanding will be needed to make it smooth.
We primed it before adding the vertical battens. I needed to make another lumber yard run, and figured I’d let it dry while I was picking up lumber.

I added the glue to the battens and let them sit for just a few minutes to help them stick. I applied them and got them placed correctly before putting the clamps on.
First on were the corner pieces. These are similar to the top and bottom pieces, and are cut so they match up at a 45 degree angle. Some gaps are present.
Tip here; measure each cut, don’t just measure 1 corner and make cuts for all them, each could be slightly off. Second tip; wood filler.
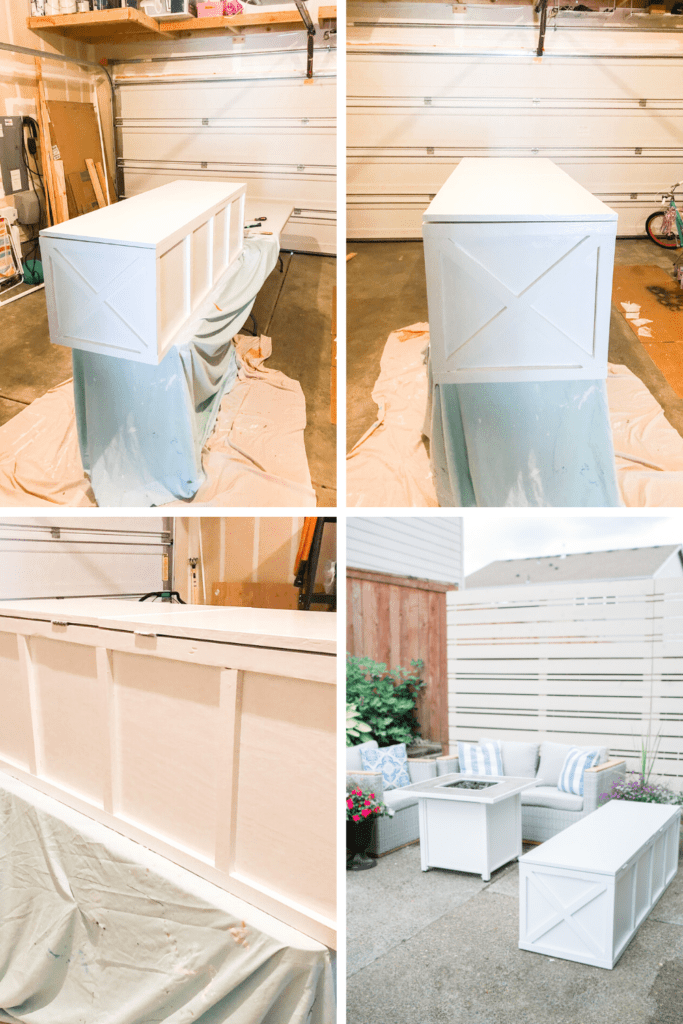
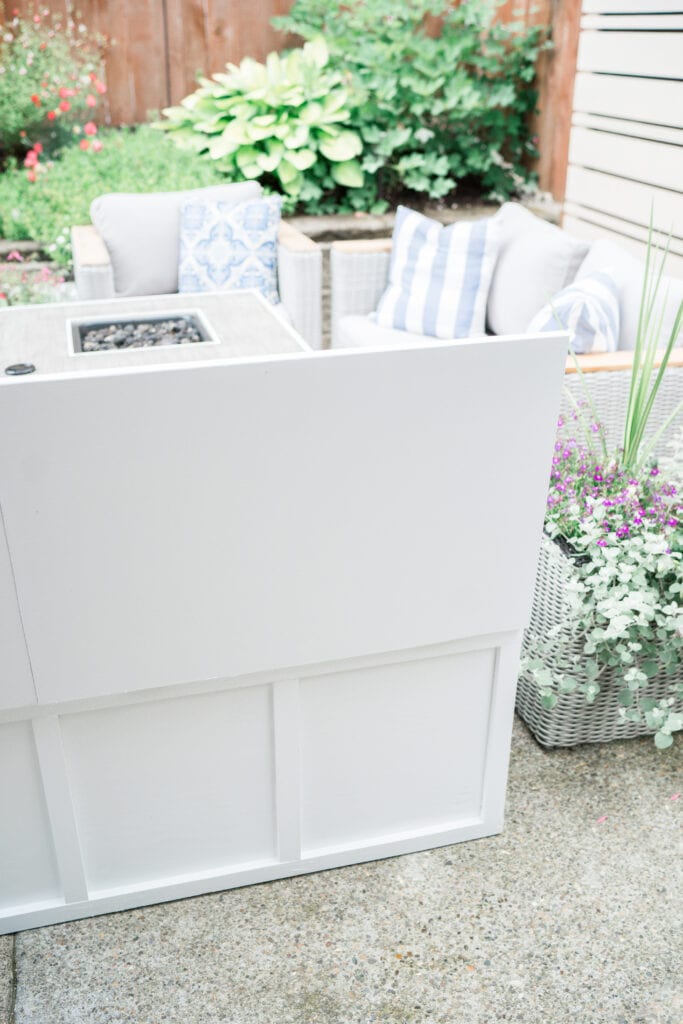
The process for the middle battens is very similar. Cut, glue, clamp. For the ends, Chelsee wanted an X pattern. At first, I wasn’t going to do this as I was ready to be done. But once I had it together, it did look like it needed something on the end to complete it.
For the X pattern, I made 1 line of the X full length and the other was split in 2 parts. I may have wised up a bit at this point. I cut them slightly long and then trimmed them to fit so everything fit tightly. These are also glued on and then clamped.

I sanded once more before painting. For my sanding, before priming I used 80 grit sand paper on an orbital sander. I then moved to a 220 grit and finished with a 400 grit. The 220 grit and 400 grit were each done between coats of primer. I just did 1 coat of paint. For the paint, we used Rust-Oleum Protective Enamel in Satin White.

the soft close hinges are imperative!
That's it! How do you think it turned out?! I have a feeling this is going to come in super handy for extra seating, storage for pillows/blankets, and it just looks pretty!
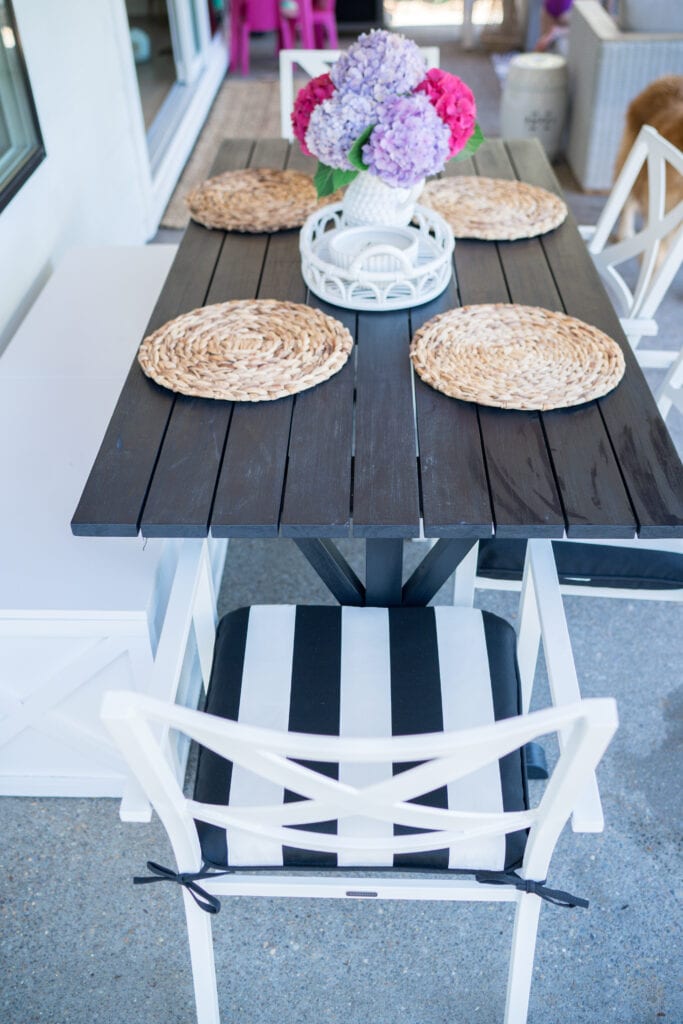
Here are a few photos of the storage bench all set up at our dining table on the patio of our new home! It's the perfect setup for our new outdoor dining table!

table // chairs // chair cushions // chargers


I love the additions of the X at the end
click here for our DIY privacy fence tutorial


Board and Batten Wall Tutorial // DIY Privacy Fence // Bathroom Shiplap DIY
I hope that this DIY patio storage bench tutorial helps as you make your own! I cant' get over how much I love it and I can't wait to set it up at the new house. Please let me know if you have any questions by leaving a comment below or feel free to DM me on Instagram! Make sure to check out our full porch decor post here with links to most everything you see here. Thanks so much for reading!
Pin this for later!

thank you for good information really i like this