
Easy DIY, Home Decor, Outdoor Living
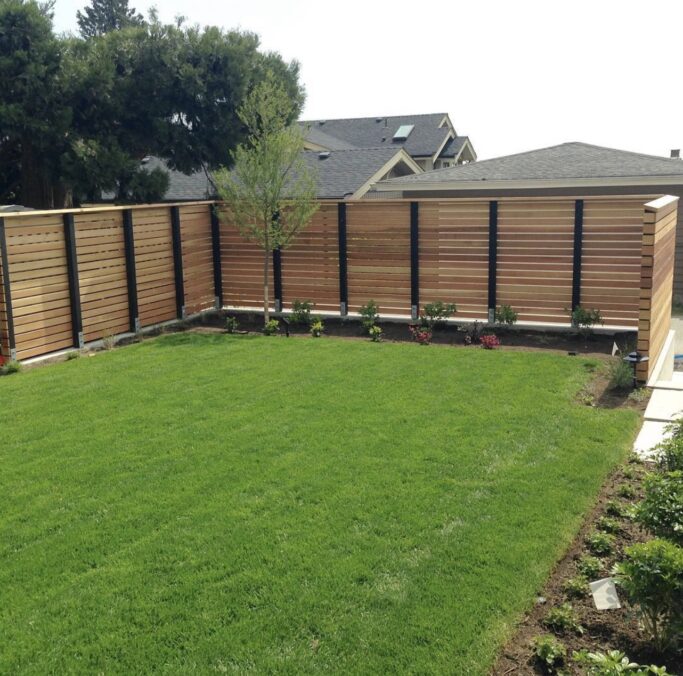
If you've been searching for a simple DIY privacy fence, you've come to the right place! As you can see from the photo below, our house is built really close to our neighbors and our fence is built to where we can practically see into their yard and our neighbors can see into ours.

I decided on a whim that a small privacy fence/screen would be perfect for this spot. This was a really simple project that just took an afternoon. The part that took the most time was staining! Keep reading for the instructions and supply list for this easy DIY privacy fence.
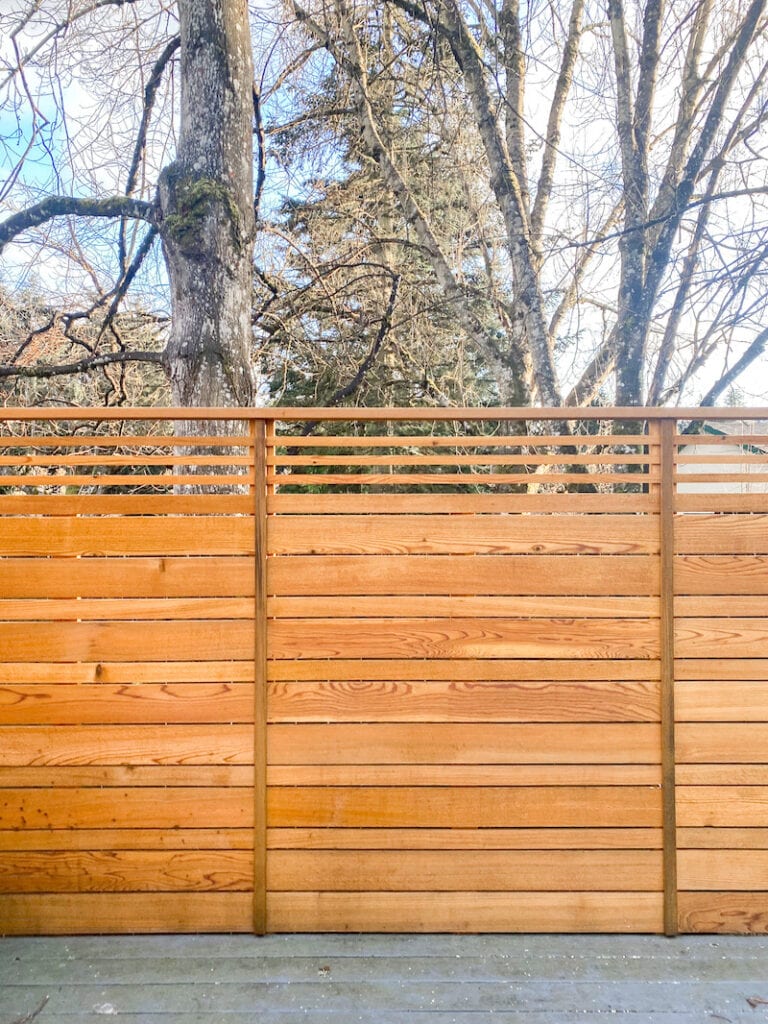
This whole project cost less than $350 and our fence is quite long and tall. Our fence ended up being 8' in length and 105 inches tall. We went to Lowe's for our supplies. I like how Ryan used boards of varying widths to give it some interest instead of just a bunch of 2 x 4's.
Simply click any image below to shop supplies needed for this project here:
Living in the Portland area (we're in the burbs) is crowded. Houses are practically built on top of each other and we're not willing to move to the country, just yet.
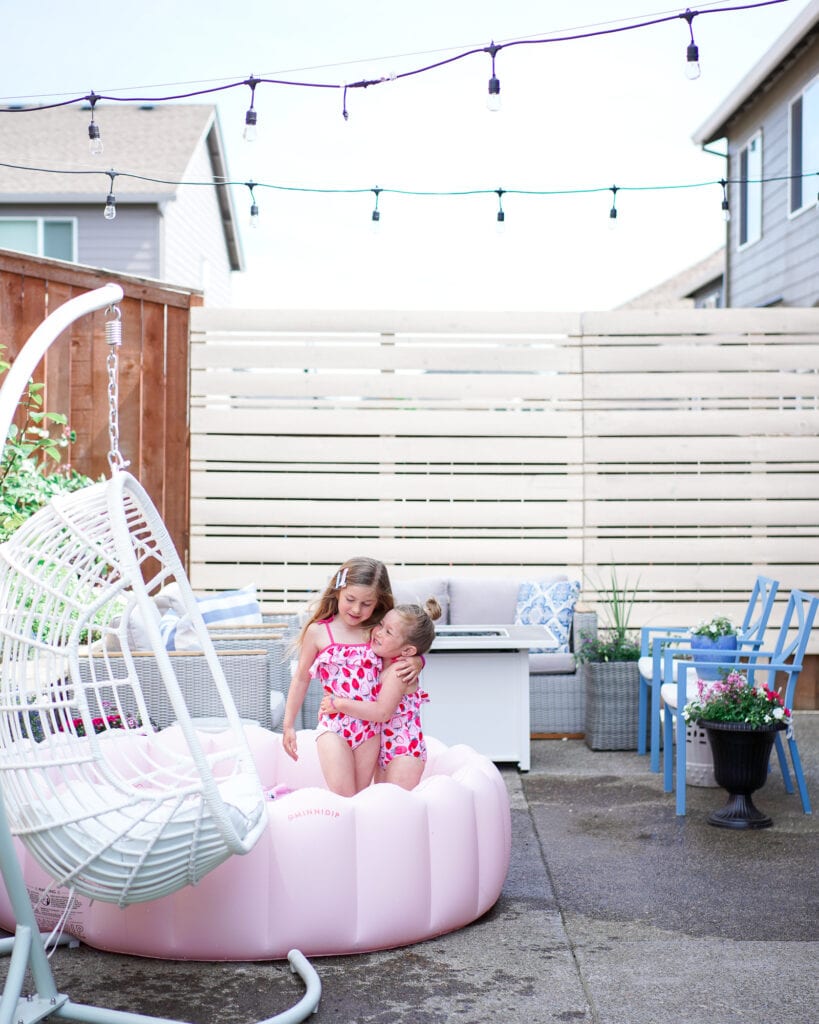
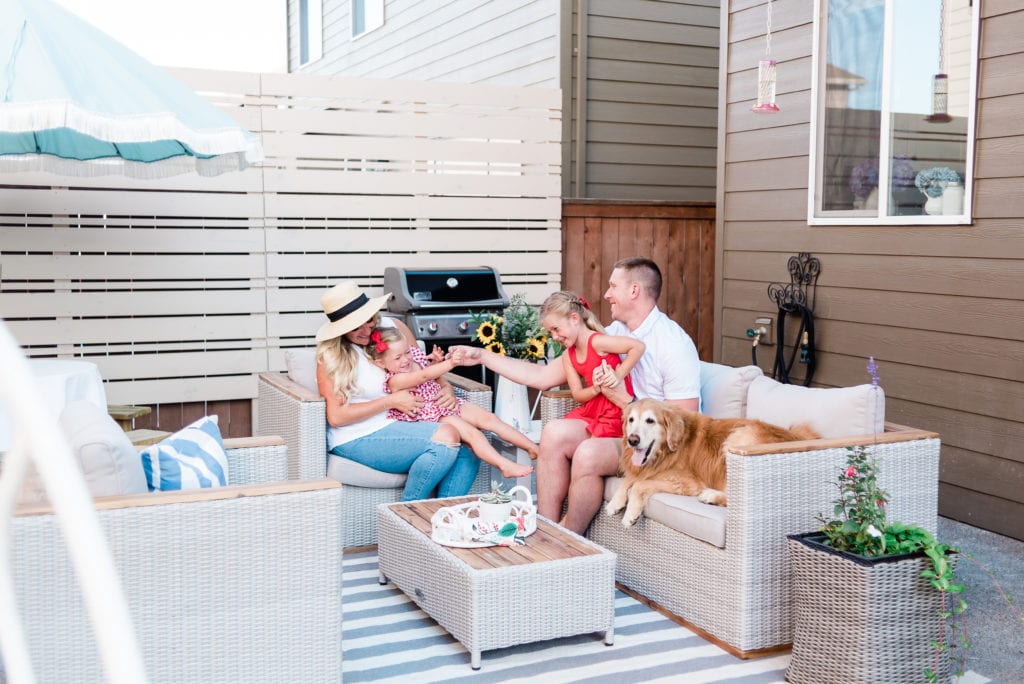
We love our sweet neighbors, but as you can see from the before photo we can basically see everything behind the fence since it is lower. I also wanted some sort of pretty backdrop for outdoor photos too!
This DIY privacy fence does the trick and it only took a few hours to build! Staining it was a different story. I'll cover those details below.
If you're curious about our patio decor, make sure to check out this post!
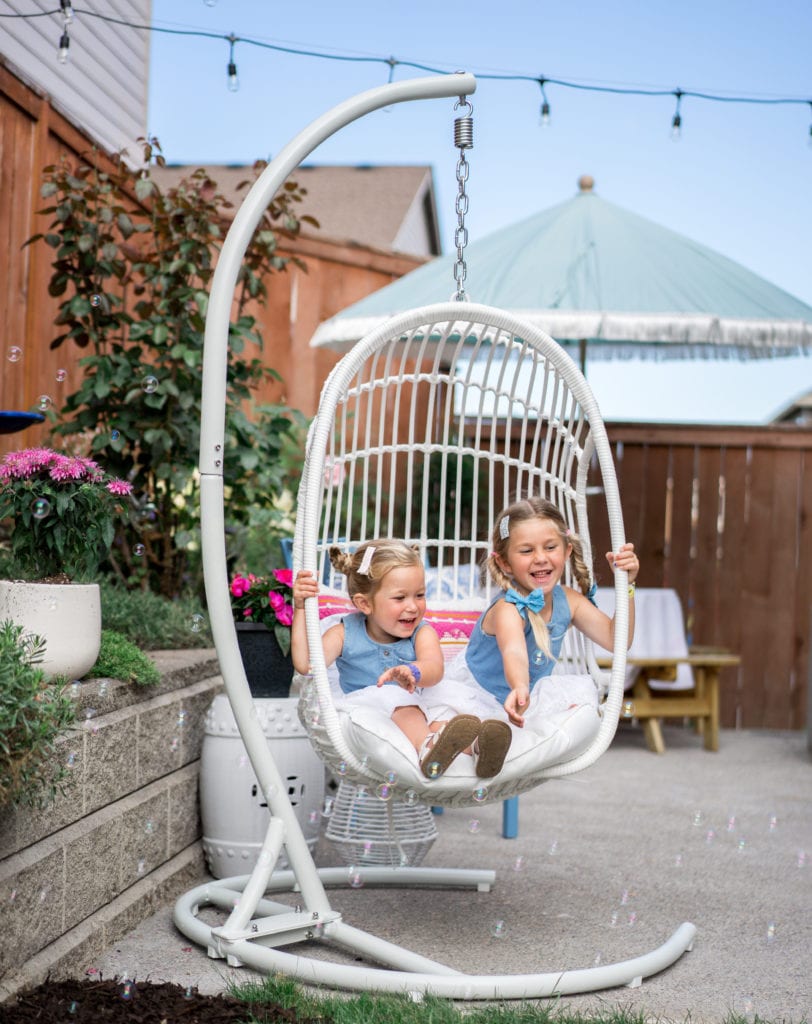
shop umbrella // hanging chair this is how our fence looked before
(6) 2x4x105
(22) 1x6x8’ (132 screws needed)
(10) 1x2x8’ (33 screws needed)
(2) Package of screws, 1-1/2” length ($6.97)

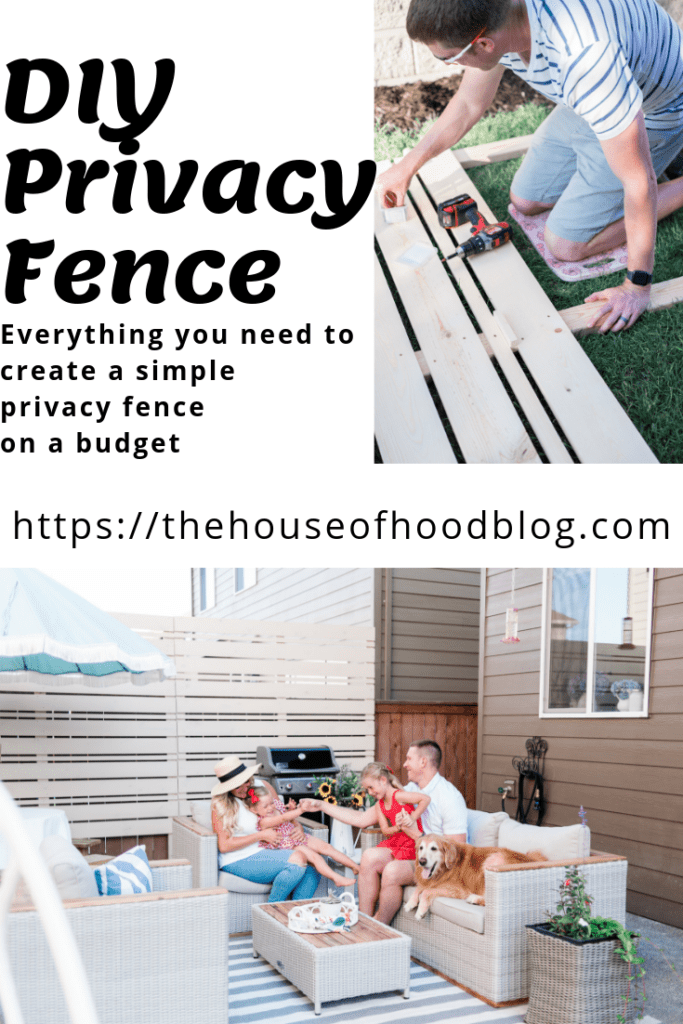
Your measurements will really depend on your space. We laid out our tallest boards on the ground and drilled in a 1 x 6 x 8 board at the top.
As we put the fence together with a drill and screws, we used a small piece of wood in between the slats to make sure they were even. This was a huge time saver instead of measuring each one. We did two 1 x 6 x 8 and then one 1 x 2 x 8 for our 'pattern'.
We basically laid out the long boards and screwed each of the slats on. You can't really get more simple than that!
Our cost for the wood and screws was $273.36.
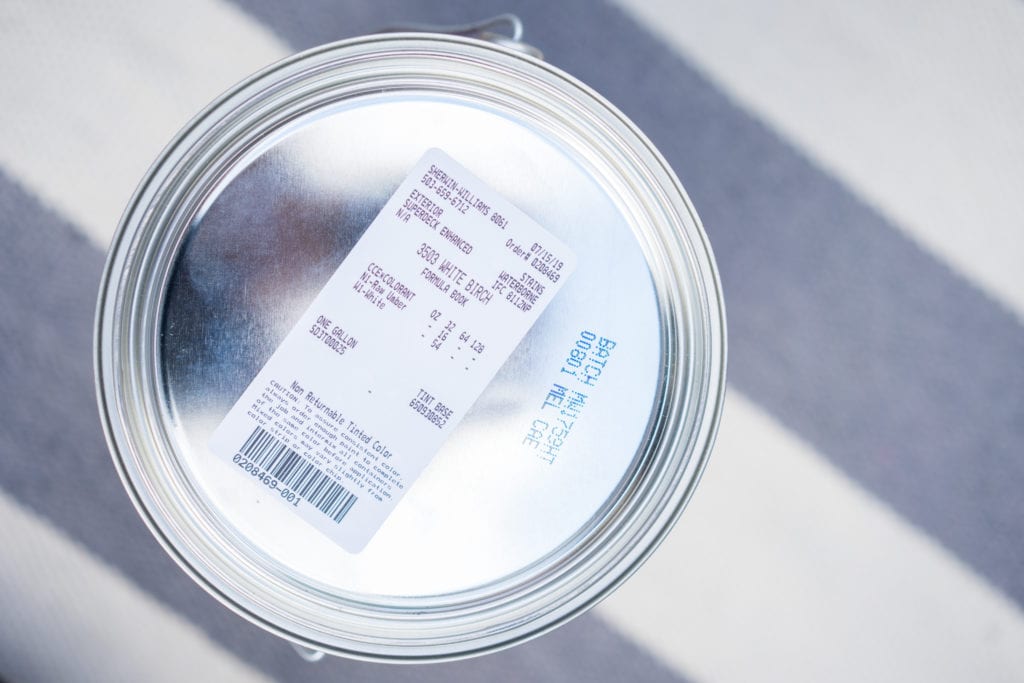
Our wood was pretty thirsty, so it took a few coats. I'd highly recommend a paint sprayer like this one. We've used it on several projects and it has come in so handy! I picked up a deck stain from Sherwin Williams and went with White Birch.
Since ours is more of a privacy screen for height privacy, we nailed them into our existing fence.
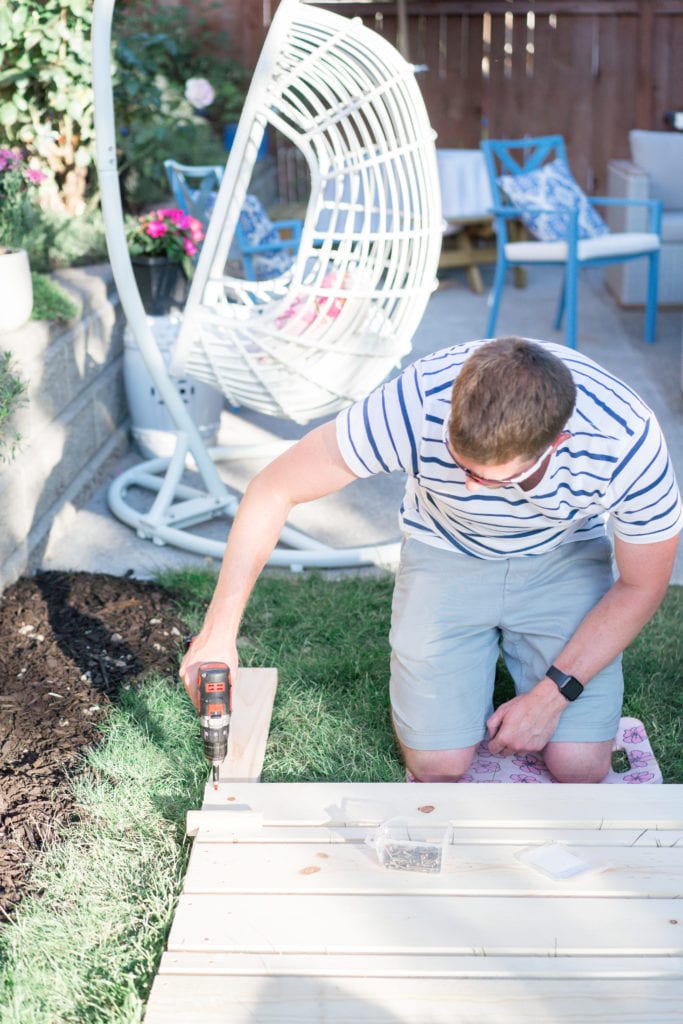

Ryan used small pieces of wood to measure the space in between so it would be even


the girls working extremely hard on watching dad

our whole house is painted in Sherwin Williams, and it's our go to for paint and stain
Here is how our fence looks after! I am completely in love with how it came out. Ryan drilled them both into the existing fence.
I wanted to hang a few things on the fence like planters and lights, but I'll probably wait till next year now that Summer is almost over. I am also planning on planting some greenery in front of them.

We have since moved and our new owners have loved the privacy fence. They've kept it up and it's still going strong almost 2 years later! Make sure to pop over to this post to see our new patio!
My Aunt also installed a privacy fence along her deck. This gave her some extra privacy at the top of her fence where her neighbors could possibly see over.

I love how the top is more see through than the bottom. This also provides an aesthetically pleasing backdrop for their outdoor dining table!
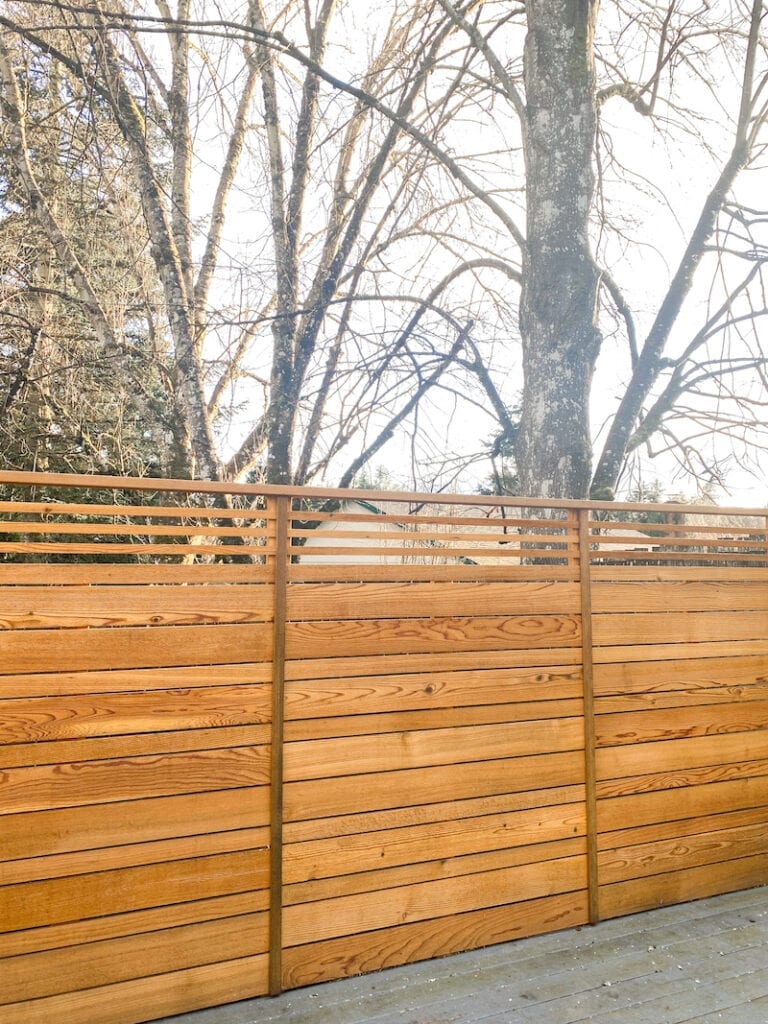
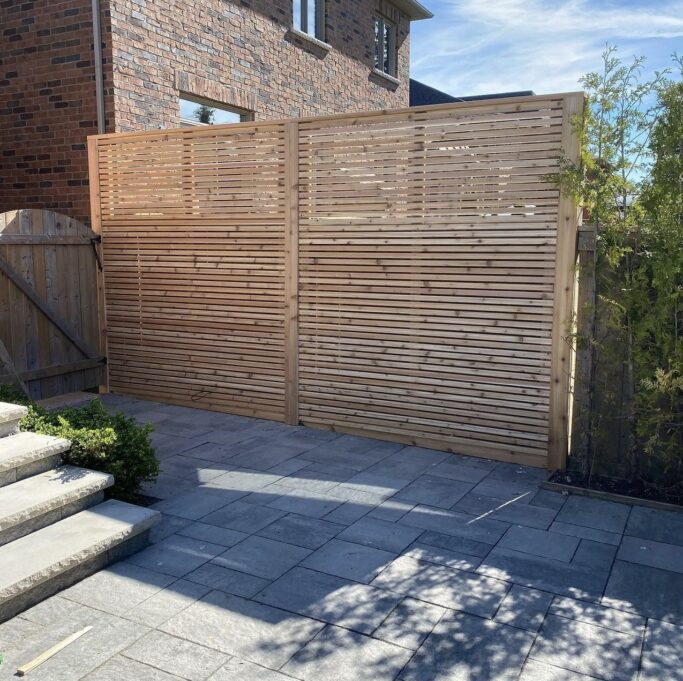
image via Flip Contractors Inc
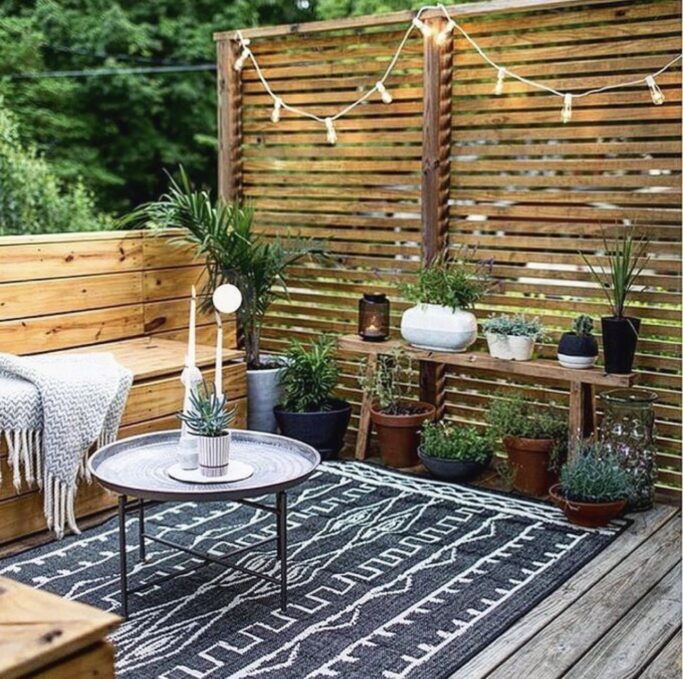


image via The Jordans Forever Home
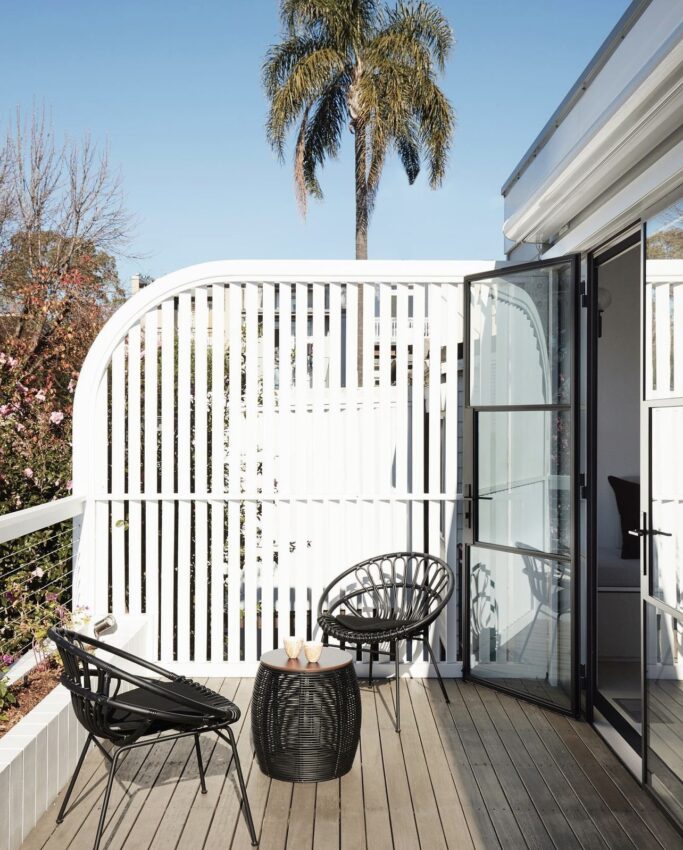
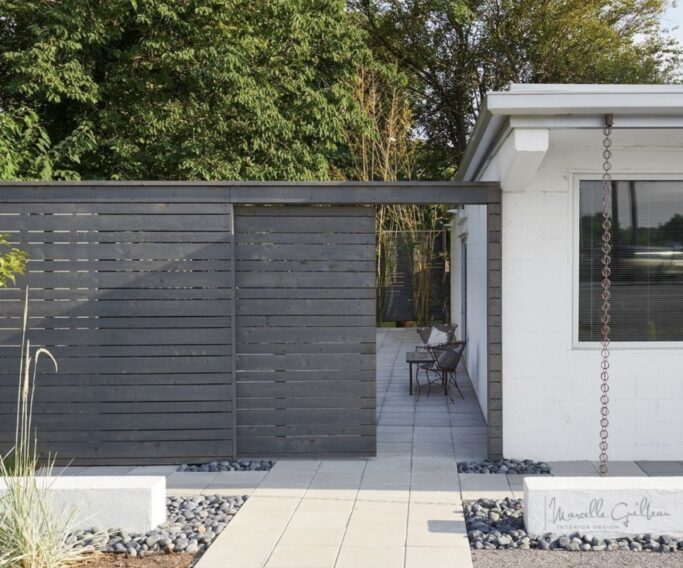
image via Marcelle Guilbeau Interiors


DIY Patio Storage Bench // Small Backyard Pools // Small Outdoor Patio Decor Ideas

Hopefully this helps you plan out your DIY privacy fence! It was really so easy to put together. The only time consuming part was the staining! Let me know if you have any questions at all by leaving a comment below, or feel free to DM me on Instagram! Thank you so much for reading!
Lovely Fence, it looks classy and is totally great for pics!
Thank you! We still love it a year later!
The privacy screen looks amazing! I’m interested in doing this also. Could you please tell me about the process of putting itinto the ground?
Thank you! We love it! We actually just nailed this into our existing fence so it just sits on top of the ground. Hopefully that helps!
[…] from The Happy Housie Photo from The House of Hood Blog Photo from Crafted by the […]
Thanks so much for sharing!
what size is the small piece of wood that was used for measuring in-between each board?
Hi! They are about 1.5 inches.
What type of wood did you use?
We used pine and sealed it, but if we were to do it again we would use cedar!
Love it! I read in the Nicole Curtis book that if you dampen the wood before staining it won't take as much stain. I tried it the coverage was great with half the stain and labor. Thank goodness for everyone sharing ideas and experiences.
That's a great idea!
I love this! And the second version, your aunt’s, checks all my boxes!!! Can you tell me what stain she used?