
Shop our full list of supplies to make your own balloon garland here!
shop my favorite balloon garland kits here
This balloon garland took me about 30 minutes from start to finish. It will probably take you around an hour if it's your first time putting one together. Let me know if you follow this tutorial! I'd love to see a photo. Be sure to scroll down to see the video of myself assembling our balloon garland too!
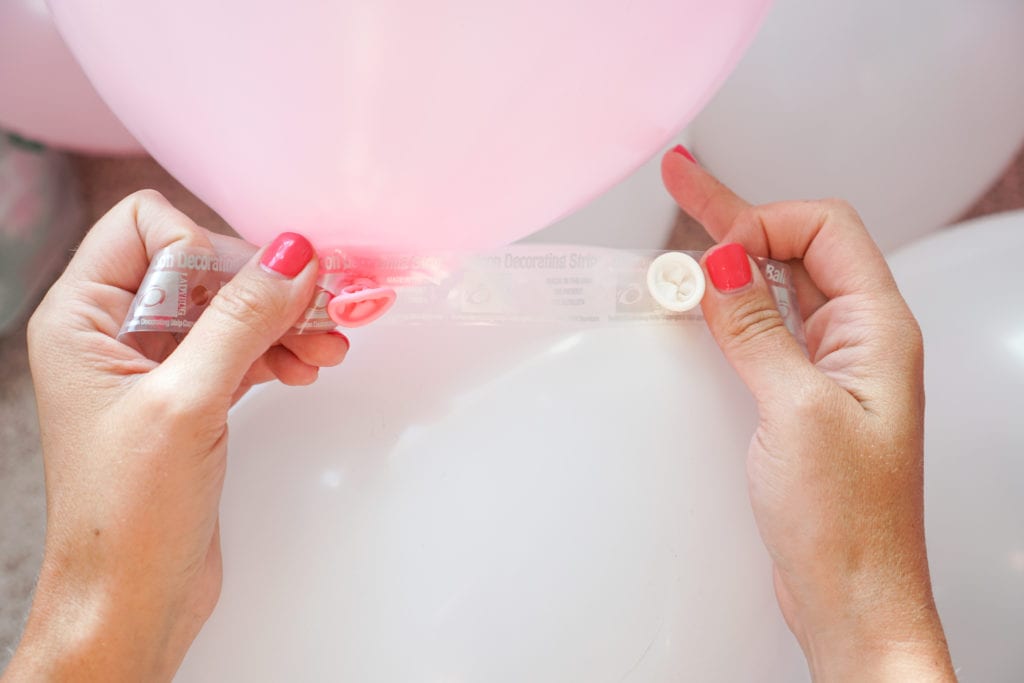
I used to use balloon tape (which is basically clear non-sticky "tape" with holes in it to put the balloons through) to make my balloon garlands, but I've found thick fishing line works MUCH better. I will also share how I make a balloon garland using balloon tape below in case you want to try that option.
In order to make your balloon garland, you'll need just a few supplies. Balloons (the below garland uses 64 balloons), strong fishing line, an electric balloon pump, and command hooks. Shop our full list of balloon garland supplies on Amazon here!

First, decide on how big you want your balloon garland. For a 10 foot balloon garland (like the pink balloon garland above and below), you'll need around 64 balloons of varying sizes.
You can find balloons at Party City, Amazon, The Dollar Tree, Michaels, etc. Or, you can purchase a balloon garland kit. I like this one and there are a ton of color options.

Next, you'll need a strong fishing line. This one is great! You will use this to loop the balloons on to. More on that later.


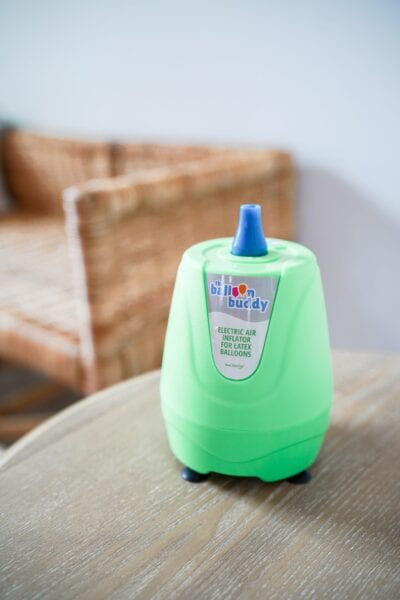
above is our single electric balloon pump

Most importantly, you'll want to get an electric balloon blower. No one has time to blow all of those balloons up by themselves! This one works great and I own two of them! Better yet, grab this option for about the same price which comes with four nozzles.

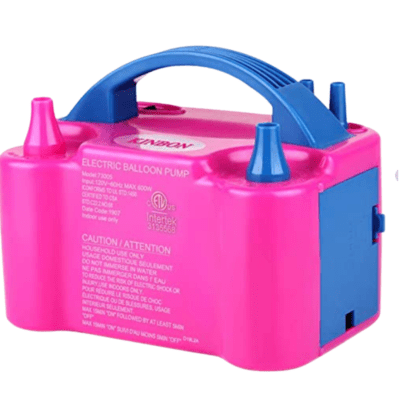
tap to shop this 2 nozzle balloon pump
To hang your balloon garland, you'll want to tie each end to something. I often use my stair railing, but if you don't have that nearby then you'll want to use command hooks. These ones and these ones are my favorite because the fishing line stays put.
Click any photo below to shop our favorite balloon garland supplies!

More tips and tricks here:
Now that you have your balloon garland supplies, here is our tutorial. Hopefully this helps explain our easy balloon garland method easily! I have been making balloon garlands for about 4 years now, so I can whip them up pretty quickly.

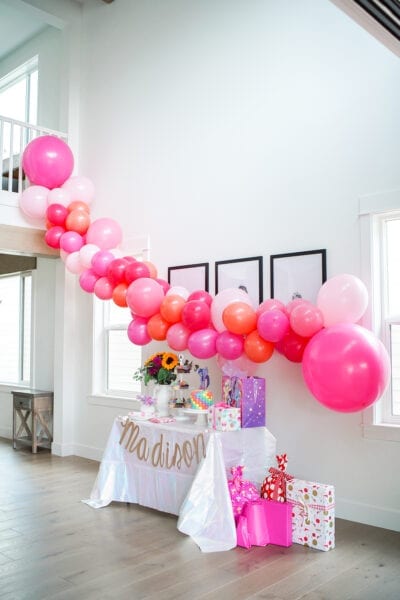
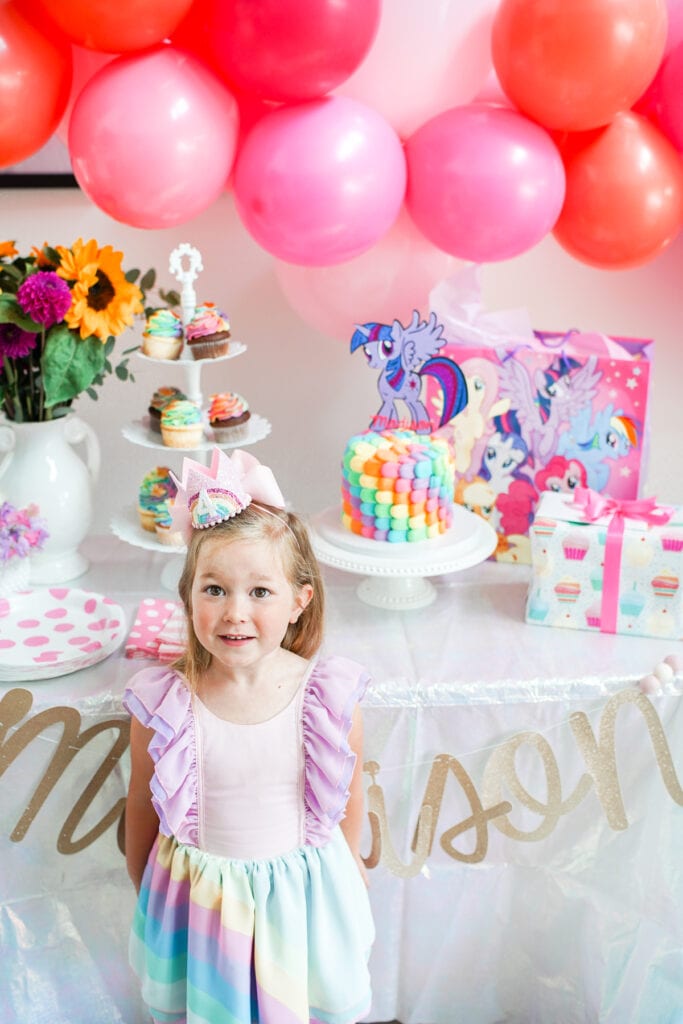
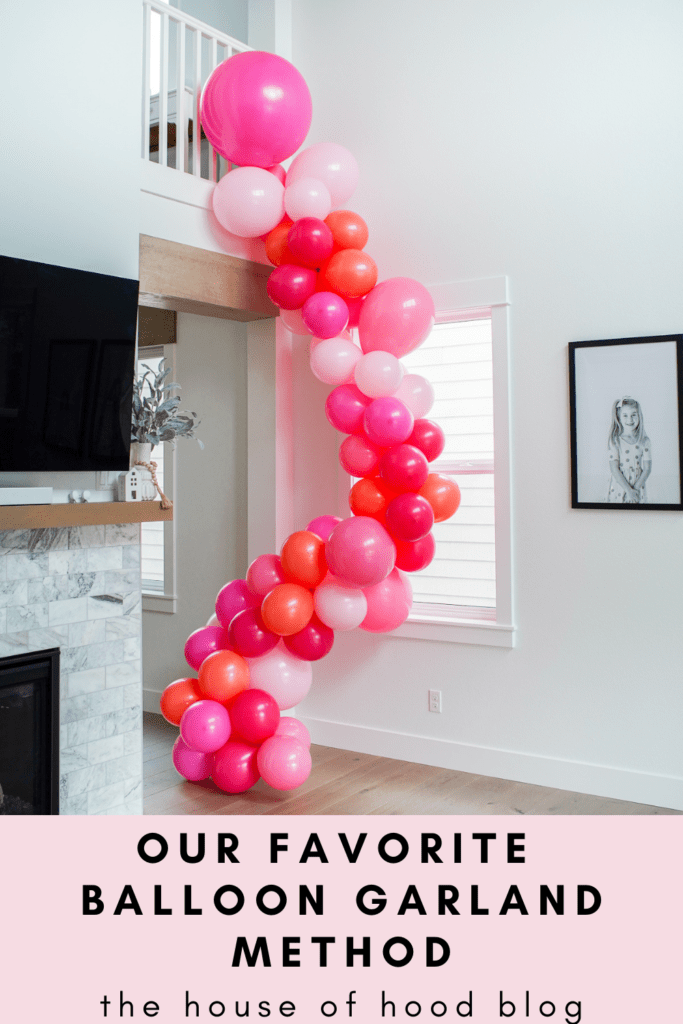
I did an EXTRA long balloon garland for Madisons birthday. Our new home has a 2 story great room, so I wanted to hang the garland down from the 2nd story. This worked great! I didn't need any command hooks for this as I was able to tie it to the railing and to a latch on our window.
For this method, I used fishing string to loop the balloons on. You'll definitely want to get an electric balloon pump to help blow your balloons up.
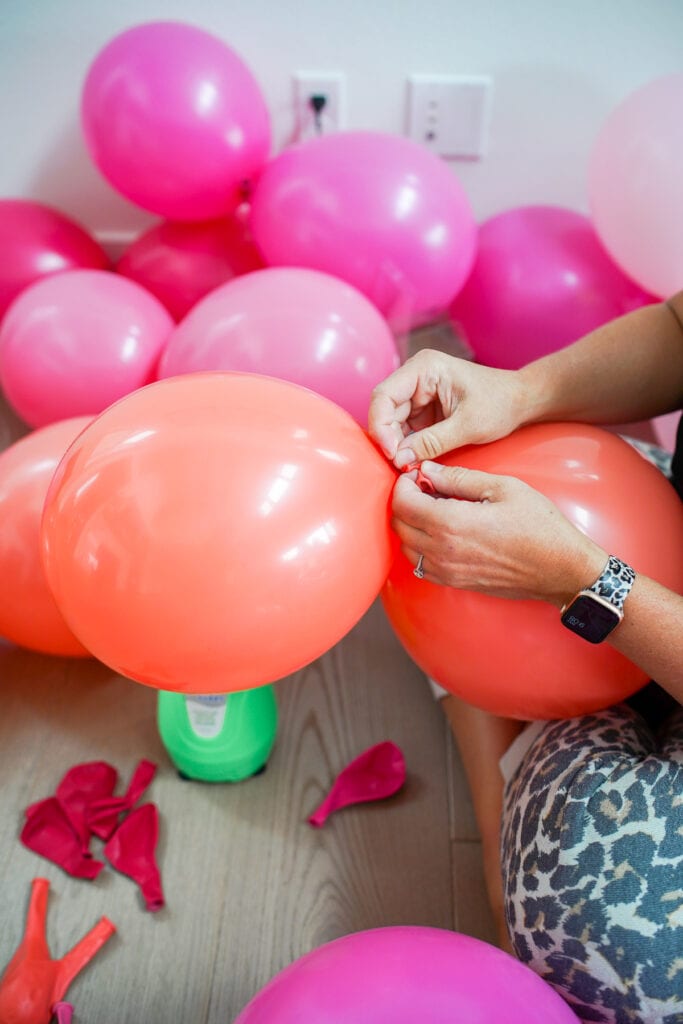
Blow up your balloons. Again, I use varying sizes and colors. You'll want about the same amount in small and medium balloons and then a few large balloons. After I blow them up and before I tie them off, I push them up against my body as I hold the opening and let a little bit of air out.
This gives me a longer 'tail' to work with and it also makes the balloon rounder vs. longer.

this is our electric pump - I am pushing the air out of the balloon to make the ends extra long and for the balloon to be rounder
Next, we'll tie our balloons together. If you are going for more of a rainbow garland, you'll obviously want to keep all your colors separated. If you want it more randomized, tie any of your colors together. I take a medium balloon and a large balloon and tie them together.
Then, take a medium balloon and a small balloon and tie those together. Next, take a small balloon and a medium balloon and tie those together. Basically, you'll want to tie random sizes together in groupings of two.
We'll take our groupings of two balloons and tie them together with another grouping of two balloons. This will make a 'quad' which will make up our balloon garland!


here is our grouping two

here is our grouping of 4 (or a quad)
Now that all our balloons are blown up and tied together in groups of four, this next step goes super quickly! You'll take your first quad of balloons and fishing line and tie them on. Make sure to leave around a yard of fishing line on the end so you can tie it up.
You'll loop the fishing line around one of the balloons on the quad and tie it twice.

here is our finished garland for our daughters birthday!
Next, you'll take your second quad of balloons and push them as closely to the first quad as possible. When I say close, I mean really push them close (it will almost feel like you're going to pop them!). Then, you'll loop the fishing line around one balloon and push up tightly.

They should be super tight together to give a full look. Please watch my video above if this doesn't make sense! You'll finish looping each quad onto the fishing line until you have your balloon garland as long as you'd like it to be.

For this balloon garland, we did not do this. For our New Years Eve balloon garland (below), we did. This one came with really small balloons so I used glue dots to add those in.
I knew I wasn't going to keep this up for very long otherwise I would have used a low temp glue gun. You can also use scotch tape. The low temp glue gun works really well and lasts the longest!

This was our balloon garland for New Years. The girls loved popping the balloons with confetti for our count down!

bench // olive tree // pillows
Our last step is to fasten our balloon garland! Again, I like tying our balloon garlands to our stair railing or loft railing but this doesn't always work for where I want our balloon garland to go. You can also tie your balloon garland to a command hook, let the end hang, or fasten the other end to another command hook.
It really just depends on the look you're going for! For our New Years garland, I had a random nail left on the wall so I tied it to that!

It depends on the length of the balloon garland of course. But, for the longer pink themed balloon garland above we used 64 balloons in varying sizes.
I have had balloon garlands last for several weeks! You can definitely make them the day before your event or even longer.
If this is your first time making a balloon garland, plan on at least an hour. Again, I have made a ton of these so I can make them in about 30 minutes. Your first garland will probably be very frustrating, but keep going and you'll get better!
I rarely pop balloons when I'm blowing them up surprisingly! I'd say I might lose 1-2 for each balloon garland which isn't bad so make sure to have a few extras on hand.
No! The great thing about balloon garlands is that no helium is needed.
It's really nice to have a balloon garland for party decor because you can make them in advance. Even though I've gotten really good at this method and it only takes me about 30 minutes, it's still nice to make it a day or two ahead of time. The only downside is my kids end up trying to play with it!
Again, I mainly use command hooks. They seem to last the longest. I also use random things around the house if it works for my set up. I've tied the balloon garland to my stair case, cabinet knobs, a random left over nail on the wall, or even a tack! To keep your walls looking nice, I still recommend command hooks over any other hook.
I like to use varying sizes with a few extra large balloons thrown in. 9" to 24" and everything in between!

This is my original balloon garland method. I do still like it, but the fishing line method is just a lot easier.
Here are the supplies you'll need:

My old method for creating balloon garlands, was literally tacking them to the wall. I have one wall in our bonus room that I use when setting up party scenes. It really needs to be filled in because it's full of holes! The girls would also rip them off the wall, so it was basically a disaster.
I discovered balloon tape while searching on Amazon. It is basically just a roll of clear "tape" (it isn't sticky) with holes punched through. The holes are where you will put your balloons through. This helps to make the base for your balloon garland.

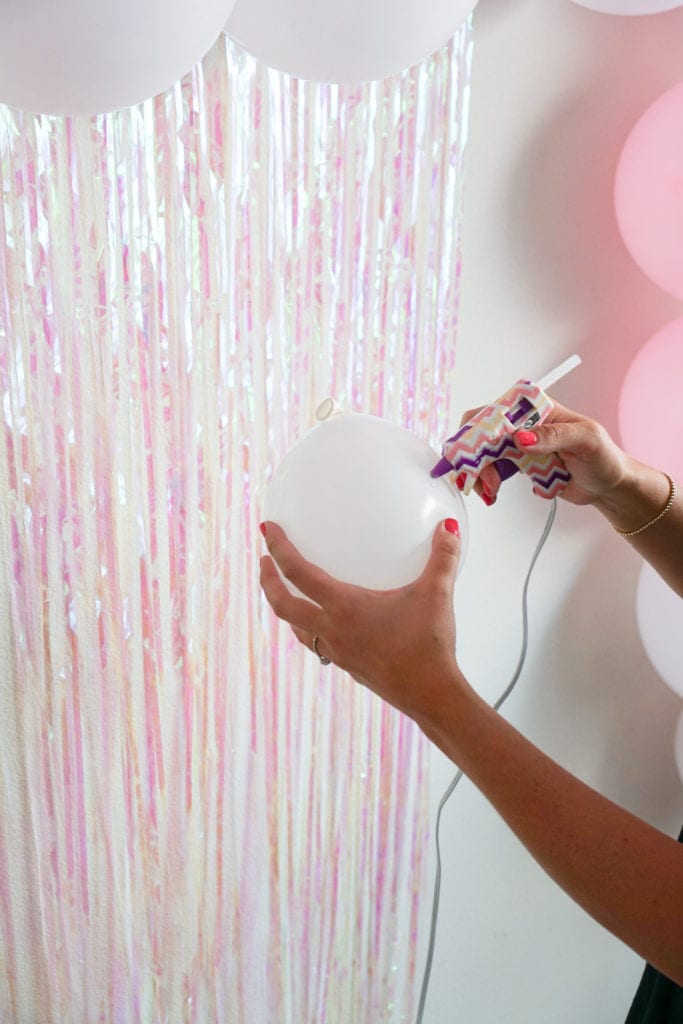
This made a huge difference from my old balloon garland method! I used to tape the smaller balloons onto the bigger balloons, and it would never hold for more than a day or two. With the low temp glue gun, you can glue your smaller balloons onto the bigger ones. You need to look for the low temp specifically, since the high temp will pop the balloons!

For the base of my balloon garland, I used around 30 balloons blown up to their capacity. This is where your balloon pump will come in handy. No one wants to blow up 30 balloons on their own!
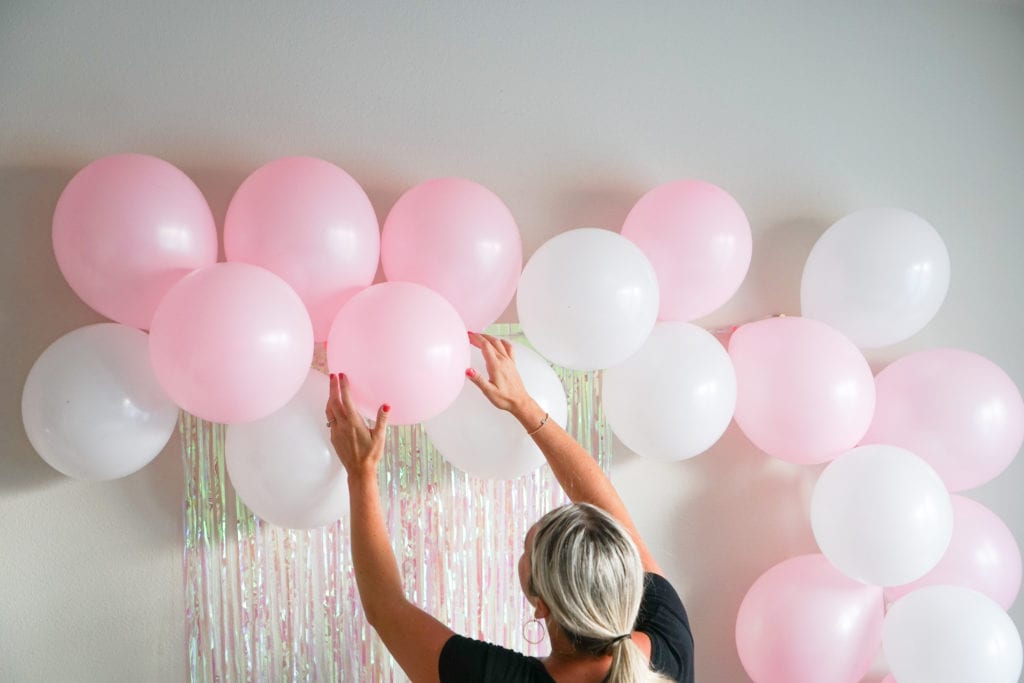
I hooked them onto the balloon tape with two pinks, then one white and so on. I wanted the pink to stand out a bit more which is why I used more pink.

When you get your balloon tape, you'll notice there are bigger holes and smaller holes. I used the bigger holes for this garland. I placed our larger balloons on every other large hole. This gives me room to actually stick the balloon tape to the wall without popping any balloons.
Once I have my base done, I then tack the balloon tape to the wall. Again, you can use command hooks if you don't want to leave holes.
If you tie a string to each end of the ballon garland, it'll hang easily to the command hook. We patch our walls often (thanks toddlers), so I didn't mind adding a couple more spots to the list.
It looks a little sparse and sad doesn't it? This is where the smaller balloons will come in to give it dimension.
Our next step is to add the smaller balloons for some dimension. This is what really makes your balloon garland "pop". Ok, not really pop because that would be bad but you know what I mean.

I blow up more balloons in varying sizes from medium to super small. Then, I start randomly placing the smaller balloons wherever I think looks good and add a one or two dots of glue.

I hold them against the large balloons for around 20 seconds till the glue sets. Keep doing that until you're happy with the way it looks! You can also add in greenery if it goes with your party theme.

3 sizes of balloons for this garland


our NYE balloon garland


There are some pretty intense balloon art out there, and these are all so beautiful! I love the addition of foil balloons for a little extra shine. Click the links below to check out these talented artists!
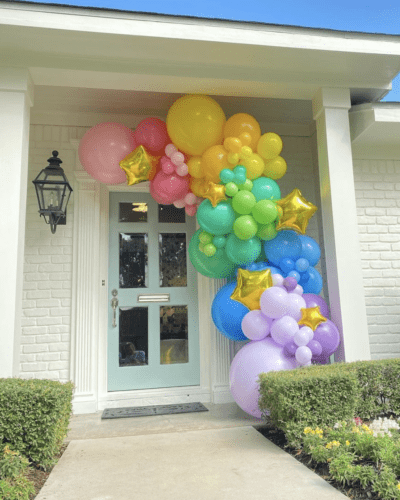
image via Instagram - That Balloon Girl
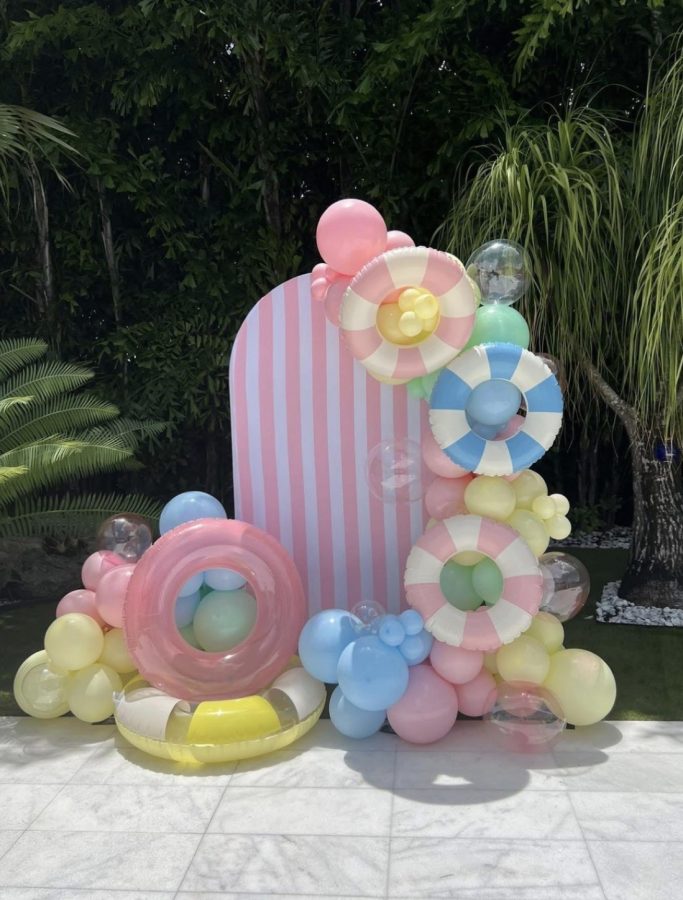

image via Balloon Therapy
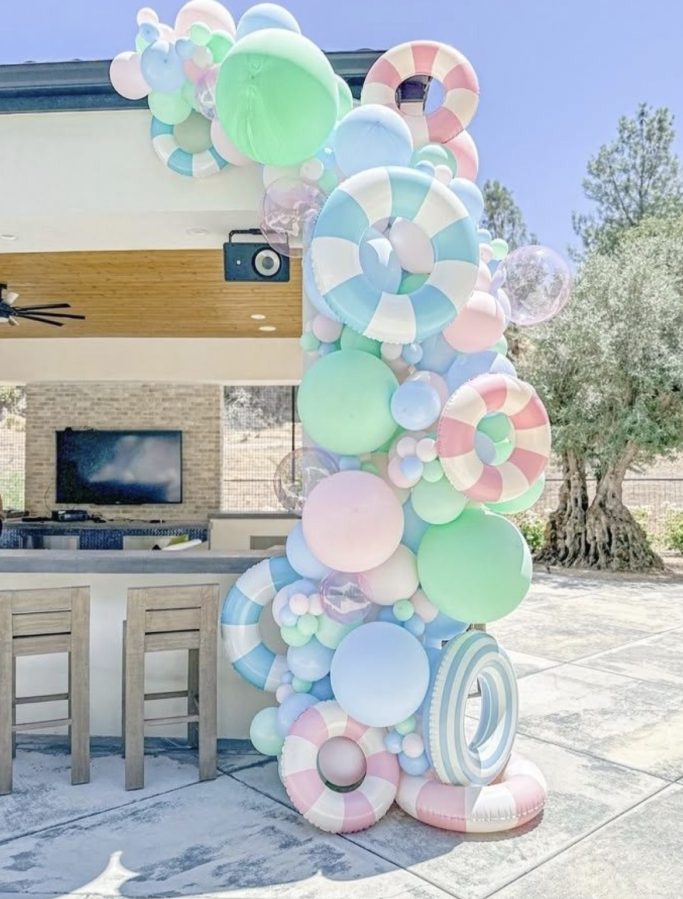
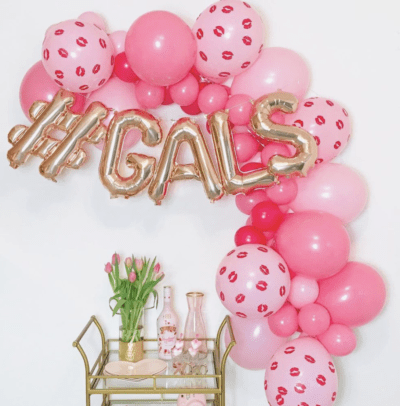
image via Girly Gifts - check out her shop for easy and beautiful DIY garland kits

this is such a darling set up from The Happy Wish Company!
Science Themed Birthday Party // Pink Halloween Party // DIY Fringe Backdrop
I hope you found this balloon garland tutorial helpful! Balloons really do add so much to a party set up in an easy and inexpensive way. Let me know if you end up trying either of these methods and what you think! Feel free to leave a question below in the comments or you can DM me on Instagram!

Hi there,
How many balloons did you use in total? Also, how long was your garland? Thx!
Hi there! We probably used around 30-40 balloons in total and it was around 6 feet in length! Hope that helps!
This is awesome! Thanks for sharing. The balloon tape is genius!
What size of balloons did you use ....Were they 11 and 5 inch
What is the longest you have noticed that your balloon garland has lasted?
I've had them last well over a week! The smaller balloons tend to deflate quicker, so I've had to add some of those back in.
[…] Easy Balloon Garland Diy […]
Very pretty
Is there anyone that could help set this up for my sister shower..
This is the best how to make a balloon garland blog I've found thank you from karon
Thank you so much!
Thank you for sharing this post ! Great article i must say !
Instead of a glue gun, I used glue dots. They hold up really well and I didn’t have to go out and buy a new glue gun! 🙂
That is such a great idea!
[…] Source: The House of Hood […]
Hi! Thanks for the tutorial! I got confused though after you tied the large one on to the fishing line. What does I “looped” the 4 on the string and pushed up to top mean? Did you not tie them to the string? Thanks for your help!!
Hi! Sorry, it is sort of hard to explain. I need to do a close up video...it's on my list! So, basically you'll take your first grouping of 4 balloons and tie the fishing line securely around that first group of 4. Then with your next group of 4 balloons (that are all tied together), you'll literally just take your fishing line and loop it around 1 balloon in that second group of 4. You'll want to make sure each grouping of balloons is pushed up really tightly against the next group to give it a super full look. You won't tie any of the following groups of balloons, but they'll be secure with the loop. Hopefully that makes sense! Feel free to DM me on Instagram and I can try to send you a video (I have a balloon garland set up right now!).
[…] Click for more details […]
Your video was awesome - super helpful! Thanks so much for the great post. I’m attempting my first in a few weeks and I feel fully prepared. (:
That's so great to hear! You'll have to keep me posted on how it turns out!
It s not a birthday without balloons! ?? Thanks for the amazon tip, I never would have thought of that!
Just wanted to let you know that I enjoy reading your posts. Dont have much to add, cheers!
Sweet blog! I found it while searching on Yahoo News. Do you have any tips on how to get listed in Yahoo News? Ive been trying for a while but I never seem to get there! Cheers
Very nice post. I just stumbled upon your weblog and wanted to mention that I've truly
loved browsing your blog posts. After all I will be subscribing in your rss feed and I'm hoping you write
once more very soon!