
If you want holiday curb appeal that actually stops neighbors in their tracks, installing light-up Christmas arches across your sidewalk is the easiest way to do it. In this DIY guide, I’ll show you how to build sturdy, reusable arches using 10-foot PVC pipe, a simple slip coupling at the top, and rebar anchors to keep everything in place. This setup is beginner-friendly, affordable, and perfect for both grass or concrete sidewalks.
Whether you want a few festive arches leading to your front door or a full walkway of glowing magic, this tutorial covers every step from cutting and joining PVC to wrapping the lights and keeping things weatherproofed. Let’s get started!
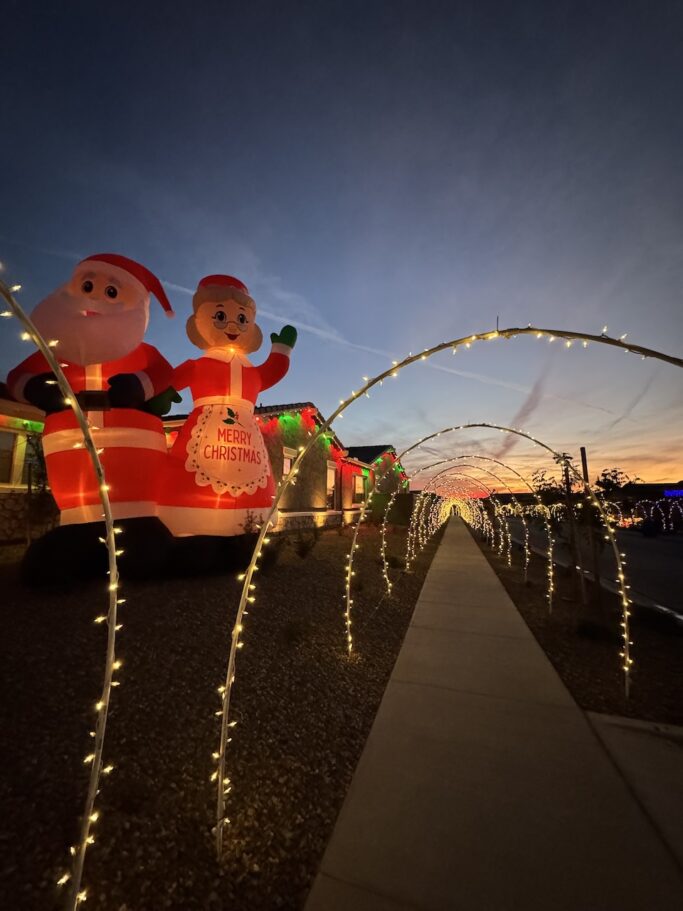
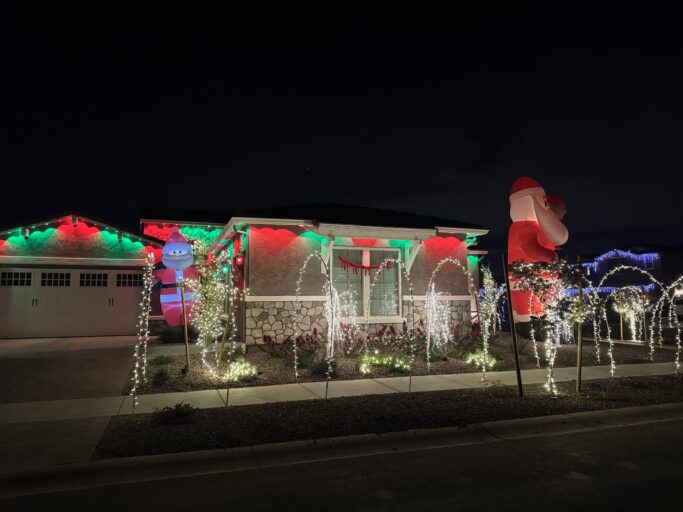
Light-up sidewalk arches instantly make your home look straight out of a Christmas movie. They create a warm, inviting path that makes guests smile before they even reach your front porch.
Beyond aesthetics, they’re also surprisingly practical. Arches are easy to store, can be reused every year, and can transform even a simple yard into something magical without breaking the bank.
If you love a DIY project that gets instant “wow” results, this one’s for you!
You’ll find most of these supplies at your local hardware store or Amazon:
Tip: For every 10-ft PVC arch, you’ll need two rebar stakes and one coupling. Multiply based on how many arches you want!

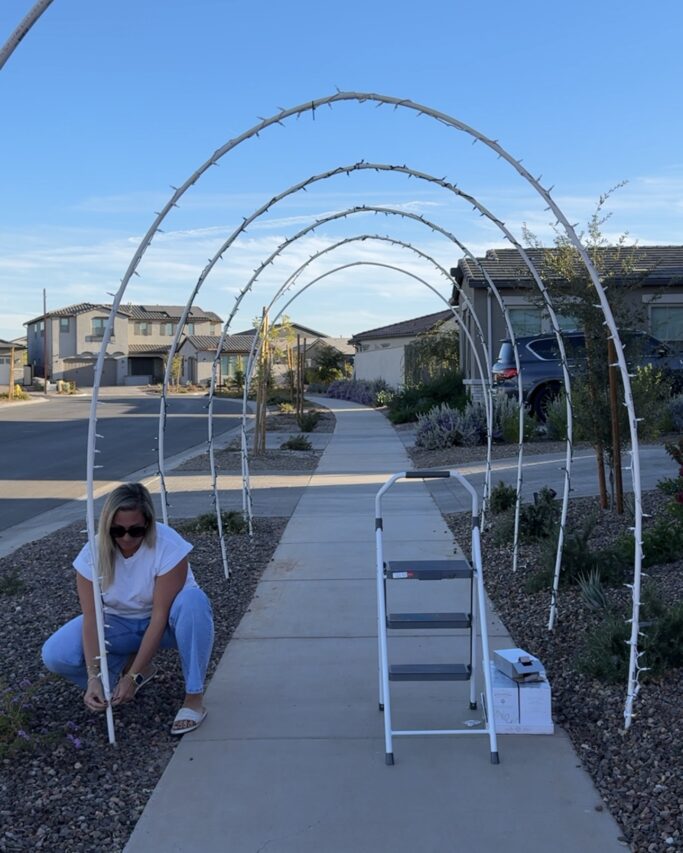
Here’s how to create sturdy light-up arches that stretch across your sidewalk.
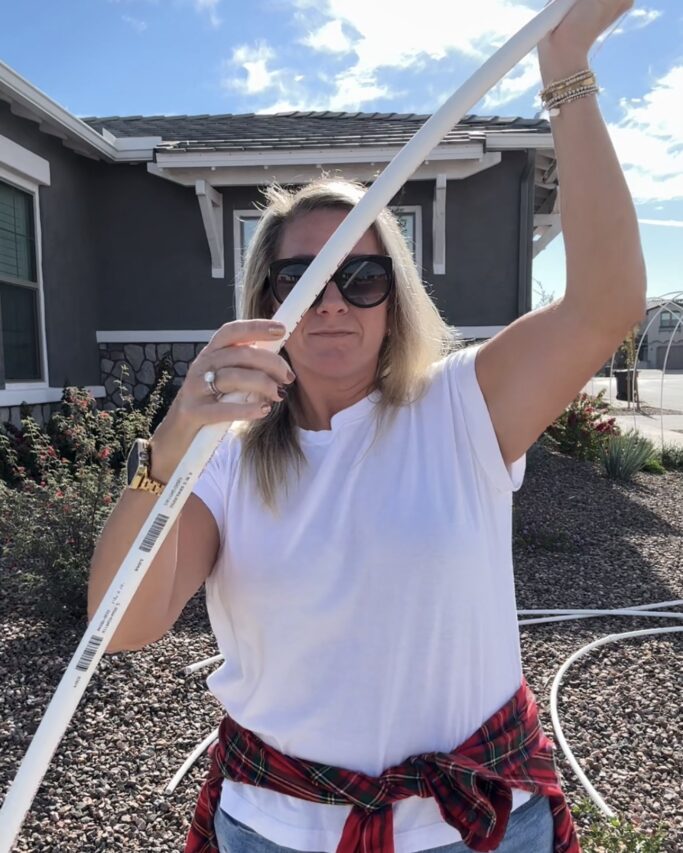
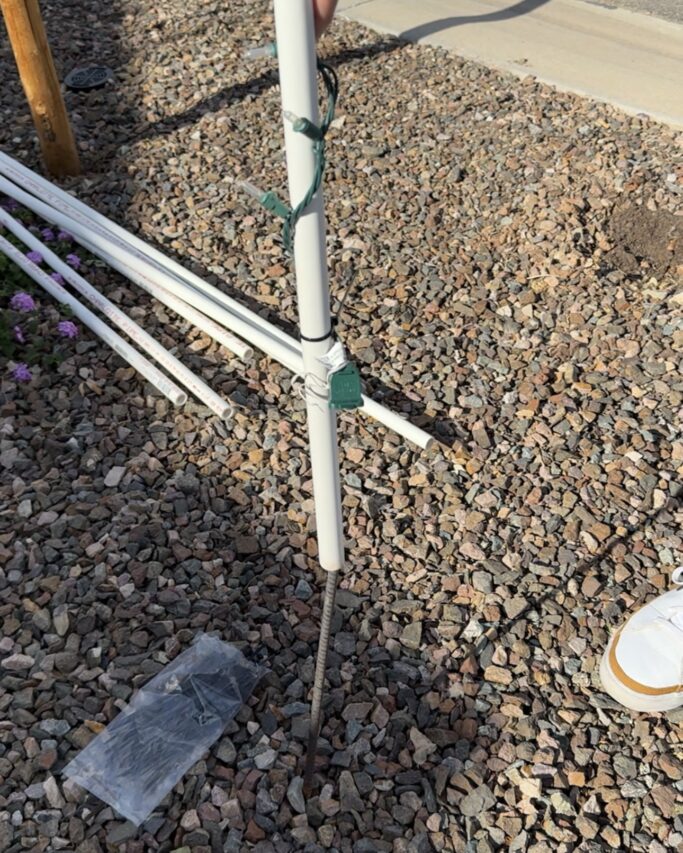
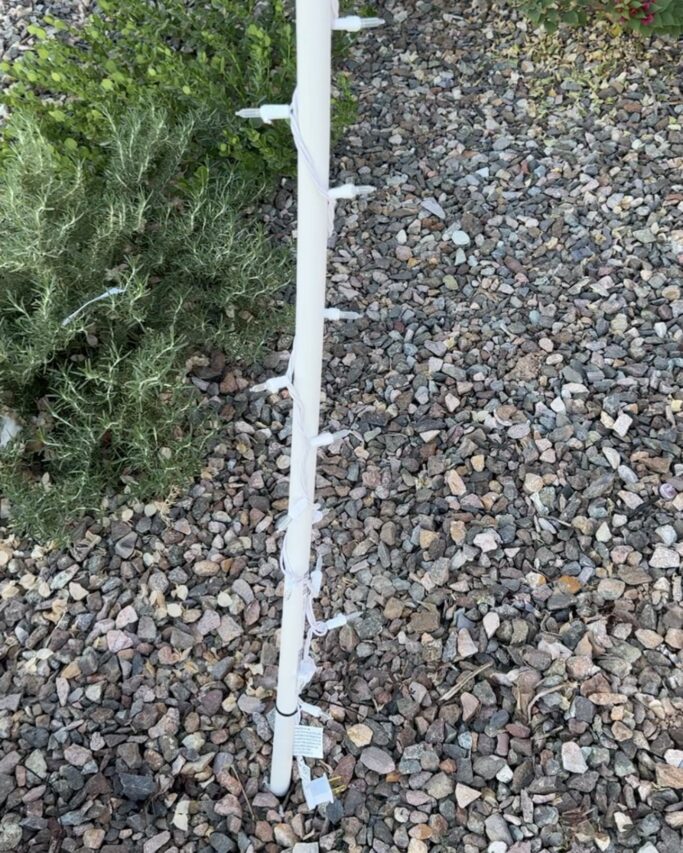
If your sidewalk is narrow (under 5 ft), you can leave the PVC at full 10-ft length. For wider sidewalks, connect two 10-ft pipes using a PVC slip coupling in the middle which is what we did. This helps you create a smooth, even arch. You can also buy longer PVC pipes without having to use the coupling, however we didn't have a way to transport those or store them.

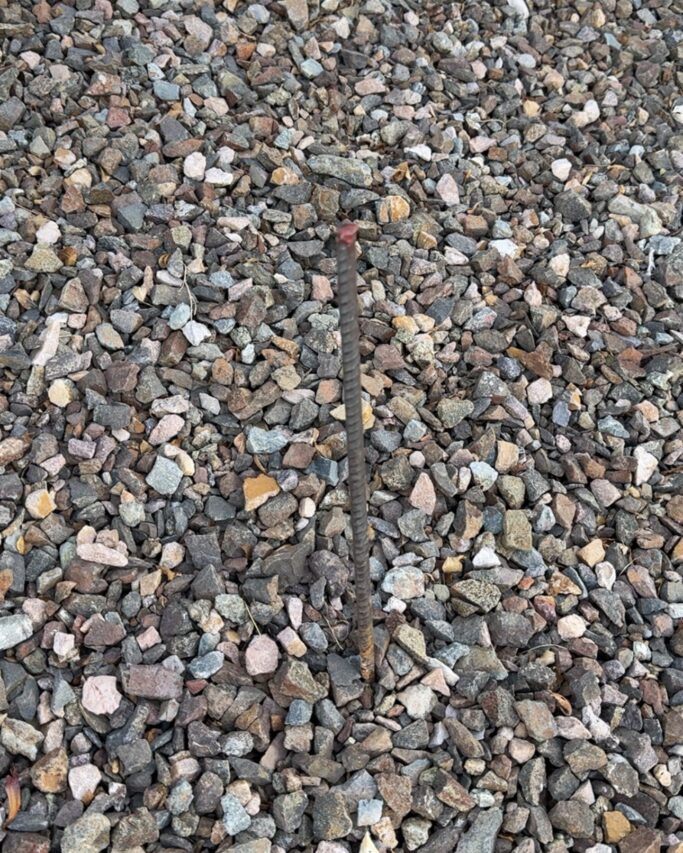
Each arch leg will slide right over a rebar stake.

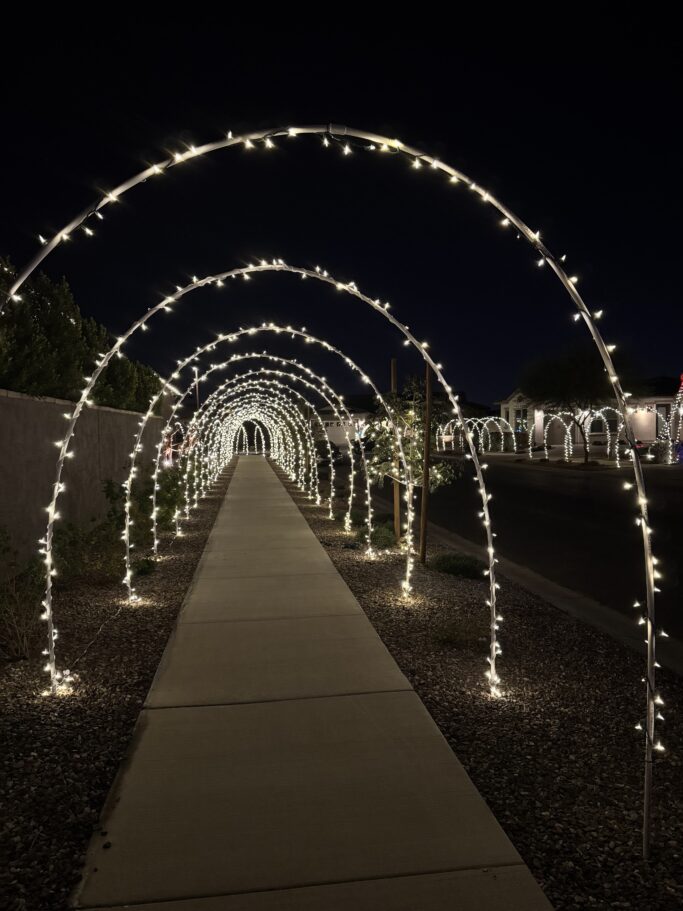
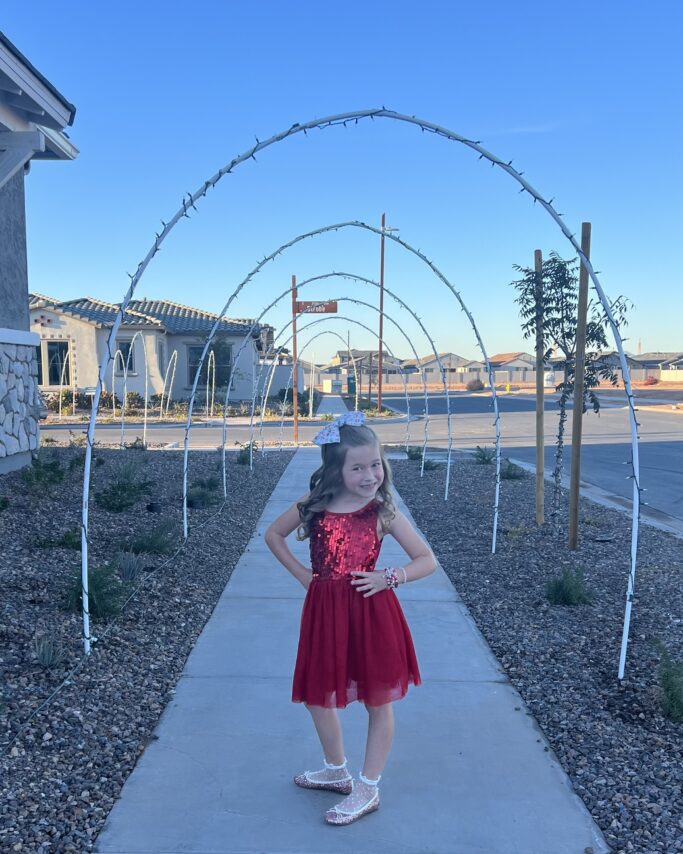
Your arch should naturally curve across the sidewalk being sturdy but flexible.
Now comes the fun part, lighting it up!

Safety Tip: Always use lights labeled “outdoor-rated.” Avoid connecting more than three light strands end-to-end.
If your sidewalk is concrete, you can’t drive rebar directly into the ground, but no worries!
Use weighted bases instead: fill two small planters or buckets with sand or concrete, and insert a short section of PVC as your anchor sleeve. Slide each arch leg into the base, and you’re good to go.
For windy areas, add extra weight or tie down arches with clear fishing line for stability.
When the holidays are over, gently remove the arches and slide them off the rebar.
With minimal effort, your arches will last for years — ready to make your walkway glow every holiday season.
Arch sags in the middle?
Use thicker PVC (1”) or shorten the span slightly. We have never had this issue before, so it shouldn't be a problem!
Lights not working?
Check all connections and fuses in your light plugs. Always test before wrapping.
Arch leans or twists?
Rebar may not be deep enough or unevenly spaced. Realign and hammer deeper. Make sure your coupling is tight and secure.
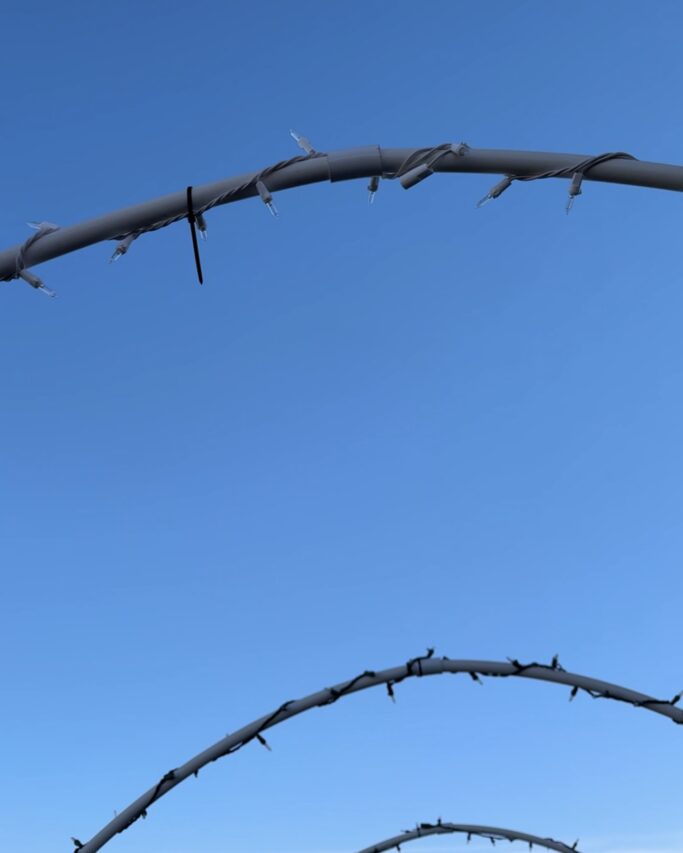
Another option is to add this type of coupler and connect each arch with a PVC pipe on the tope of the arches. See image below for an example.

Yes! Use weighted bases or pre-filled planters with short PVC anchor pipes instead of rebar.
Use 1/2” PVC for most displays, or 1” PVC for extra stiffness and durability. We used 1/2" and it works perfectly.
At least 12 inches deep, leaving 10-12 inches above ground for PVC legs.
Outdoor-rated LED string lights are the safest and most efficient choice. I really love warm white lights but color would be fun too!
Not including the power cord, we spent about $17-$18 per arch. The great news is, you can use them year after year and they make such a HUGE statement for your Christmas decor!
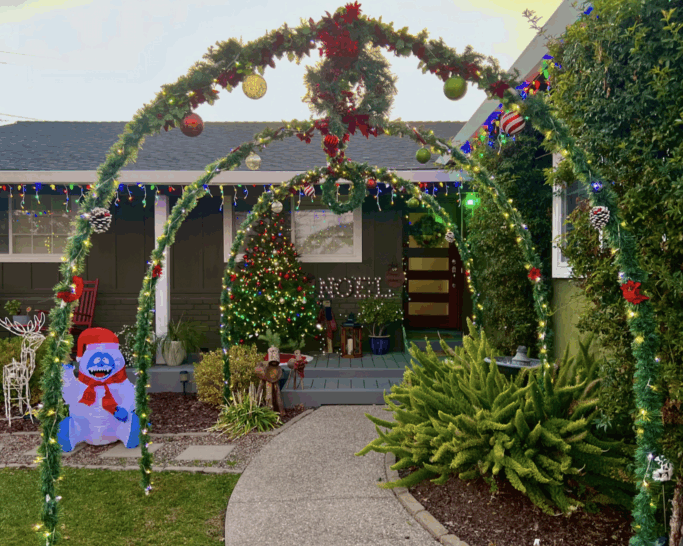
Check out more ideas for light-up Christmas arches!

image via Staying Blonde

Once you see how simple and beautiful these DIY Christmas arches are, you’ll never want to decorate without them!
Shop my favorite materials below and start your holiday arch project today:
Shop the exact supplies I used here and on my Amazon storefront here.
Bring a little extra magic to your home this season, one glowing arch at a time! Hopefully you found this DIY tutorial for Light-Up Christmas Arches helpful. Please feel free to comment below with questions or DM me on Instagram!
Pin this for later!
