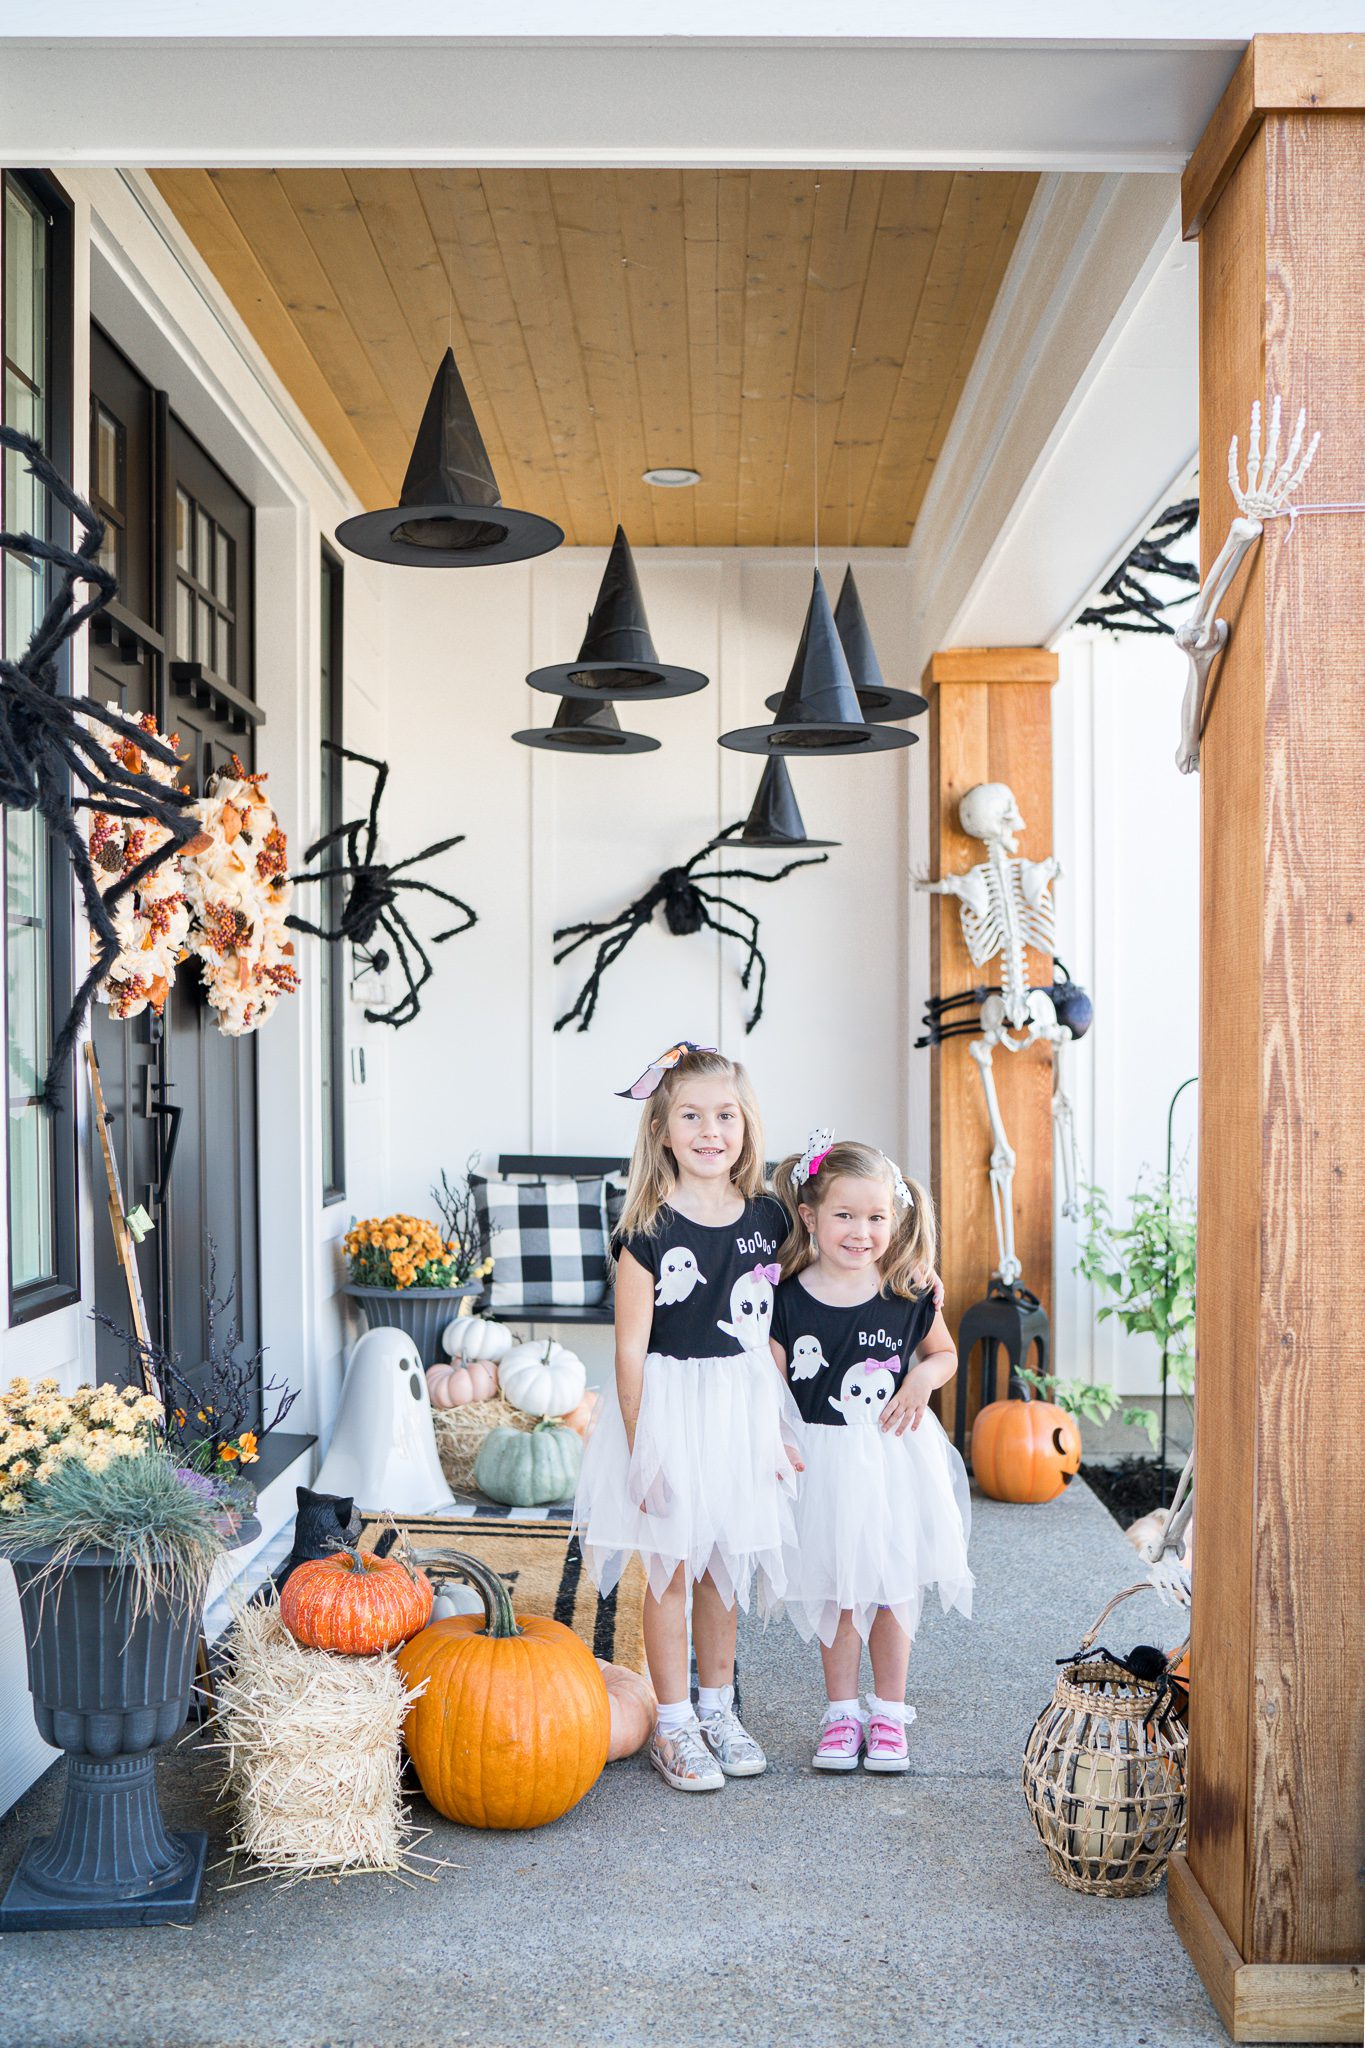
Giant Halloween spiders are one of my absolute favorite ways to decorate the outside of our home for Halloween. They make such a huge impact, they're relatively inexpensive compared to other oversized Halloween decorations, and you can use them year after year.
this post updated August 2026
We've been decorating our homes with giant spiders for years now, and during that time we've had to figure out how to actually keep these huge spiders attached to the house, which is easier said than done!
Our previous home had an exterior where we could easily use staples to secure the spiders. After moving to Arizona and decorating a stucco home, I had to come up with a completely different solution. After plenty of trial and error, I've found several methods that work depending on the exterior of your home.
So whether you have stucco, wood siding, board and batten, brick, or stone, I'm sharing exactly how to hang giant Halloween spiders on your house, including how we keep ours secure in wind and weather.
The best way to hang giant Halloween spiders depends on the exterior of your home.

For stucco: I use an exterior Command hook to support the main body of the spider and plant clips to secure several of the legs.
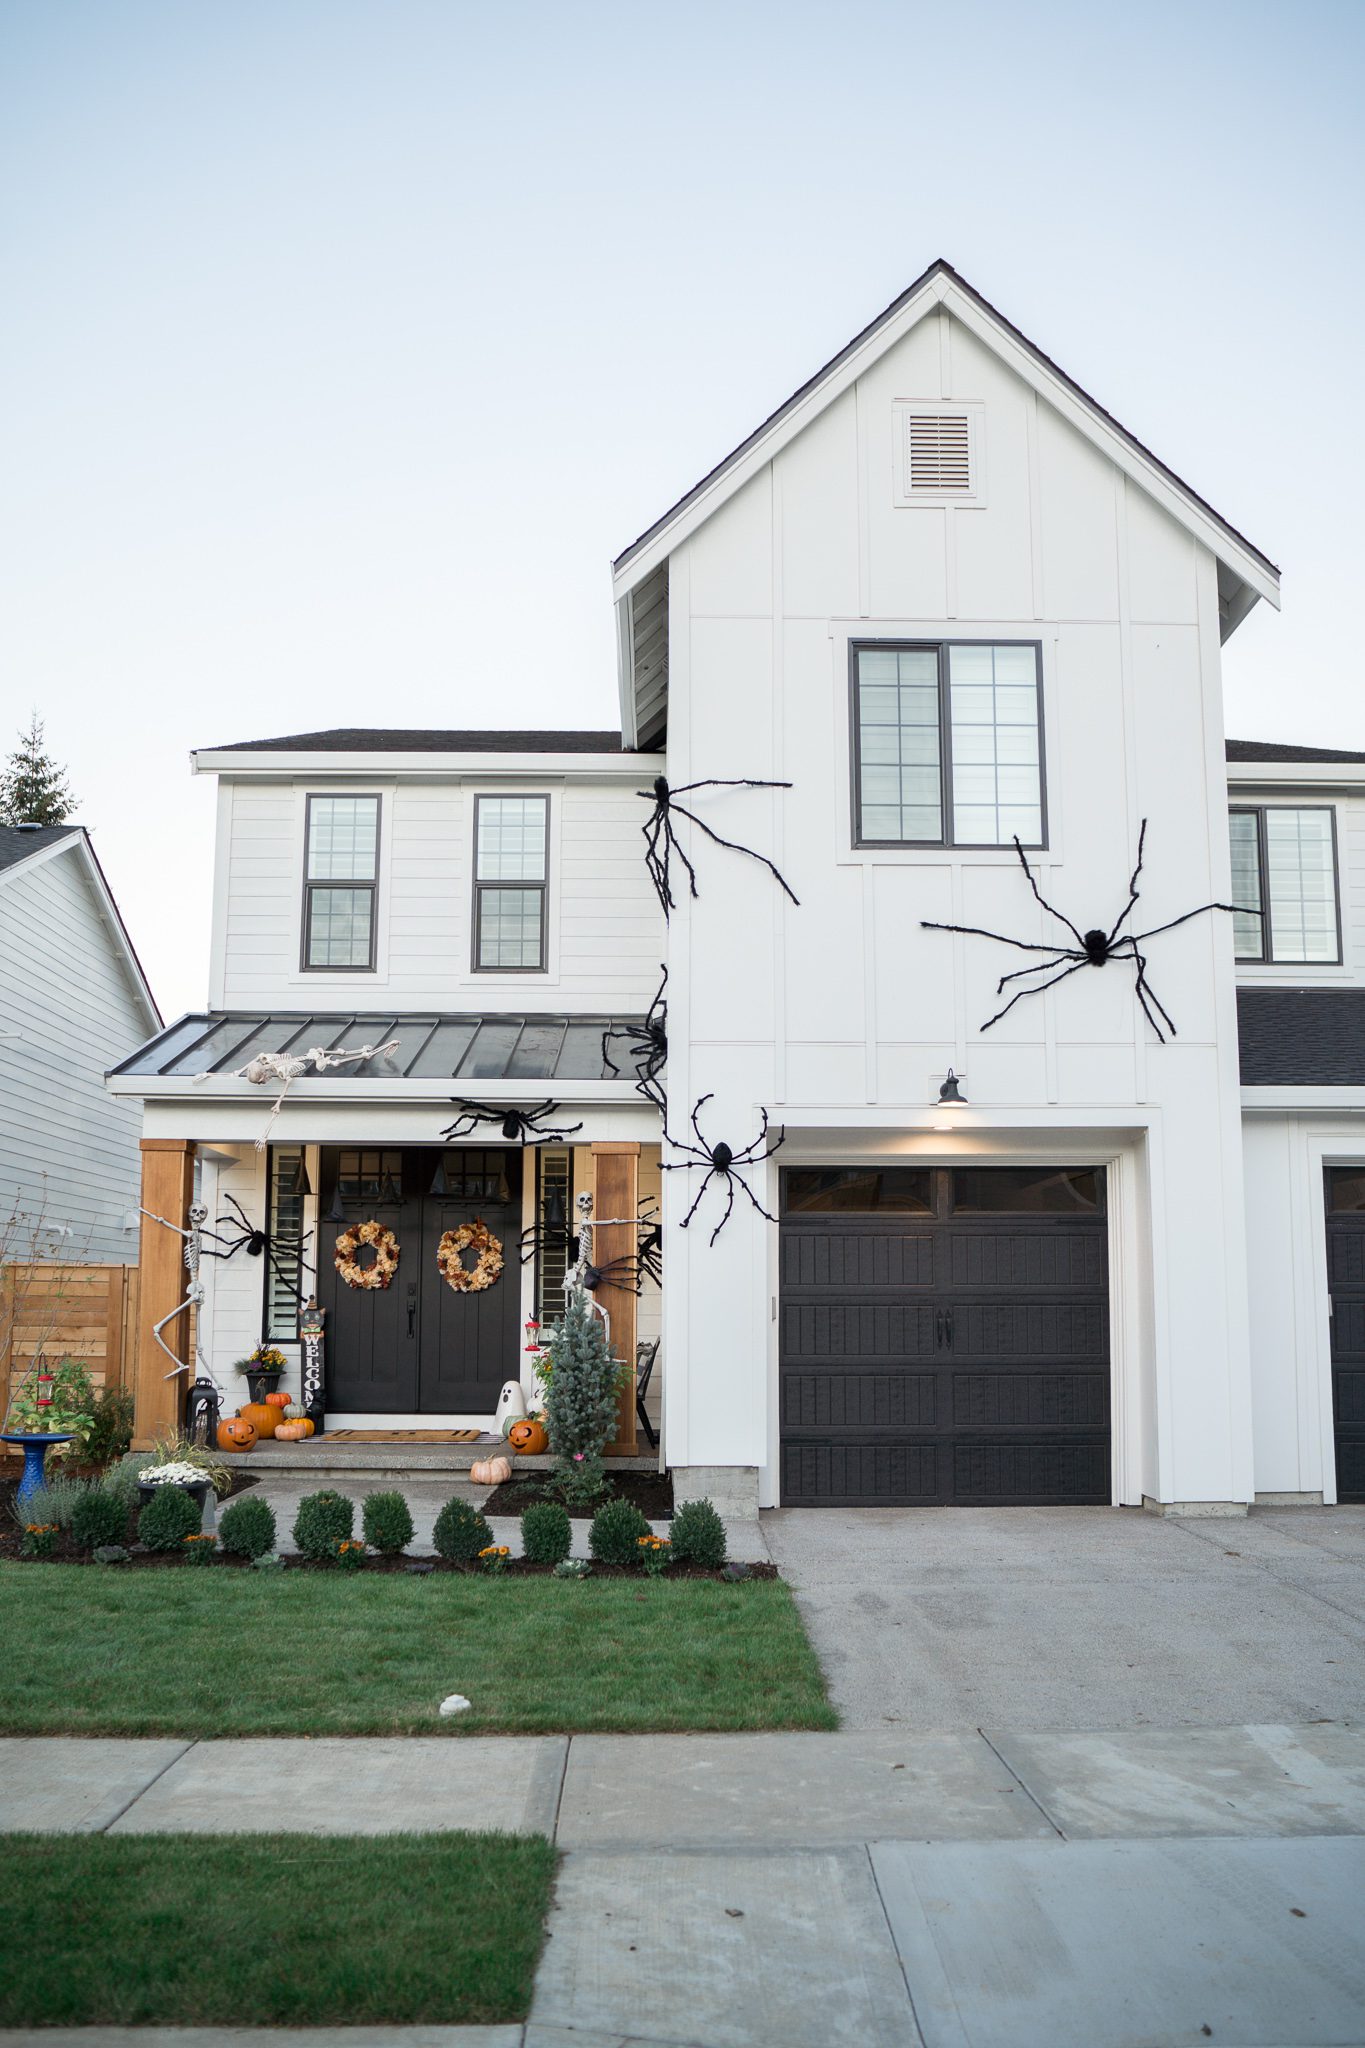
For wood siding or board and batten: We've had the most success using staples to secure the spider's legs close to the body.
For brick or stone: Adhesive cord bundlers or outdoor adhesive hooks can provide several anchor points without drilling directly into the exterior.
No matter which method you use, the most important thing is to secure the spider's body first and then anchor several of its legs. Don't rely on a single attachment point, especially if your home gets windy.
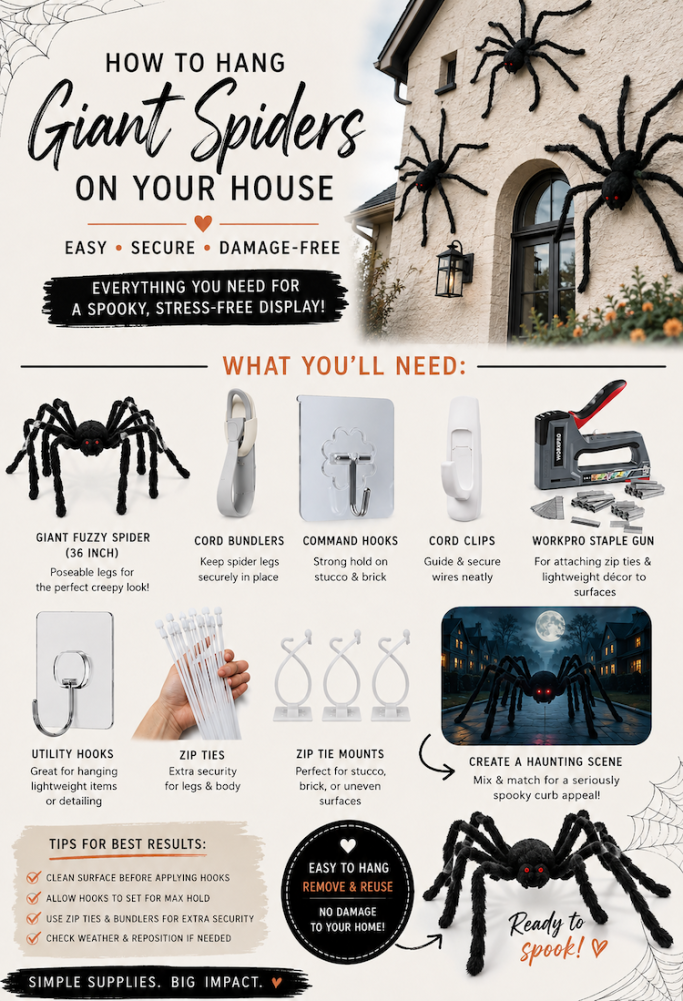
You won't necessarily need all of these supplies. Choose the ones that work best for your home's exterior.
I love that most of these supplies are inexpensive and can be used for other outdoor Halloween decorations, too.
Click any image to shop!
| Exterior | Method I Recommend | Best For |
|---|---|---|
| Stucco | Exterior Command hook + plant clips | No-staple installation |
| Wood siding | Staples | Very secure hold |
| Board and batten | Staples | Securing legs close to body |
| Brick | Outdoor adhesive hooks or cord bundlers | Avoiding drilling |
| Stone | Outdoor adhesive hooks or cord bundlers | Multiple anchor points |
| Around doors | Command hooks + zip ties | Protected areas |
Always check the manufacturer's directions for any adhesive product before using it on your exterior. Different finishes and surfaces can react differently to adhesives.
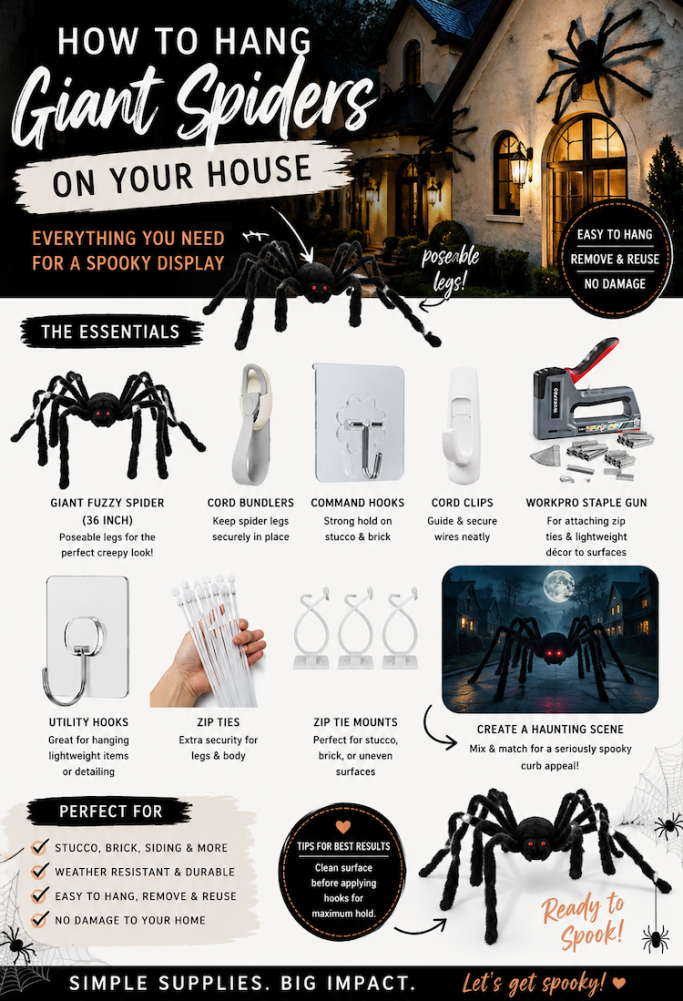
First of all, we need to purchase our extra large spiders. You'll want to get on this quickly because last year, they sold out. Here are a few of my favorite options as well as items needed to hang them:
SHOP GIANT HALLOWEEN SPIDERS ON MY AMAZON STOREFRONT WITH THIS LINK!
When we moved to Arizona, one of the first Halloween decorating problems I had to solve was how to hang my giant spiders on our stucco house.
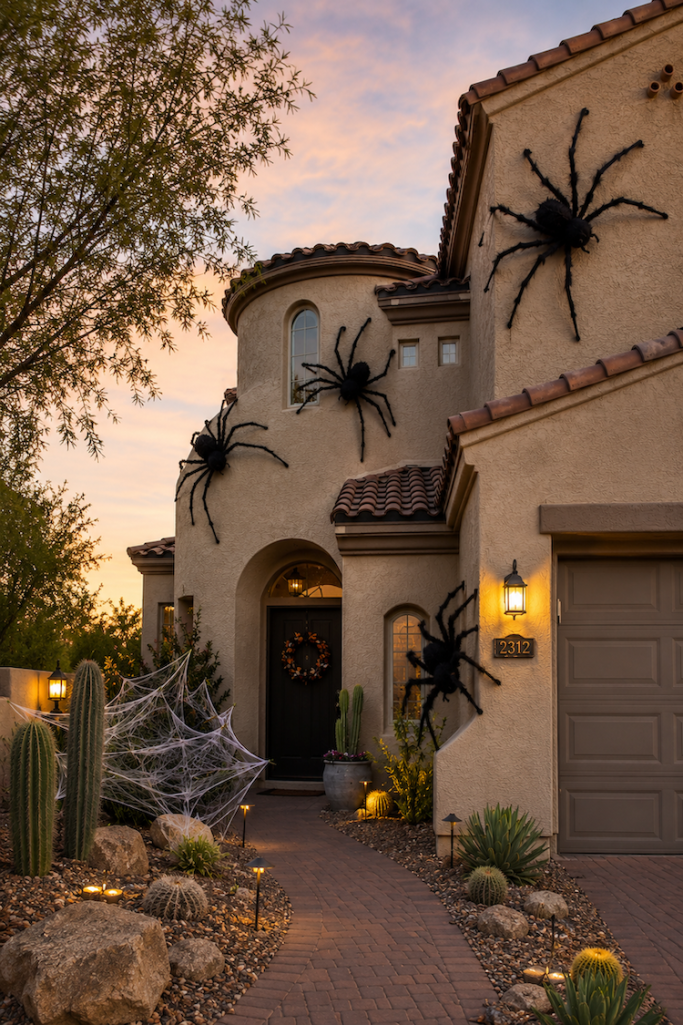
I obviously wasn't going to start putting staples all over the stucco, so I needed a method that would hold the spiders securely without making a bunch of holes.
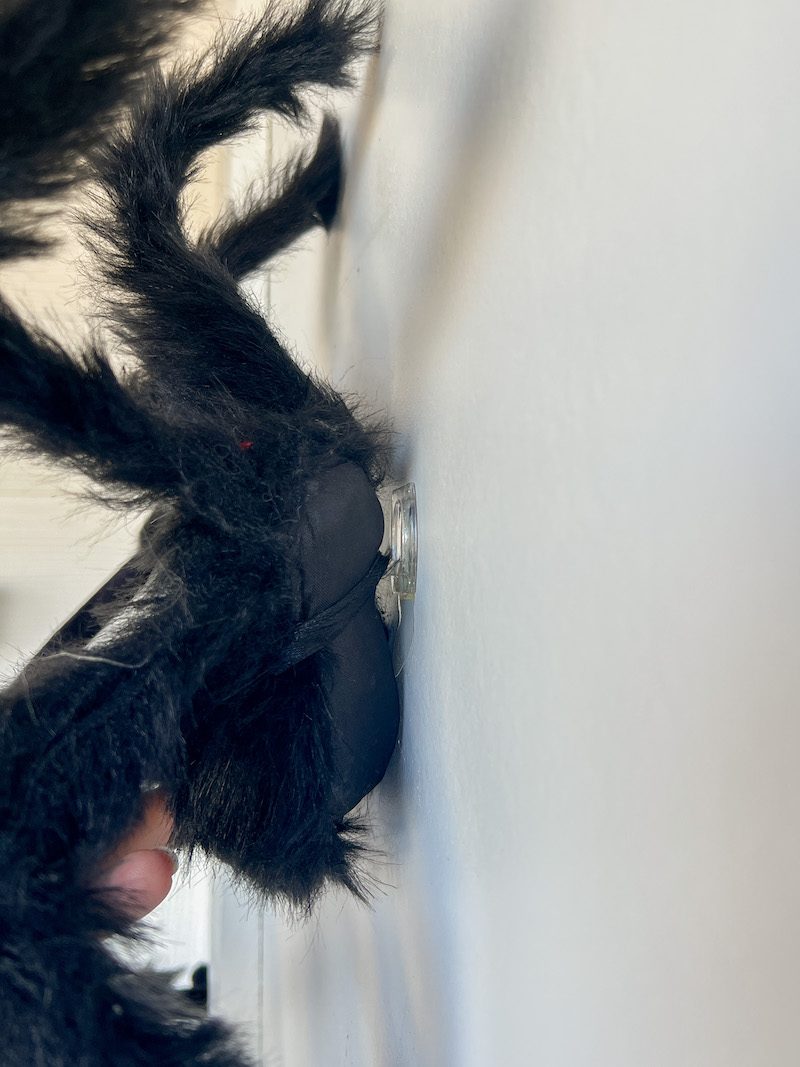
What has worked best for us is a combination of an exterior Command hook and small plant clips.
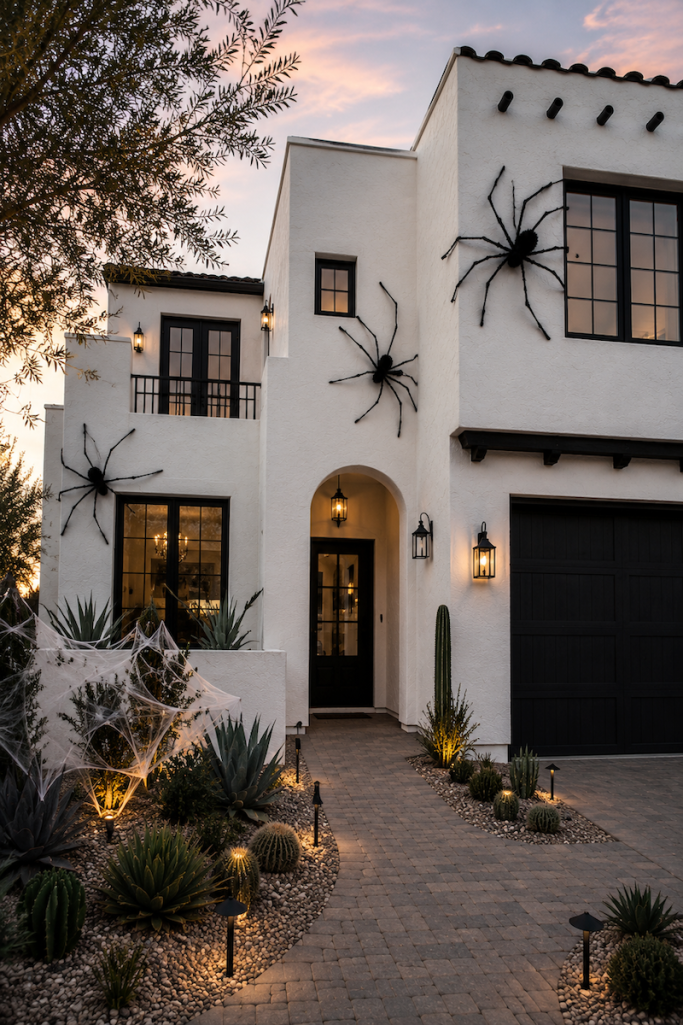
Step 1: Secure the Spider's Body
Start with the main body of the spider. Our spiders have a hanging loop on the back, which makes this much easier. I attach that loop to a sturdy exterior Command hook. You want the main weight of the spider supported here rather than expecting the legs to hold the entire decoration.
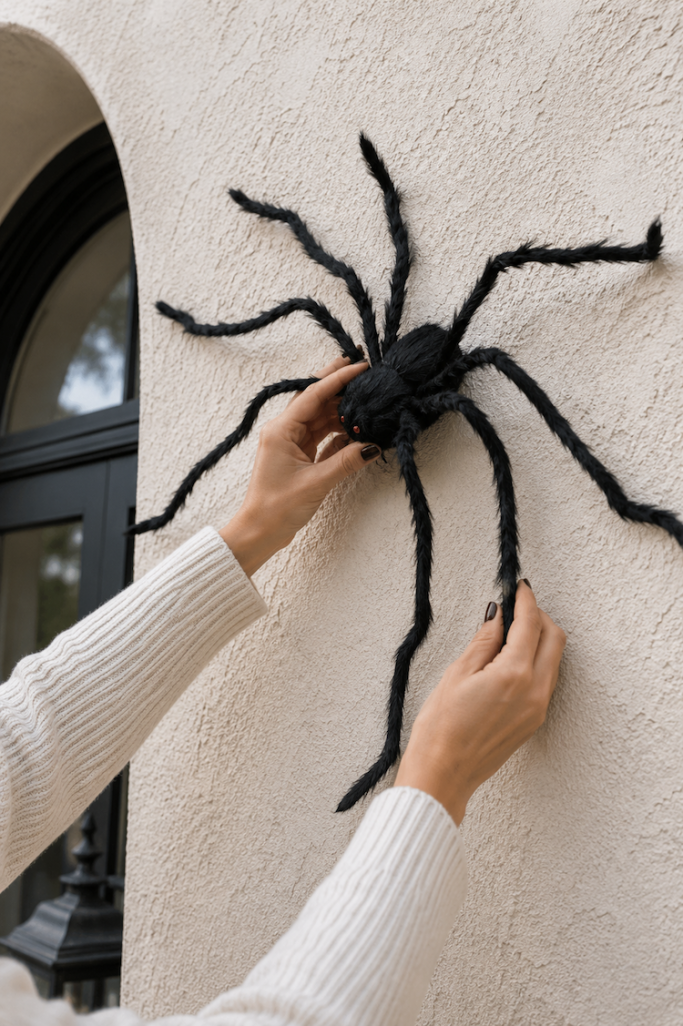
Step 2: Bend the Legs Into Position
One of the reasons I love these giant spiders is that their legs are bendable. Once the body is hanging where I want it, I start positioning the legs so it looks like the spider is actually crawling across the house.
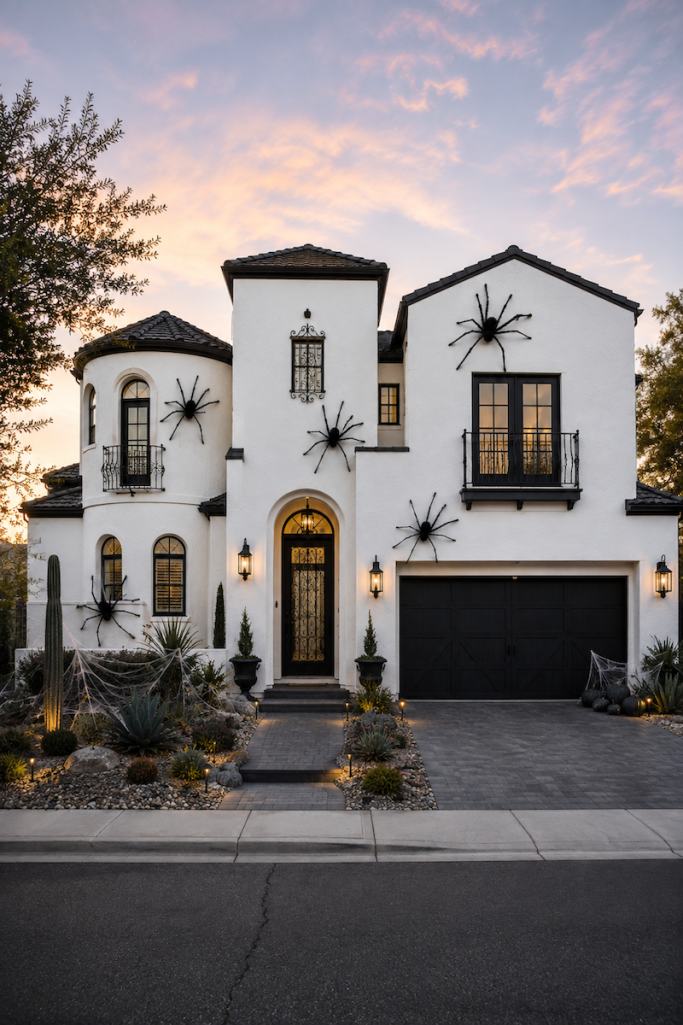
Don't worry about getting every leg perfect while you're standing right next to it. You'll want to step back later and see how the spider looks from farther away.
Step 3: Secure Several Legs With Plant Clips
Next, I use small plant clips to secure approximately two to three legs on each side of the spider. You don't necessarily have to attach every single leg.
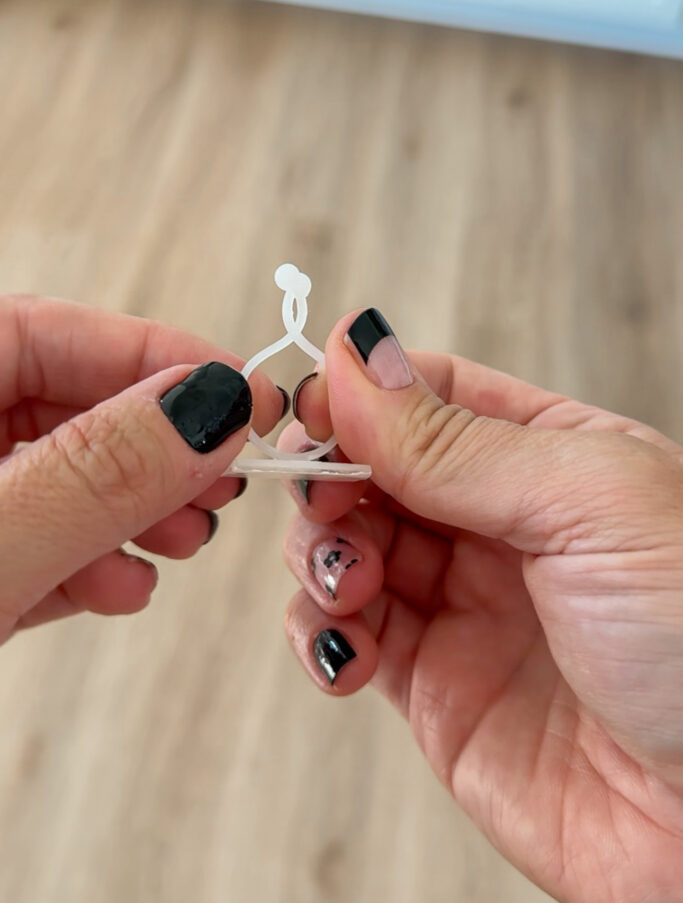
this is what a plant clip looks like
The goal is to create enough additional anchor points that the spider can't swing around or pull away from the house when the wind picks up.
Step 4: Add Zip Ties if You Need Extra Security
If I'm concerned about a particular spider or placement, I'll add a zip tie between the spider's hanging loop and hook. This gives me an additional layer of security without being visible from the ground.
Step 5: Check Everything From the Street
This sounds like such a small thing, but it makes a huge difference. Walk all the way out to the street and look at your spiders. You may realize that one leg needs to be moved, the spider needs to rotate slightly, or two spiders are positioned too close together.
Giant Halloween decorations are meant to be seen from a distance, so always judge the final placement from a distance too!
One of my biggest concerns with using adhesive products outside was our extreme Arizona heat. I tested this method during August before Halloween decorating season was even in full swing, and I was impressed with how well the clips and hooks held.
That said, I always recommend checking your spiders periodically throughout the season, particularly after extreme heat, heavy rain, or strong wind. Adhesives can behave differently depending on your home's exterior, climate, sun exposure, and the weight of your particular spiders.
If you have adhesive stuck to your home after you remove them, simply heat up with a heat gun or blow dryer and it should peel right off.
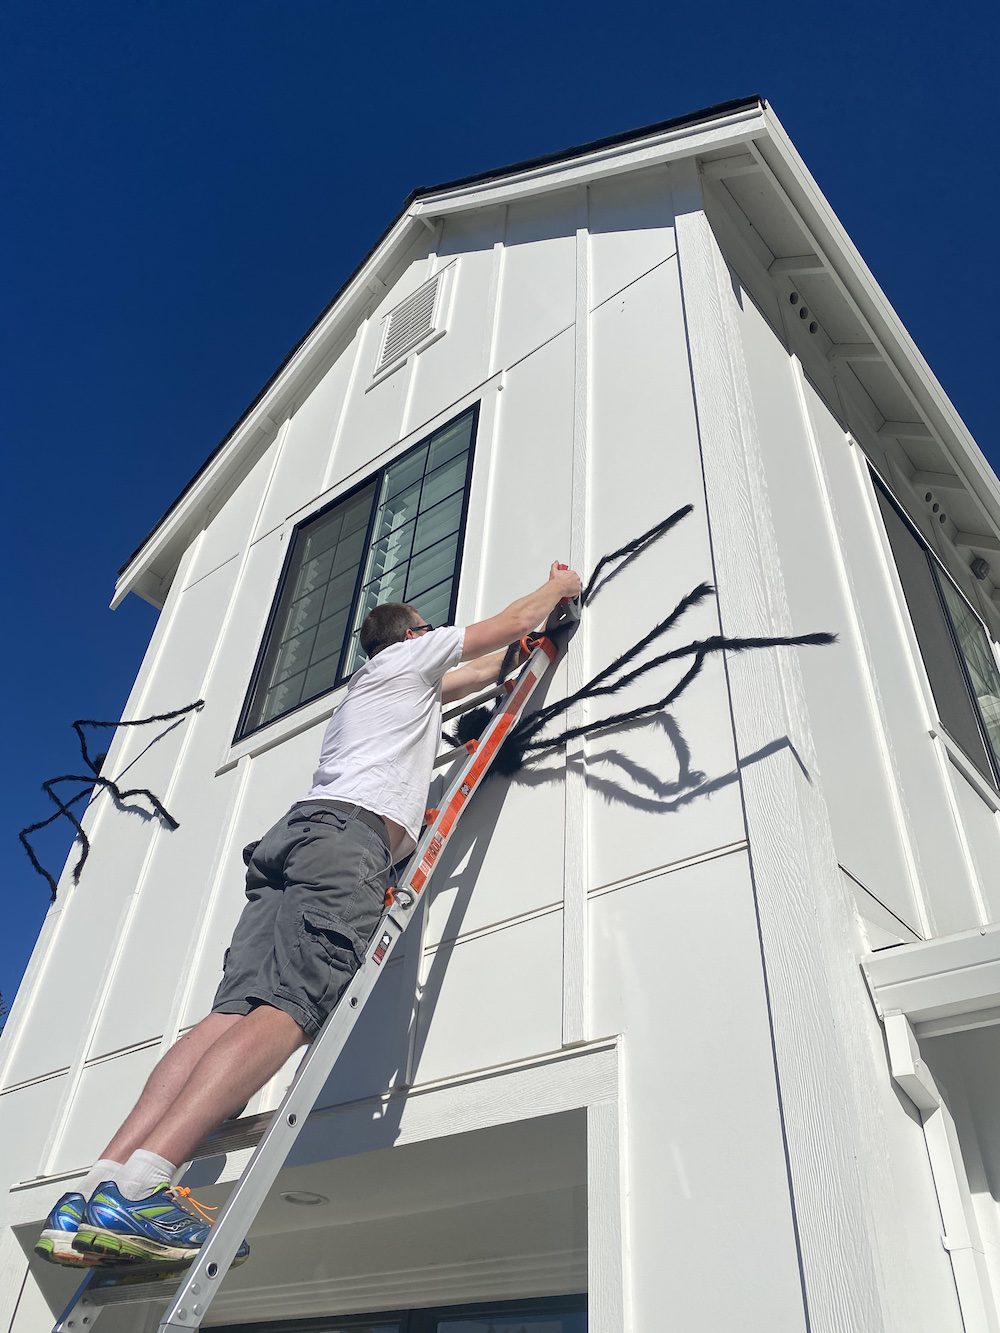
At our previous home, hanging our spiders was much easier because we had an exterior where we were comfortable using staples. This remains one of the most secure methods we've tried. First, position the spider exactly where you want the body to sit. Then bend the legs into place and use staples to secure several legs close to the spider's body.
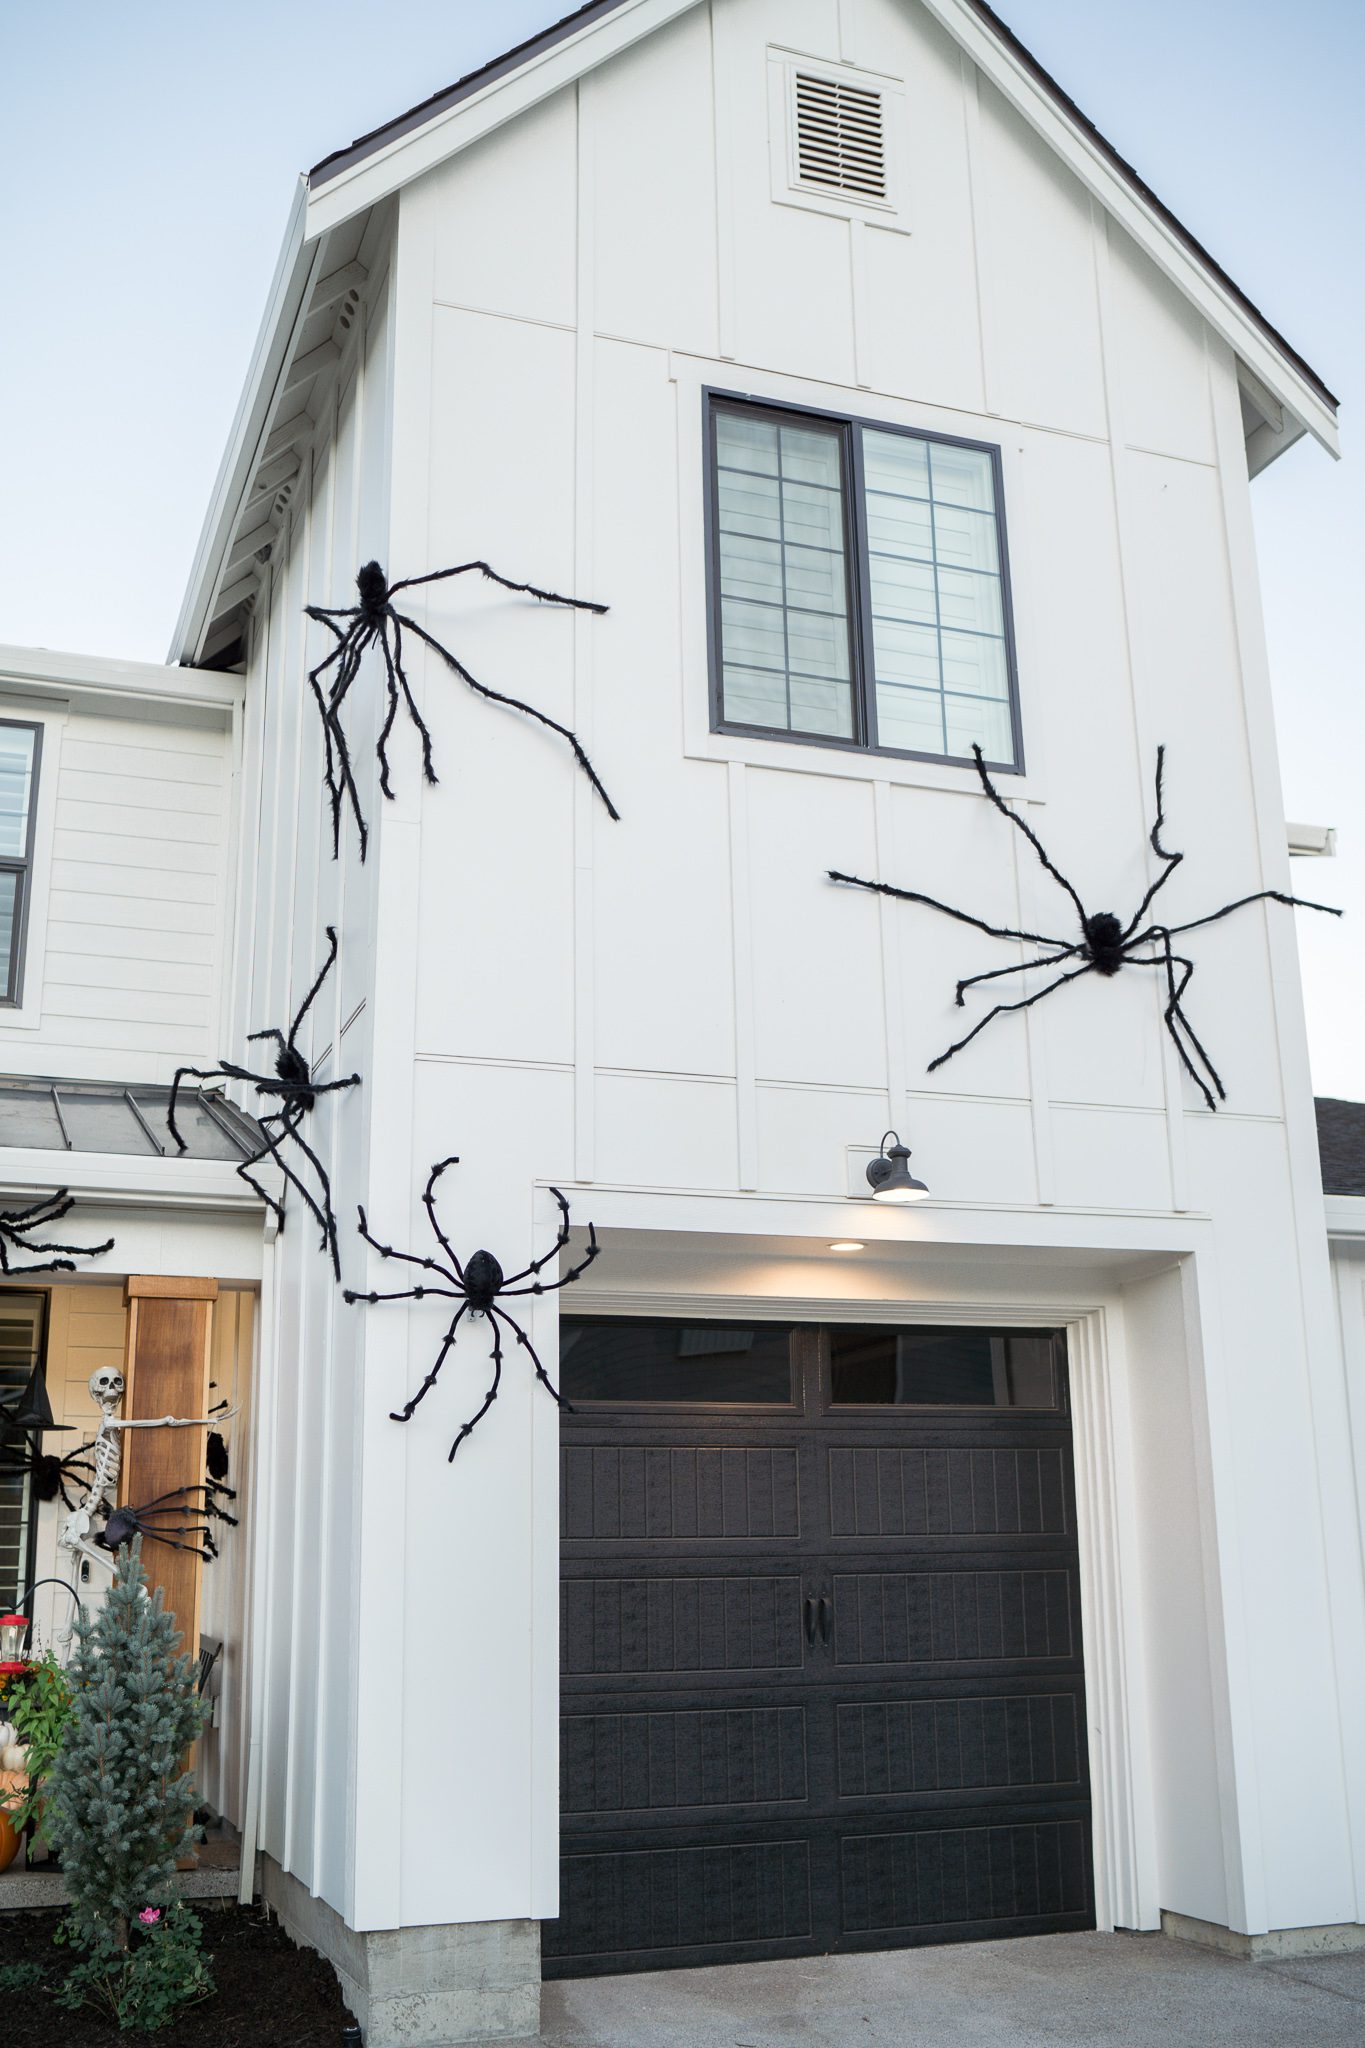
Placing the staples closer to the body helps support the weight of the spider and makes the attachment points less noticeable from the ground. You don't need to staple every inch of every leg. A few strategically placed staples can make a huge difference.
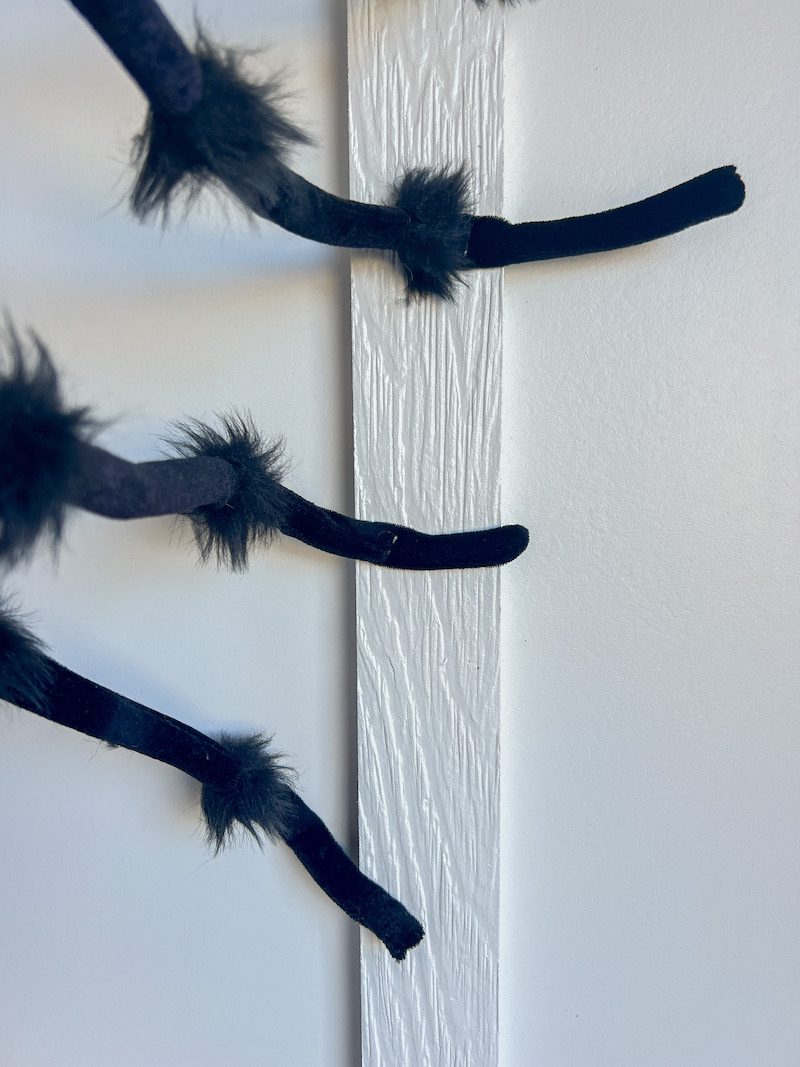
here is a spider stapled to our batten
Obviously, I only recommend this method on a surface where you're comfortable making tiny staple holes. I would not use this method on our current stucco exterior.
Brick and stone can be a little trickier because staples aren't an option and not every adhesive is designed to stick to textured masonry. One option we've found useful for difficult surfaces is adhesive cord bundlers. Cord bundlers give you an anchor point that can be combined with a zip tie or the spider's hanging loop.
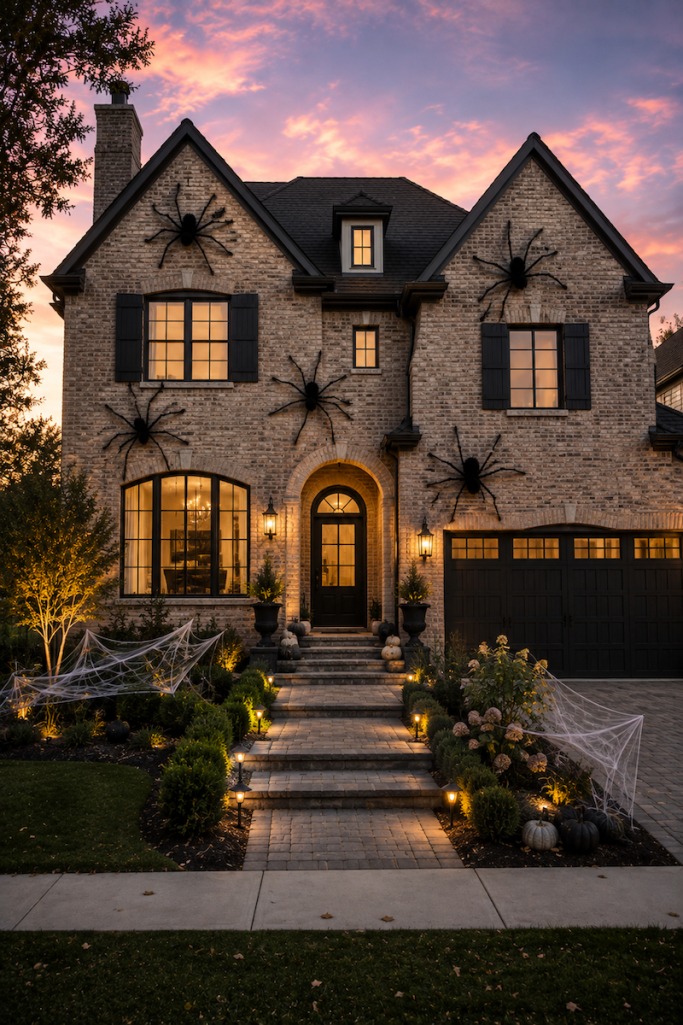
For a giant spider, I would create several anchor points rather than relying on one hook to hold everything. You can use one anchor for the body and additional anchors to position and secure several legs. Before attaching anything to brick or stone, make sure the adhesive product you're using is specifically recommended for your surface.
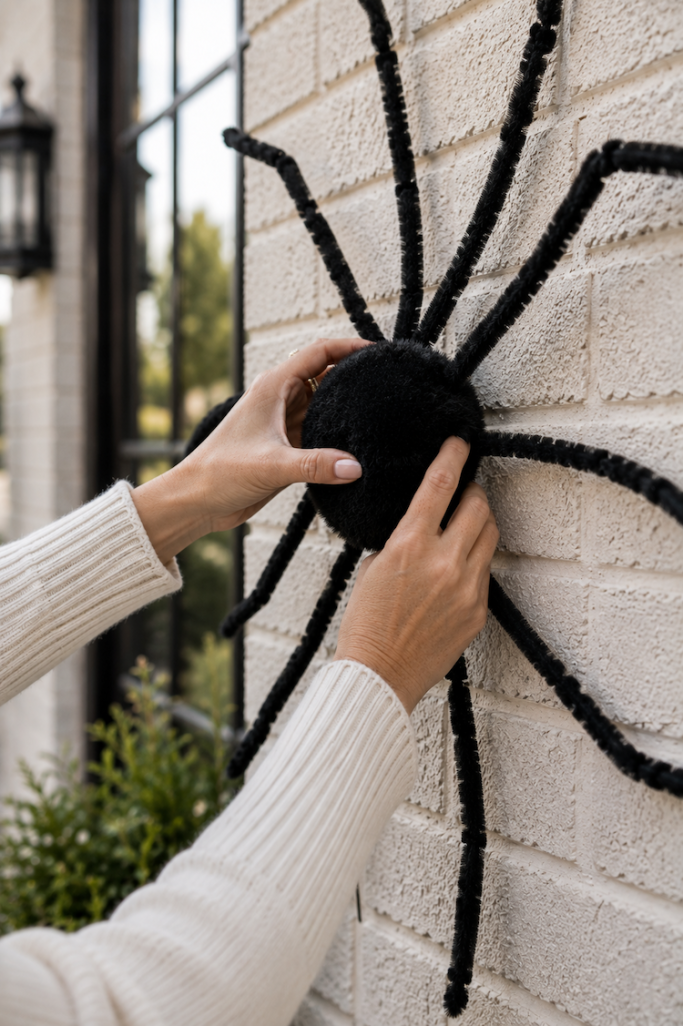
If avoiding holes is your biggest priority, I would start with removable outdoor hooks, plant clips, cord bundlers, and zip ties.
The trick is using multiple attachment points. A giant spider may not feel very heavy when you're holding it, but once wind gets underneath those long legs, it can put considerably more pressure on the hook holding the body.
Think of it this way:
One attachment supports the spider. Several attachments stabilize the spider. That's why I prefer securing both the body and multiple legs.
Wind is probably the biggest issue we've encountered when decorating with oversized spiders. Because their legs are so long, they can catch the wind surprisingly easily.
Here are the things that have worked best for us:
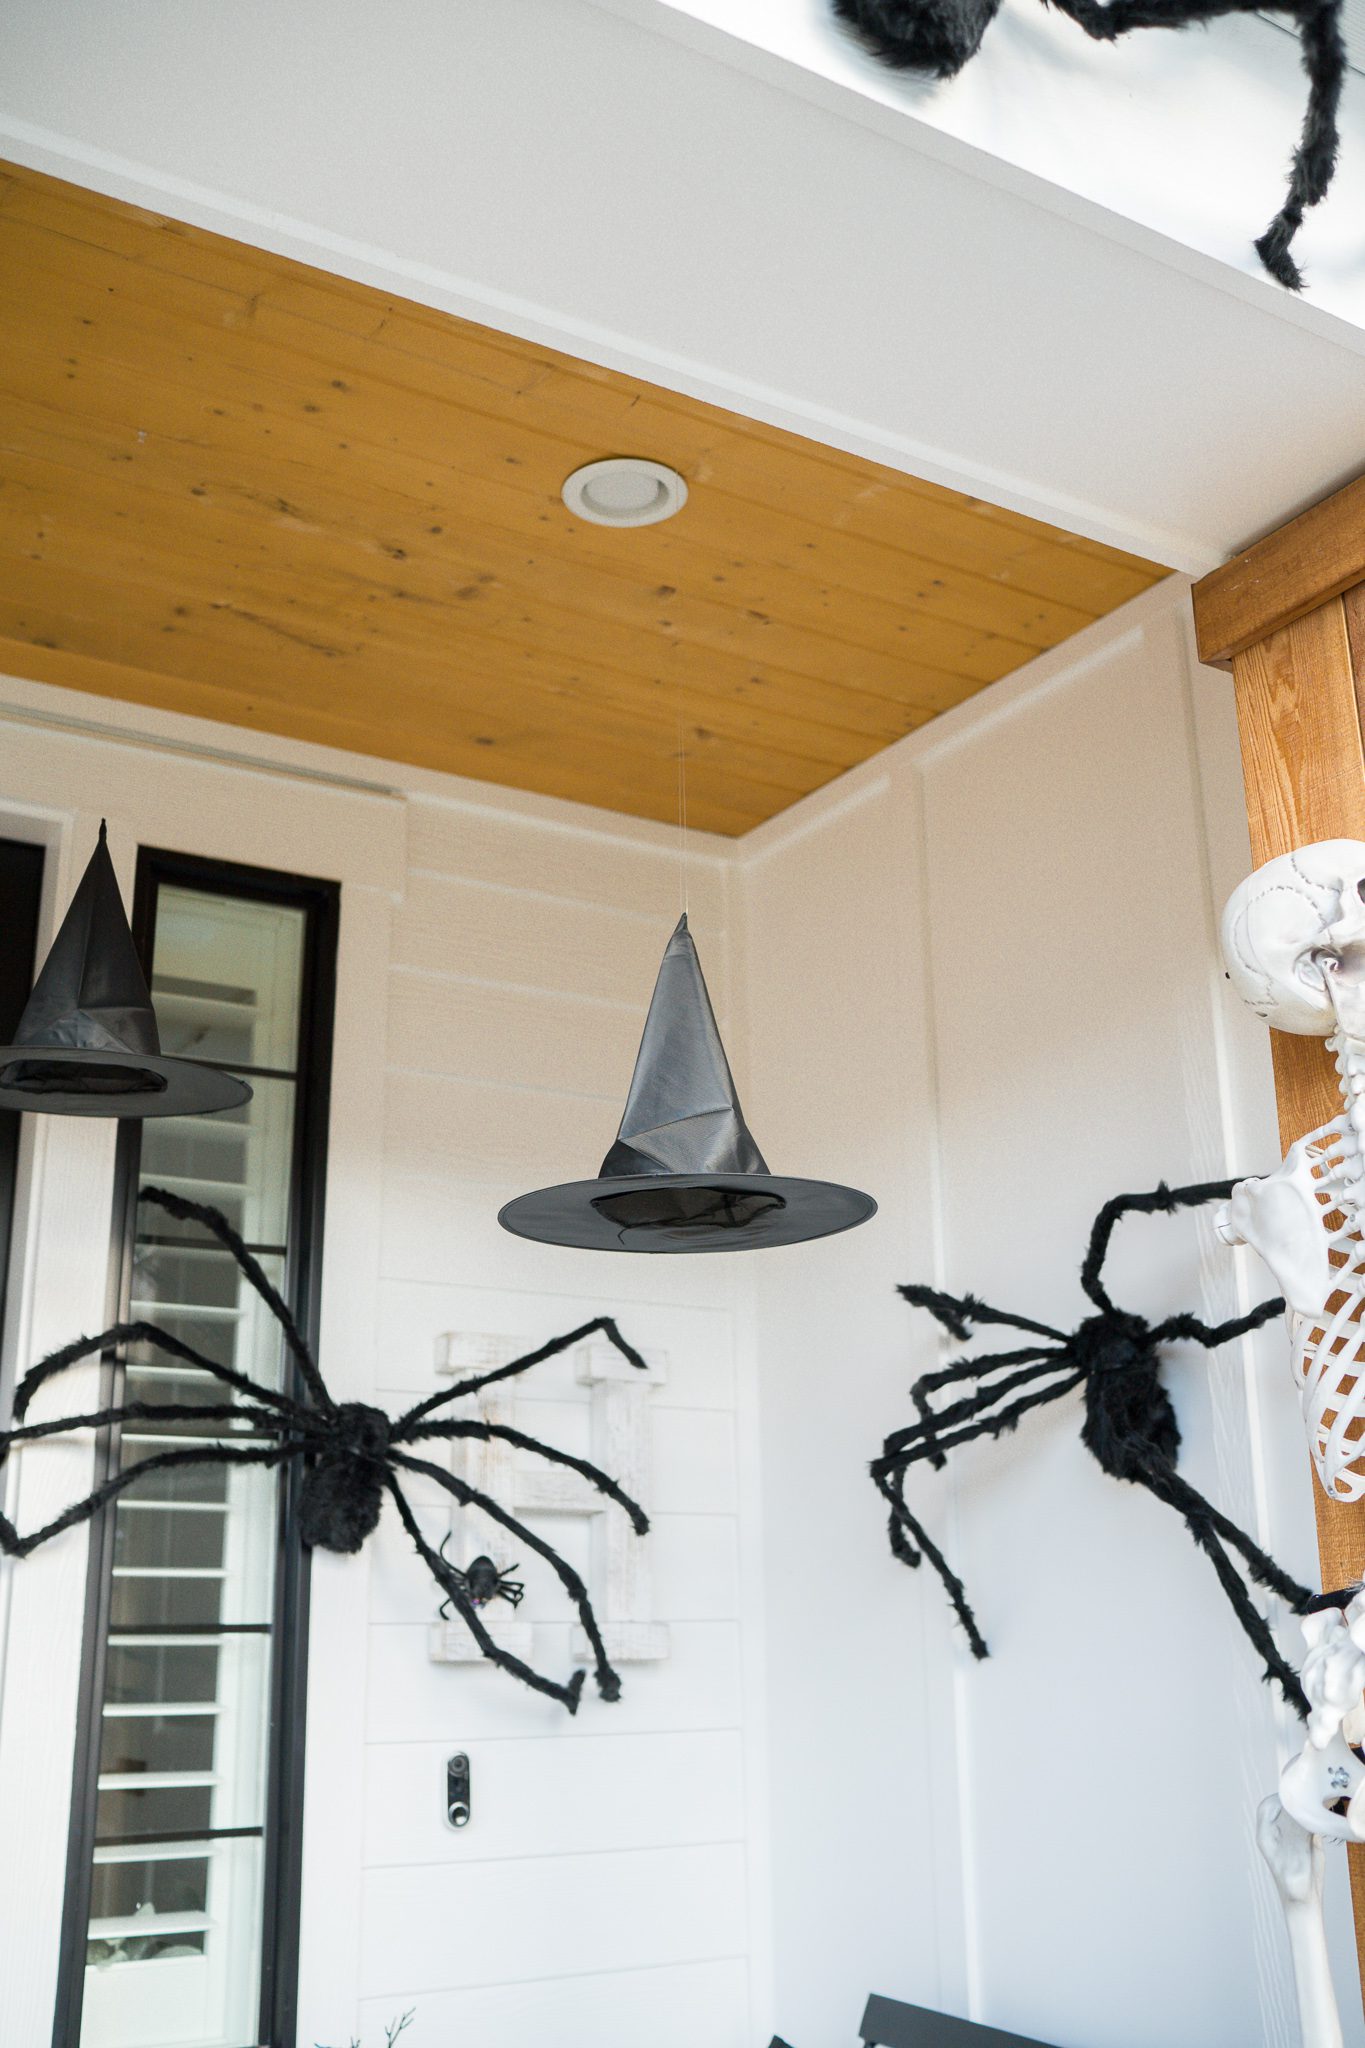
If you're expecting severe weather, use your best judgment. Sometimes temporarily taking down a large lightweight decoration is easier than trying to make it completely weatherproof.
We've decorated with several different sizes of giant spiders, including approximately 4-foot, 6-foot, and 8-foot spiders.
The right size really depends on where you're putting it.
4-Foot Giant Spiders
These are great around front doors, windows, porches, and smaller sections of exterior wall.
They're also a good option if you want to group several spiders together without completely overwhelming the house.
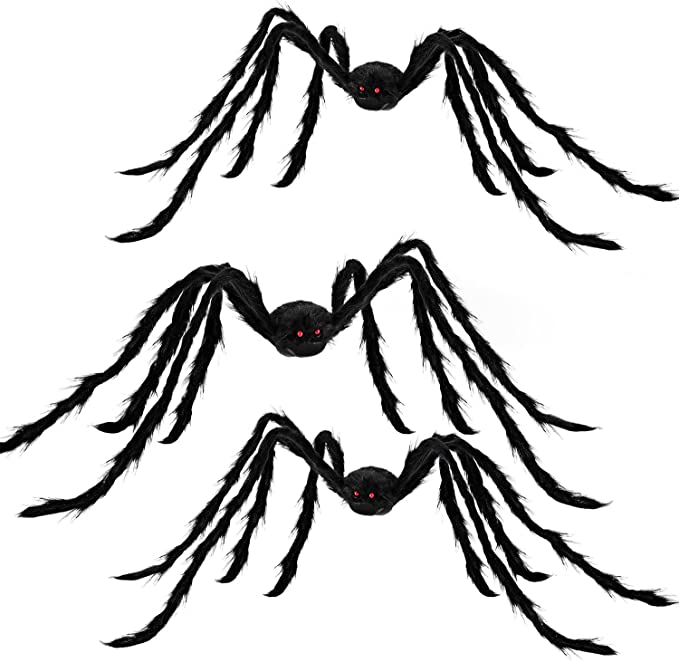
6-Foot Giant Spiders
If you're buying your first giant spider, this is probably my favorite all-around size.
A 6-foot spider is large enough to be dramatic from the street but still fairly easy to position and store.
8-Foot Giant Spiders
If you have a large blank exterior wall or a two-story home, go big!
An 8-foot spider can look incredible climbing across a large section of the house, especially when you combine it with smaller spiders.
There really isn't a magic number, but I think giant spiders look best when they're arranged intentionally rather than spaced evenly across the entire house.
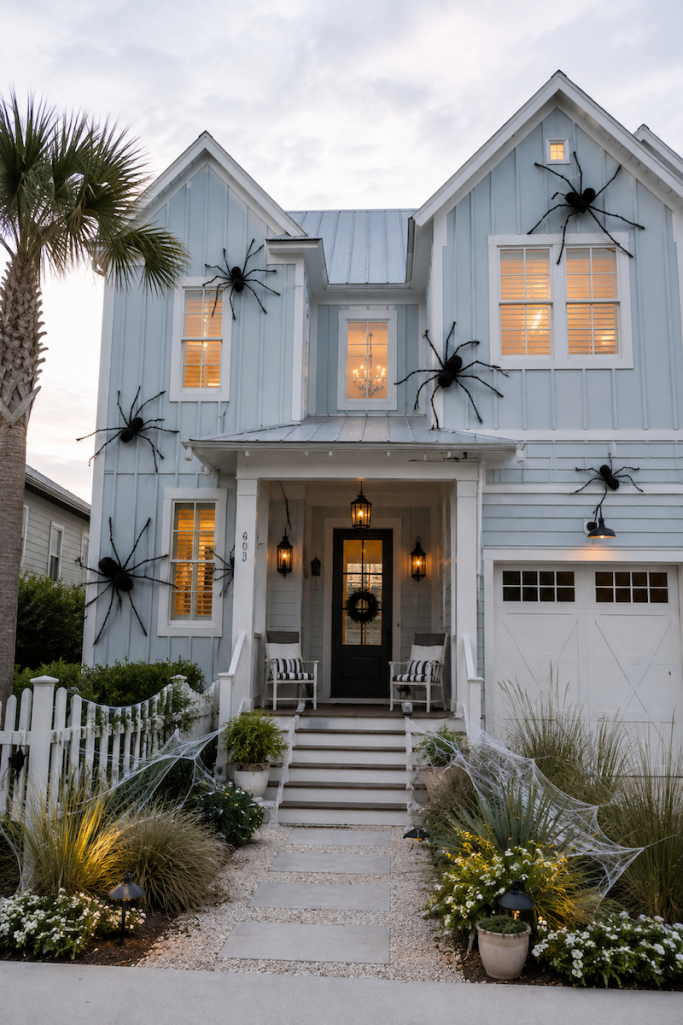
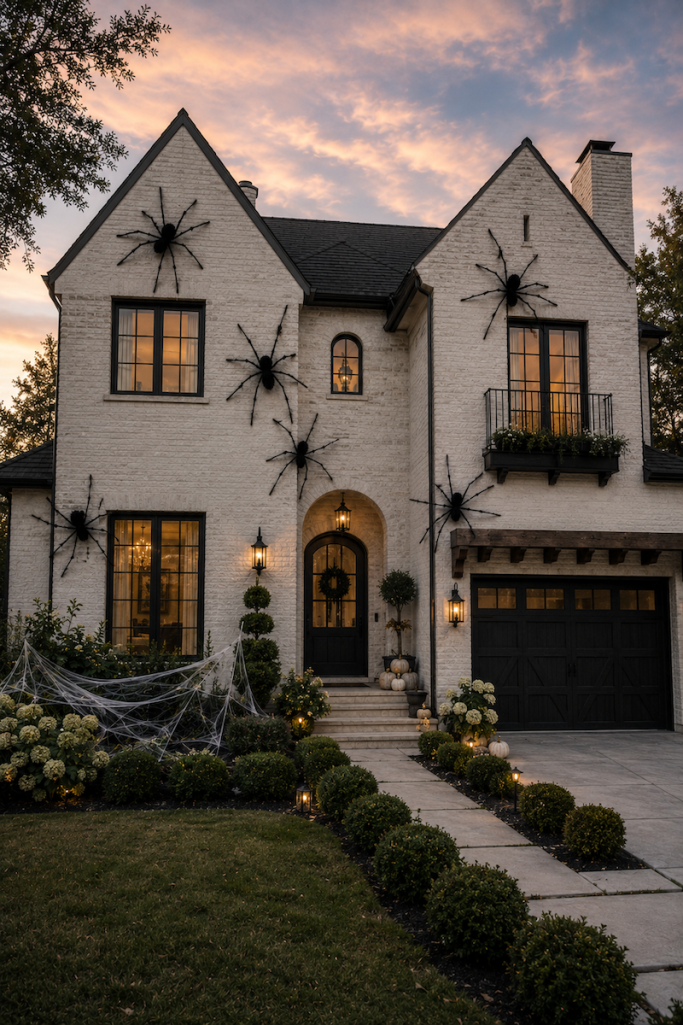
For a smaller home or porch, one or two oversized spiders may be plenty. For a larger exterior, I love using spiders in different sizes and creating a loose path across the house so it looks like they're crawling toward a doorway, window, or giant spider web.
Using a mixture of sizes also makes the display look more interesting.
One of the best things about these spiders is that you can decorate with them differently every year.
Some of my favorite placements include:
Try turning some spiders sideways or slightly upside down rather than positioning every spider exactly the same way. The bendable legs make it easy to give each one a different pose.
If you really want to make your spider display dramatic, add oversized spider webs.
You can stretch the webbing across your porch, landscaping, exterior walls, or entryway and position one of your largest spiders near the center. Just make sure anything you attach the webbing to can safely handle the tension.
You definitely don't have to cover your entire house in spiders to get the look. A single giant spider crawling over a front porch can be so good.

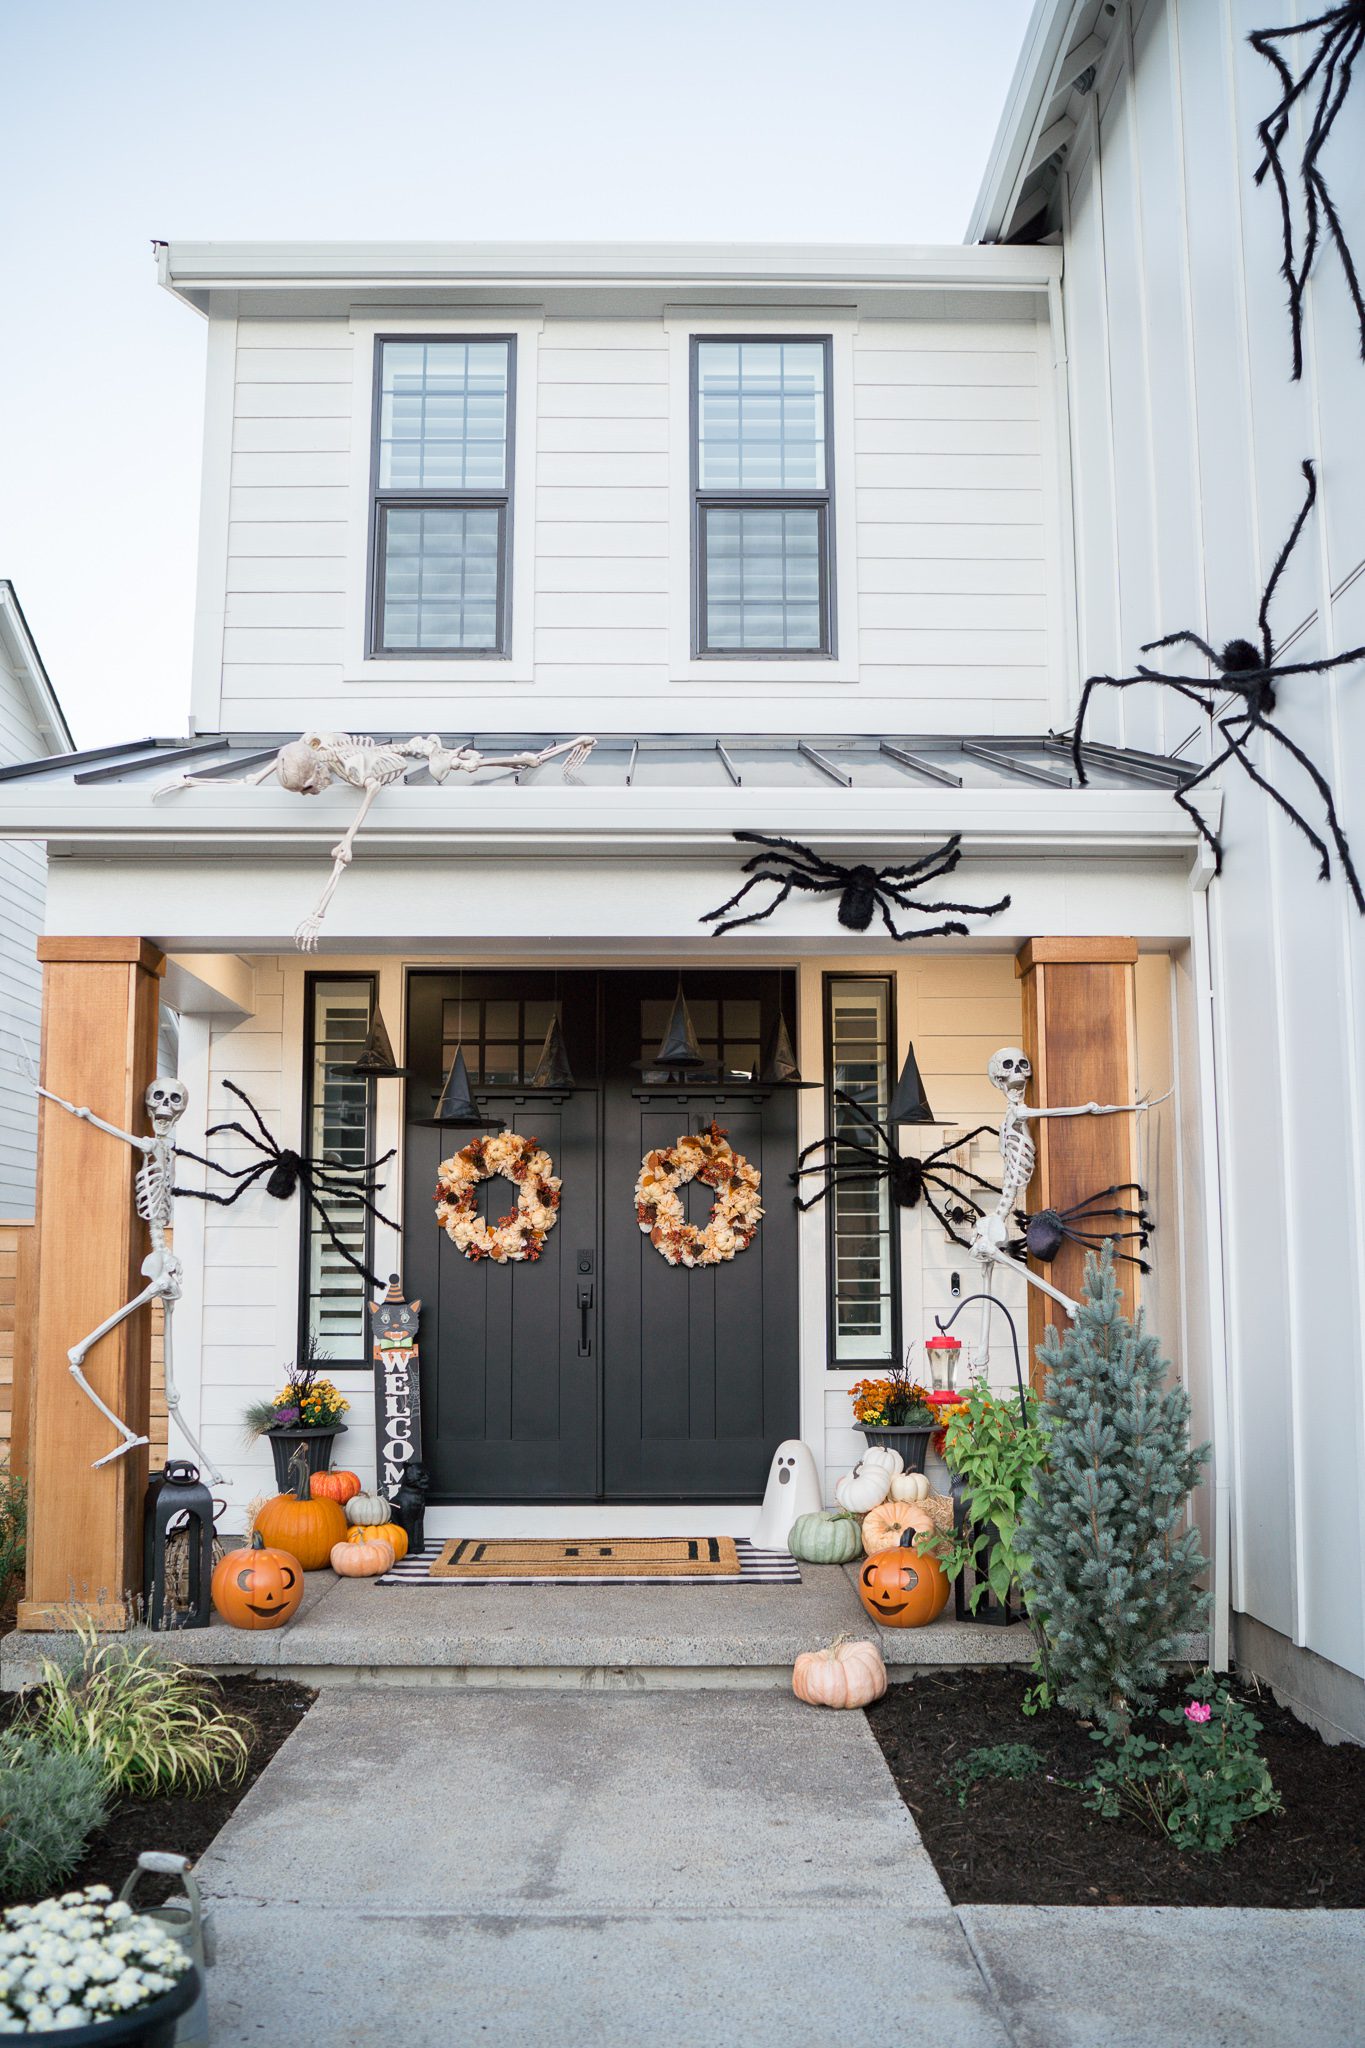
You can also pair your spiders with other outdoor Halloween decorations like hanging witch hats, bats, skeletons, ghosts, pumpkins, and black butterflies. I personally love Halloween decor that feels festive and dramatic without making the front of the house look cluttered.

image via Audrey Crisp Interiors
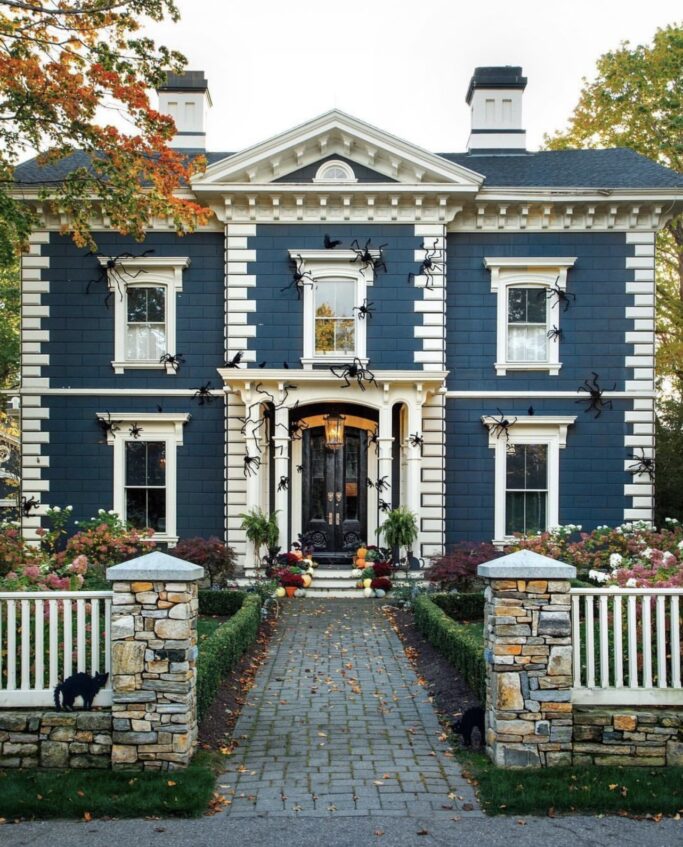
photo via Serena & Lily
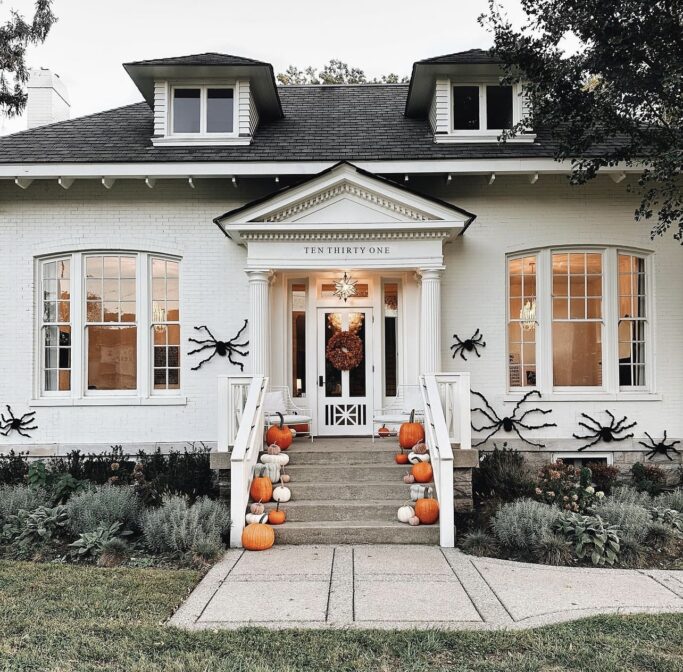
image via Jessica Garvin
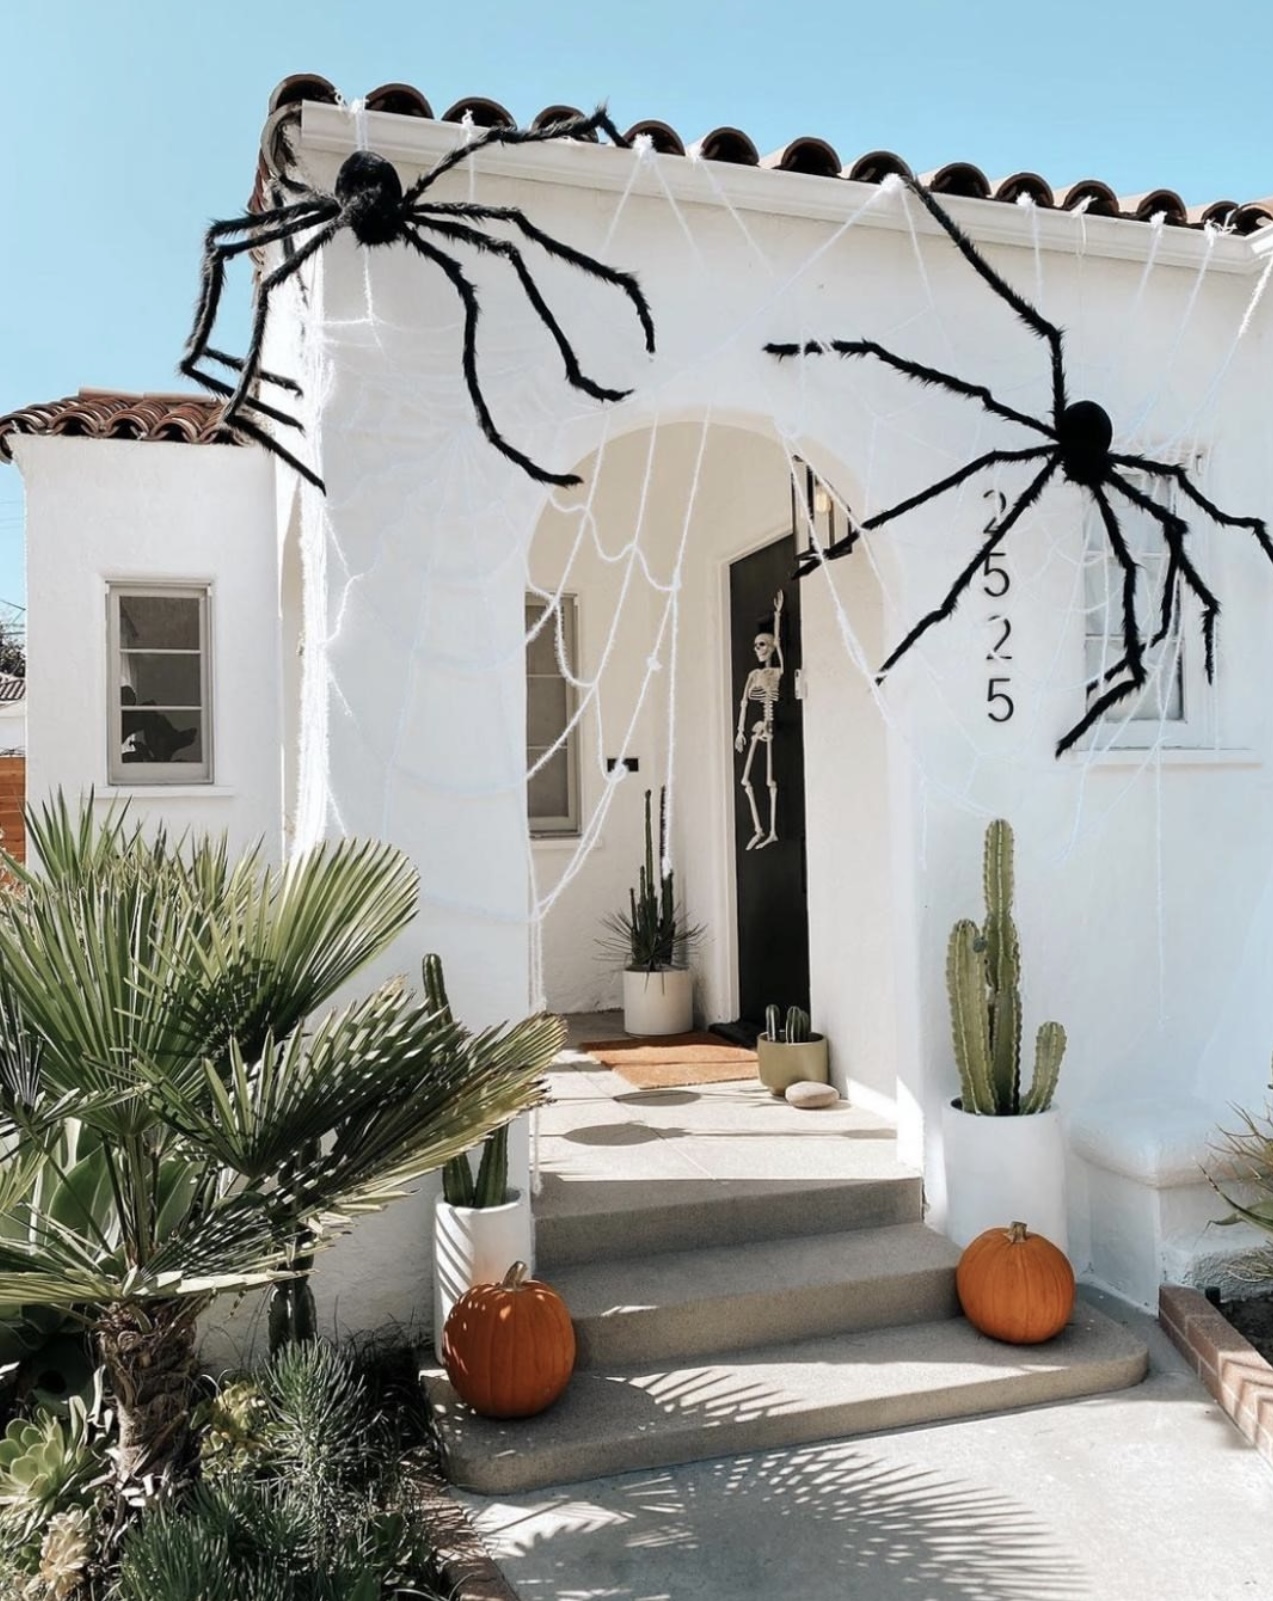
photo via Build with Ferguson
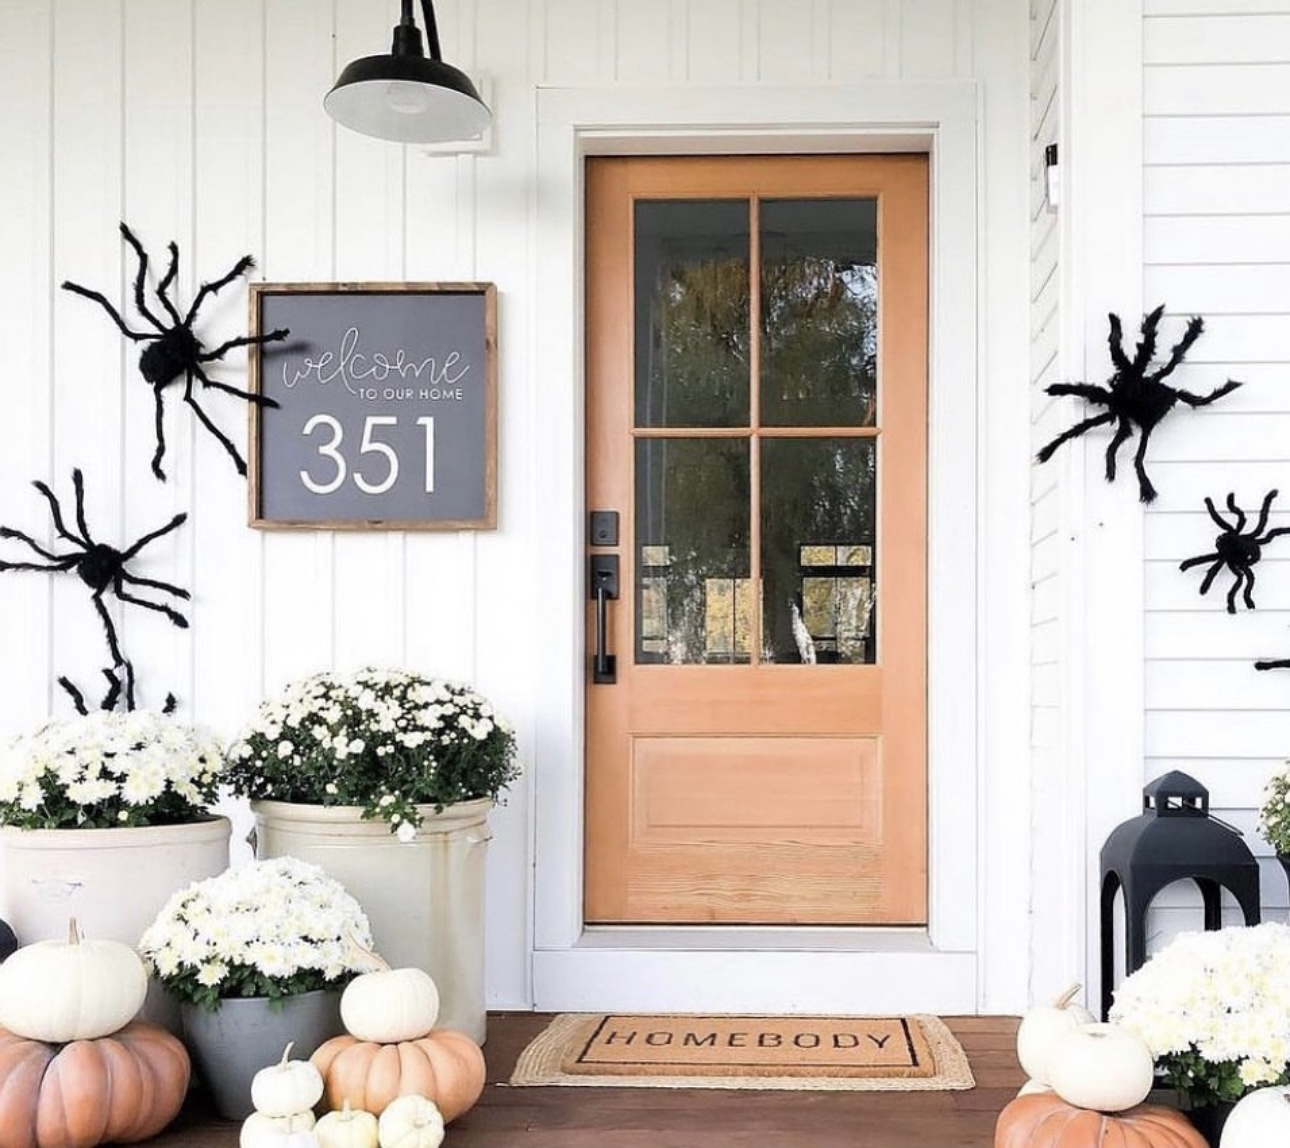
image via 12 Timbers

image via Pinterest
If you're looking for even more inspiration, make sure to check out my Halloween Front Porch Decor Ideas and Outdoor Halloween Decor Ideas posts.
The method that works best for us is an exterior Command hook supporting the spider's body combined with small plant clips securing several of the legs. I prefer multiple attachment points so the spider can't swing around in the wind.
We've successfully used exterior Command hooks for our spiders, but I don't rely on the hook alone. I also secure multiple legs to help distribute movement and keep the spider stable.
Always follow the hook manufacturer's weight and surface recommendations.
Try exterior removable hooks, plant clips, adhesive cord bundlers, and zip ties. The exact method will depend on your exterior surface.
Secure the body first and then anchor several legs. I've found that relying on a single hook makes the spider much more likely to move around in the wind.
Anchor multiple legs in addition to the spider's body. The long legs can catch quite a bit of wind, so several attachment points help keep the spider stable.
Our outdoor spiders have been exposed to normal fall weather, but always check the manufacturer's description to make sure the spider you purchase is intended for outdoor use.
After heavy rain or wind, I check the spiders and their attachment points.
We have successfully used staples on an exterior where we were comfortable making small staple holes. I secure several legs close to the body rather than stapling all the way down each leg.
I would not use staples on stucco, brick, or another surface where they could cause damage.
I think 6-foot spiders are a great versatile size for most homes. Four-foot spiders work well around doors and windows, while 8-foot spiders make a bigger impact on large walls and two-story homes.
We don't. I usually focus on securing the body and several legs on each side. The remaining legs can be bent into position to make the spider look more realistic.
After decorating with giant spiders for years and trying them on completely different home exteriors, I've learned that there isn't one hanging method that's perfect for every house. On an exterior where you're comfortable using staples, they're incredibly secure. On our current stucco home, I prefer the combination of an exterior hook and plant clips.
Whichever method you choose, my biggest tip is to secure more than just the body of the spider. Adding several attachment points along the legs makes a huge difference when wind and weather roll through.
And don't forget to step back and look at everything from the street before you call it finished!
These giant spiders continue to be some of my favorite Halloween decorations we've ever purchased. They're easy to reuse, you can style them differently every year, and they make such a huge impact without needing dozens of decorations.
If you're decorating your porch for Halloween this year, check out my other Halloween decorating ideas below!
Epic Halloween Porch Decor Ideas // Halloween Themed Charcuterie Boards // Halloween Mantel Decor Ideas
Pin this for later!