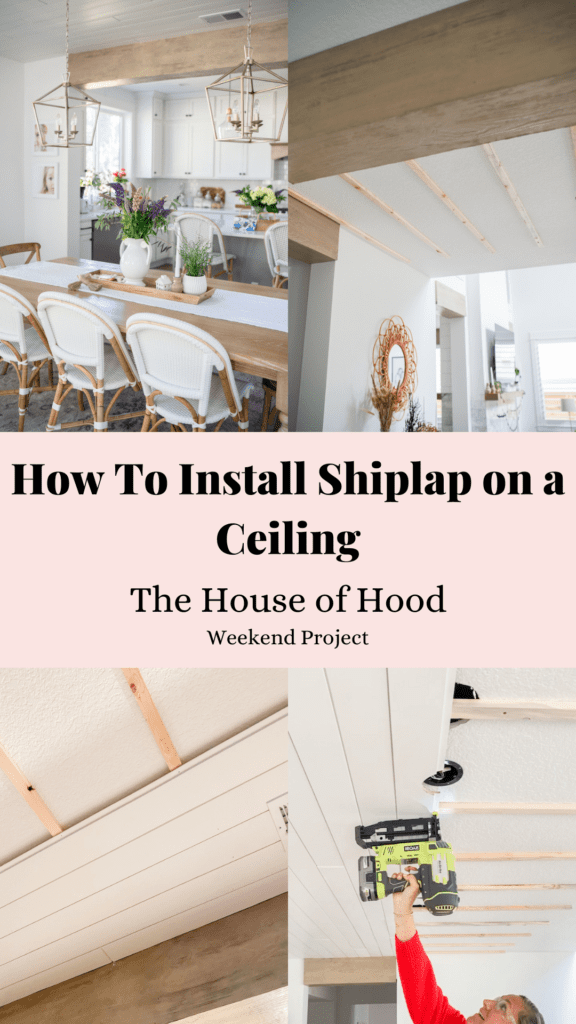
If you are looking to install shiplap on a ceiling, you've come to the right place! I love the way planks on a ceiling looks and this actually wasn't too difficult to complete.
We had a little mishap with the spacing of our light fixtures, so instead of taking the drywall down, moving the light holes and re-drywalling, we decided it was a great time to install shiplap on our ceiling instead! I had Ryan write up a 'how-to' for our shiplap ceiling install. Check it out below!
This is the exact shiplap we used for this project!
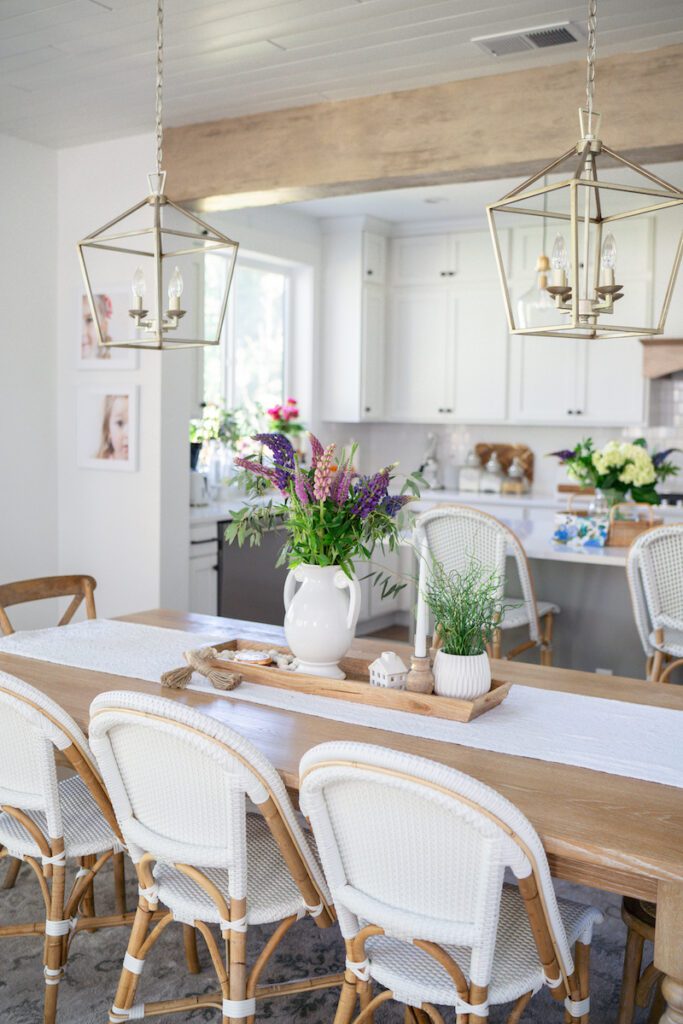
Normally for shiplap on a ceiling you would want to use a tongue and groove type board. But on such notice, standard shiplap was going to have to do. When doing any project, planning is an important step. Our dining room is longer than it is wide.
We wanted our ceiling shiplap to run the length of our dining room. Sadly, this introduced two problems. The first is the studs run length wise. The second is the ceiling is too long for a single board.

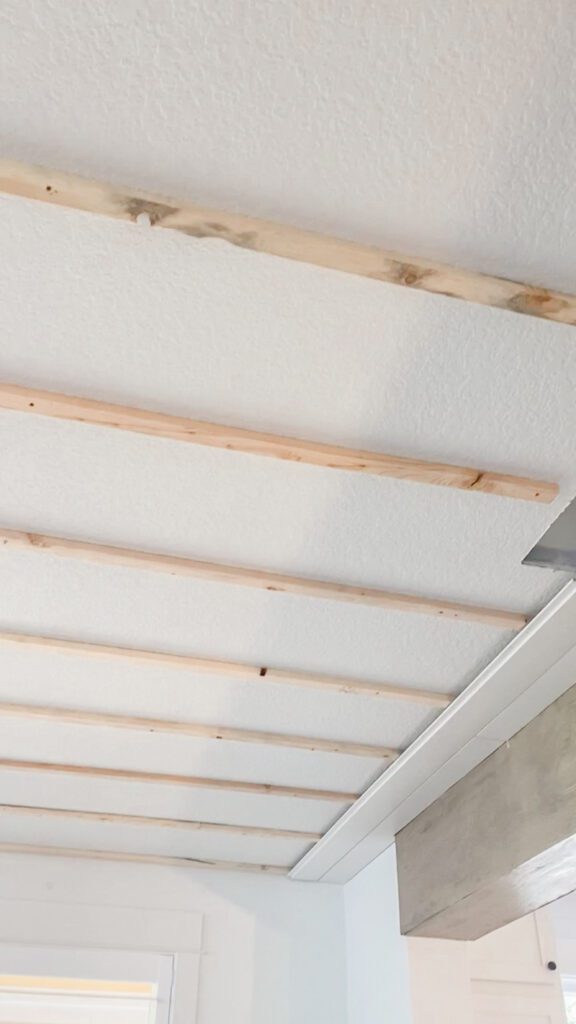
furring strips screwed into studs for shiplap to attach to
Gravity! When doing shiplap on the walls I aim for studs, but if I miss a few I don't worry. Gravity generally helps hold the boards in place. But on the ceiling I was very concerned with making sure each and every board was secure.

With my shiplap and the studs both running lengthwise, I would have several pieces of shiplap between studs. To solve this problem I added some furring strips width wise, attaching these securely to the studs. Now I would have a good solid base to attach my ceiling shiplap to.
Having to use two boards to cover the length was going to leave joints in boards. I didn't want all the joints to be in the same spot, but I also didn't want it to look like a brick wall. So I decided to aim for random joints.
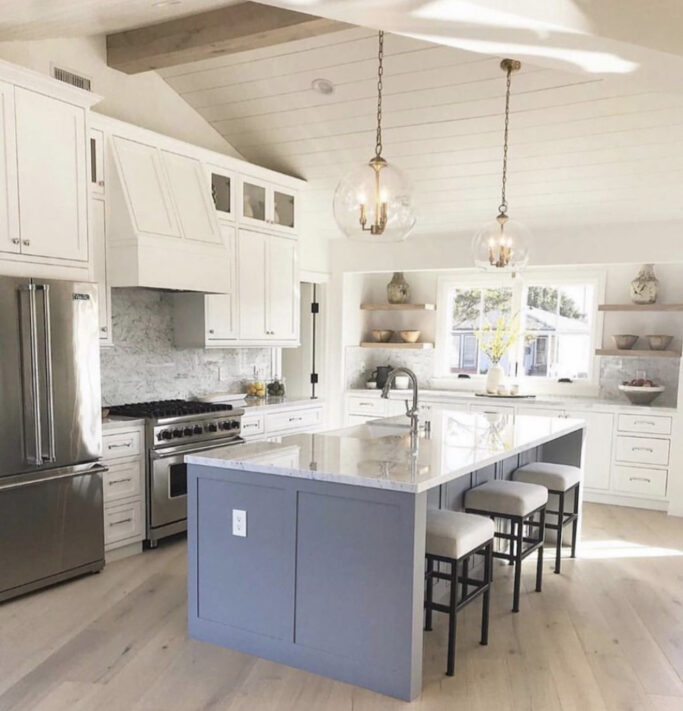
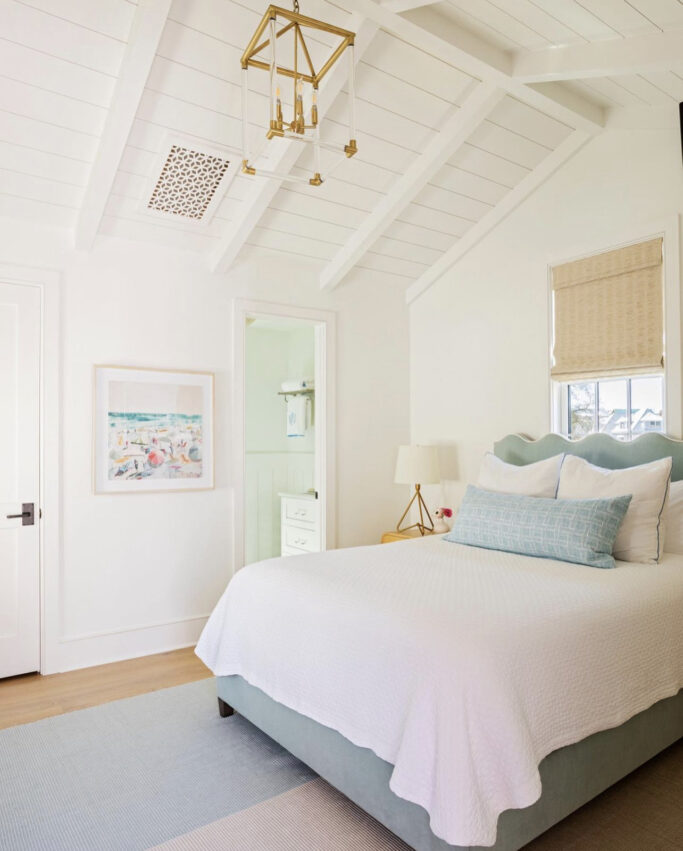
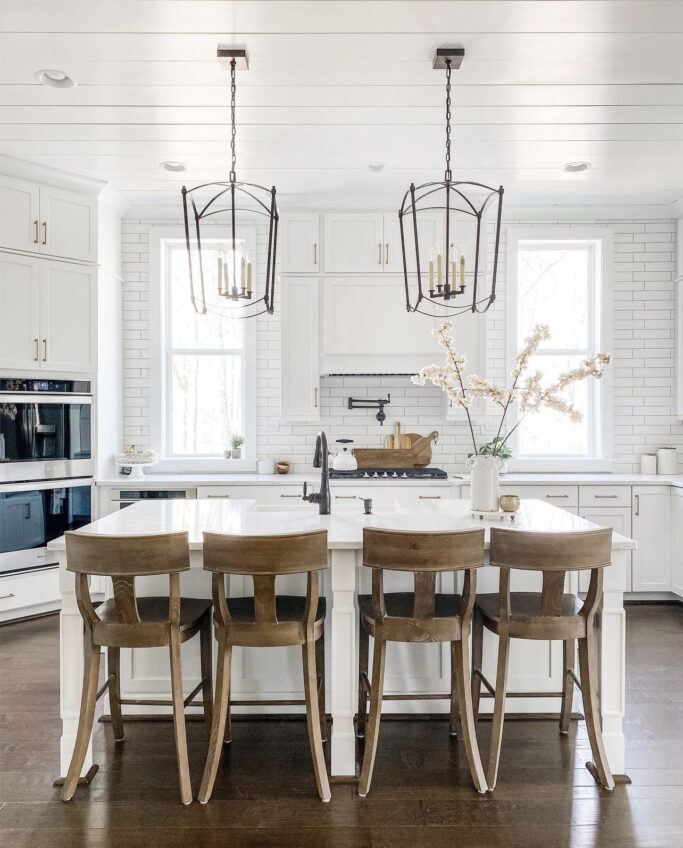
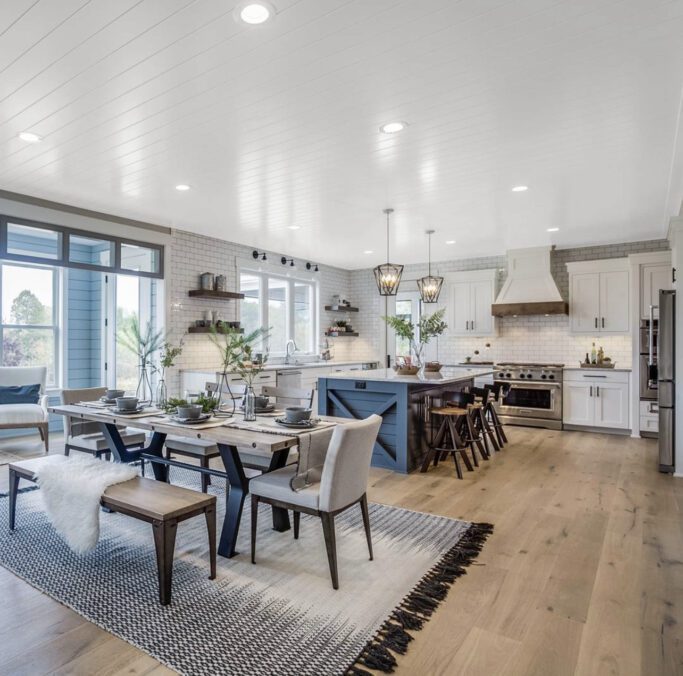
image via Lighting Design Company
To get random joints you need to be very intentional. I also wasn't sure how well I could hide the joints. So I went the other way and made my joints very visible. I like the finished look, but wish I had planned my joint locations just a bit better at times.
Here is our step by step tutorial on how we installed our shiplap on a ceiling.
Every project needs to be well planned. In this case, measure the ceiling first. Then decide which way the boards will run and what has to be cutout for. Build your material list and go shopping. As mentioned above, I needed shiplap and furring strips. I also needed nails.
You'll need a nail gun if you don't already have one for this project.

Remove any obstacles, such as lights and light fixtures that will be in the way. Make sure you have space to work and you have the tools that will be needed. As always, know how to use your tools safety.
I was going to be cutting and painting in the garage and then nailing things in the dining room. So I made sure I had space in both rooms.
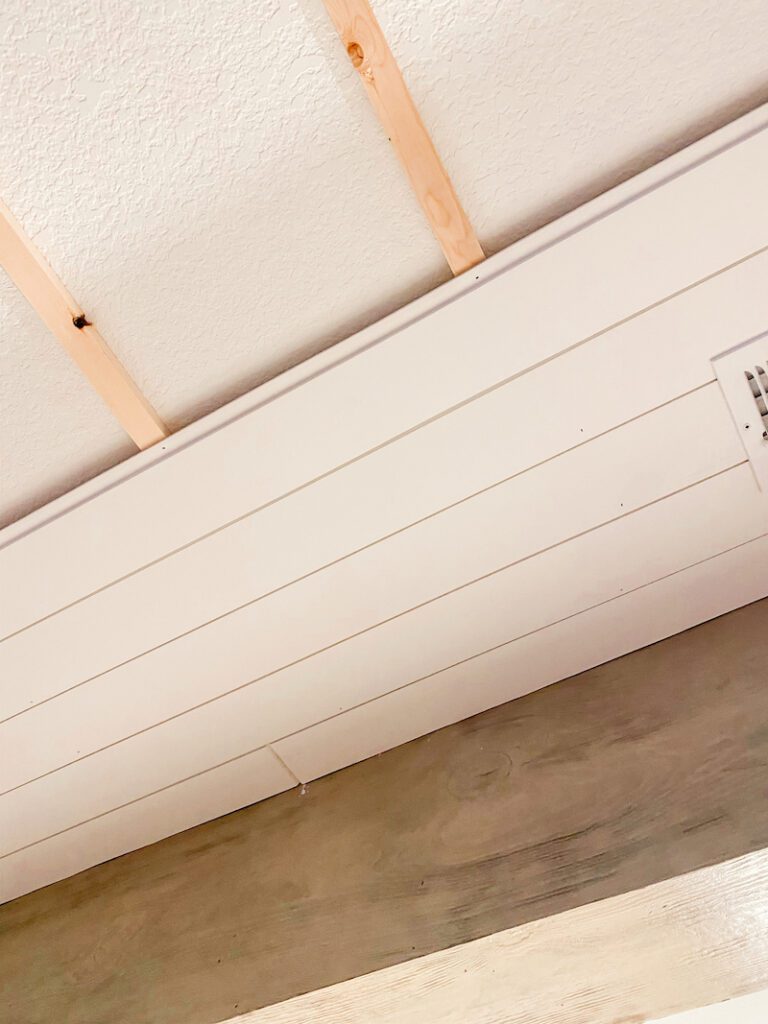
Since I needed to have a good base to nail my shiplap to, that's where I started. The furring strips were cut to length and nailed them to the studs. They were spaced roughly every 16 inches.
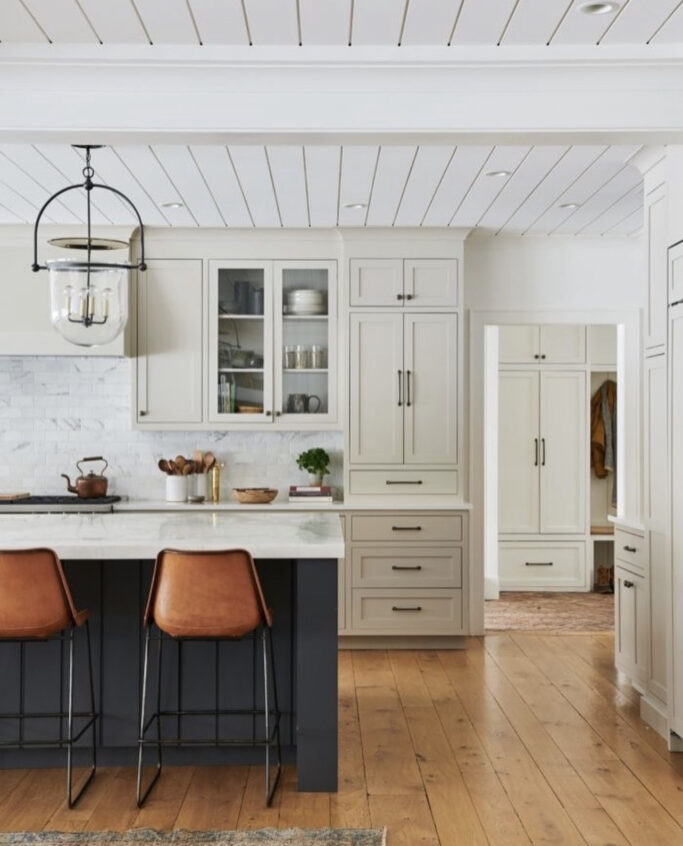
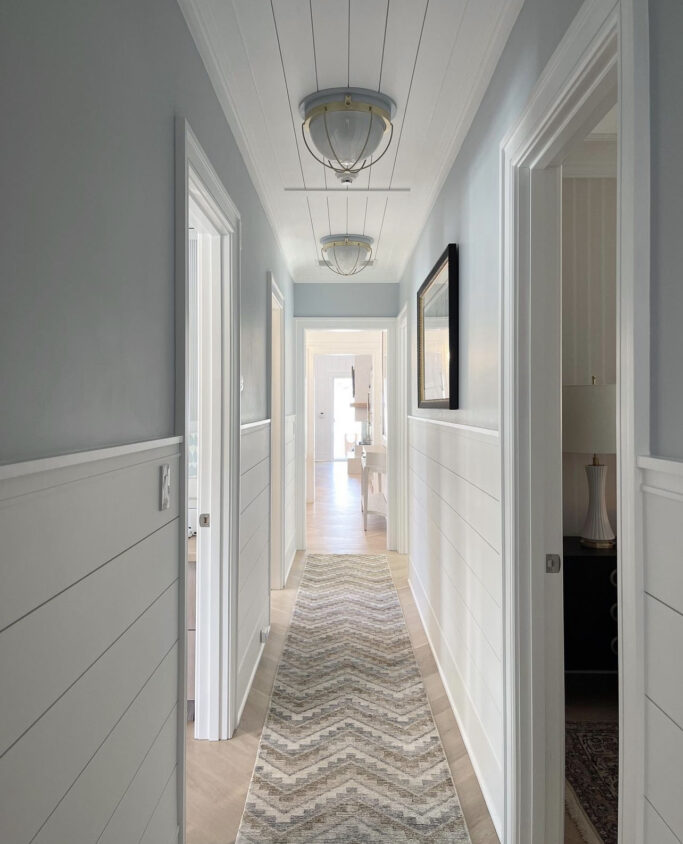
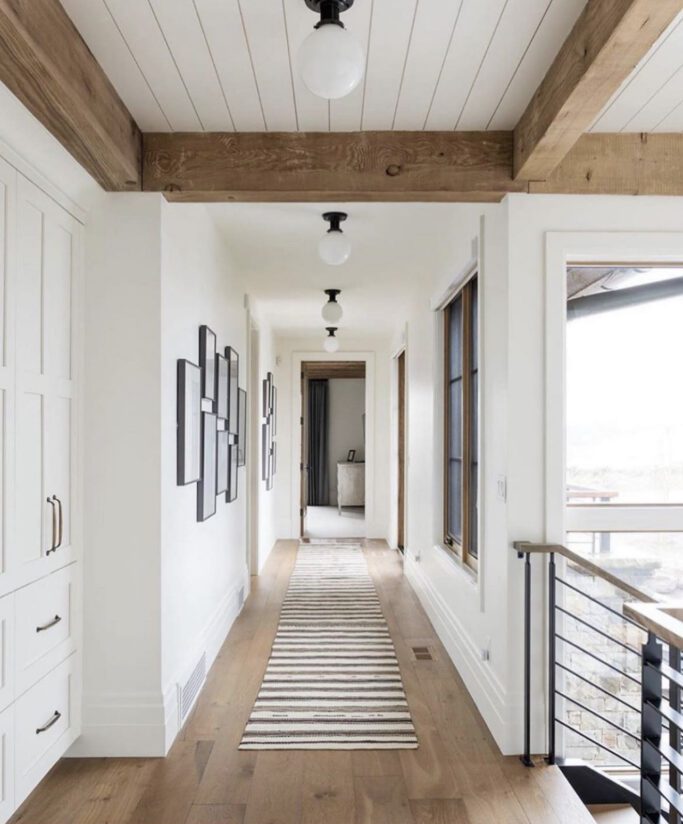
image via Provincial Farm Touch
I figured if it's good enough for studs it should work for this. A good hold for the furring strips is important. Screw these to the studs.

You know what they say, measure twice and cut once. Measure how long each board needs to be. If a board will have any obstacles, such as beams or light fixtures, determine where they will be on your board. Transfer all your measurements to the board.
With all of the measurements known, it was time to cut. I cut each board to length using a miter saw. Any obstacle notches I used a jig saw. These cuts are the ones to pay close attention to. I planned on making a few bad cuts and had a few extra boards.

But the more you plan and the more careful you are, the less you will waste. Lastly, for my joints I routered the end of the boards with a 45 degree bit. It makes the end of each board look intentional.
No one likes painting over their heads. I recommend adding a coat or two of paint to the boards before hanging them. Then you'll just need some finish work at the end. You may want to do this before you cut since painting is a time consuming process.
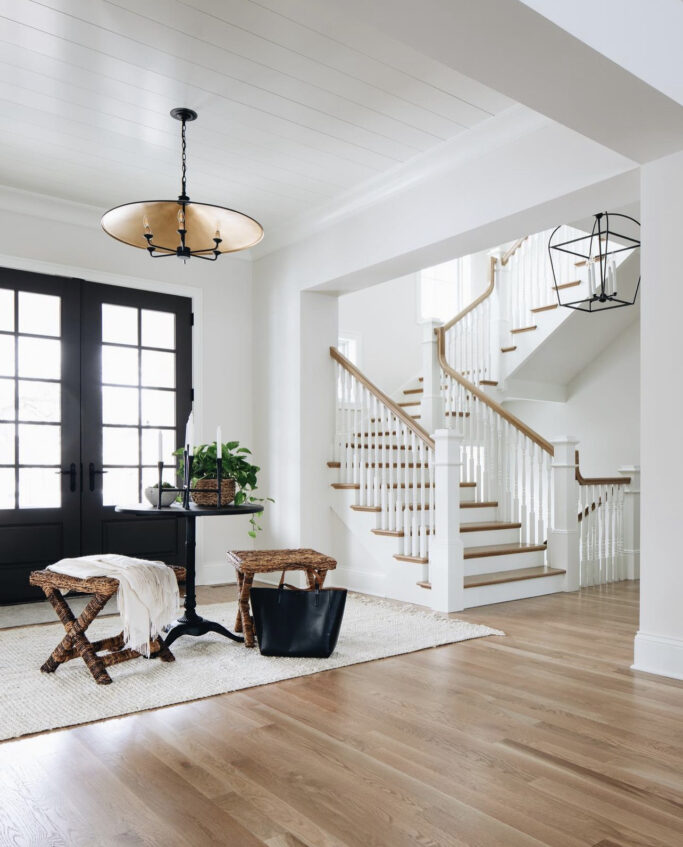
photo via Lovejoy Construction
For trim work, I recommend using an enamel paint with a satin finish. We used Sherwin Williams Pure White which you can read more about here.
As mentioned above, each board is attached to the furring strips with 16 gauge finish nails. Each board is nailed at both ends. I needed help holding the longer boards in place.
Make sure each board is where you want it before nailing. This part is a two person job, so you'll want to make sure to have help.
With all the shiplap in place, fill in the nail holes with some wood filler. Use caulk around the edges. Then add a final coat of paint.
With the ceiling finished it was time to hang the light fixtures. I'm happy with the finished product. There are a few joints near the beginning that all fell pretty close to each other. If I were doing this again, I would have avoided this.
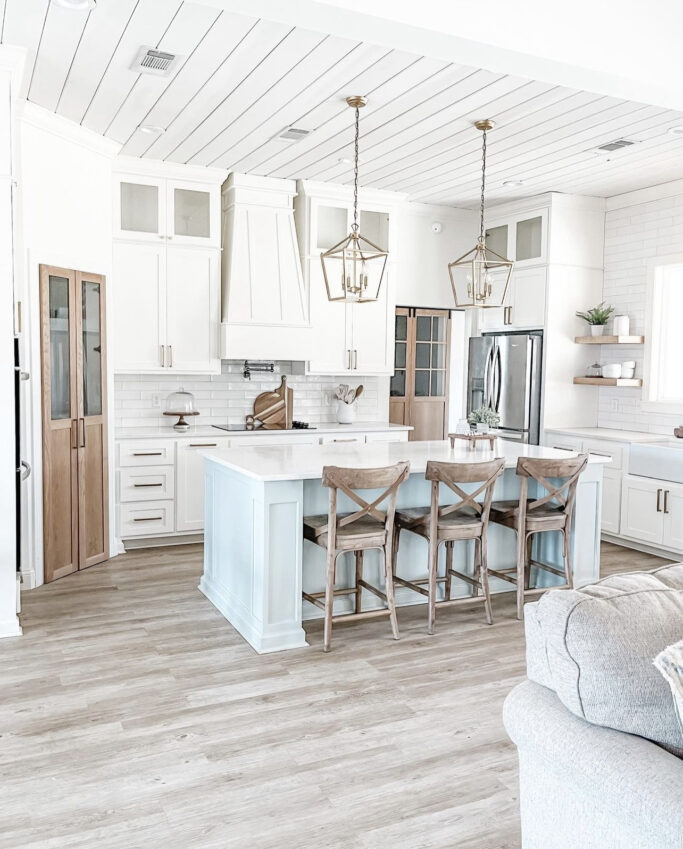
Overall we are really happy with how this came together. I like the look of the exposed joints because it gives our home a little more of a 'rustic' look.
Since installing our ceiling shiplap, I've noticed so many other home with shiplap on their ceiling! I had to share some favorites below.
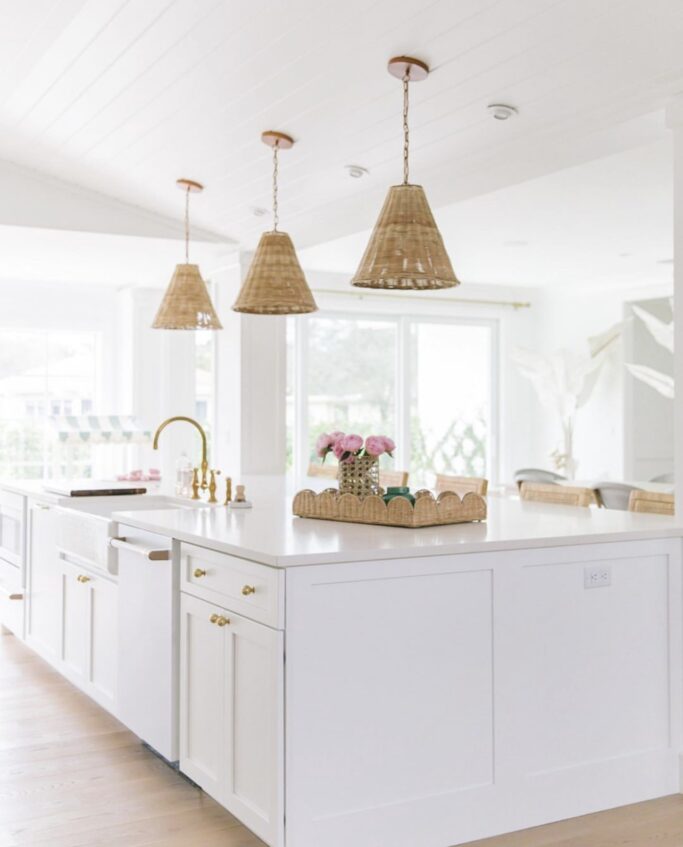

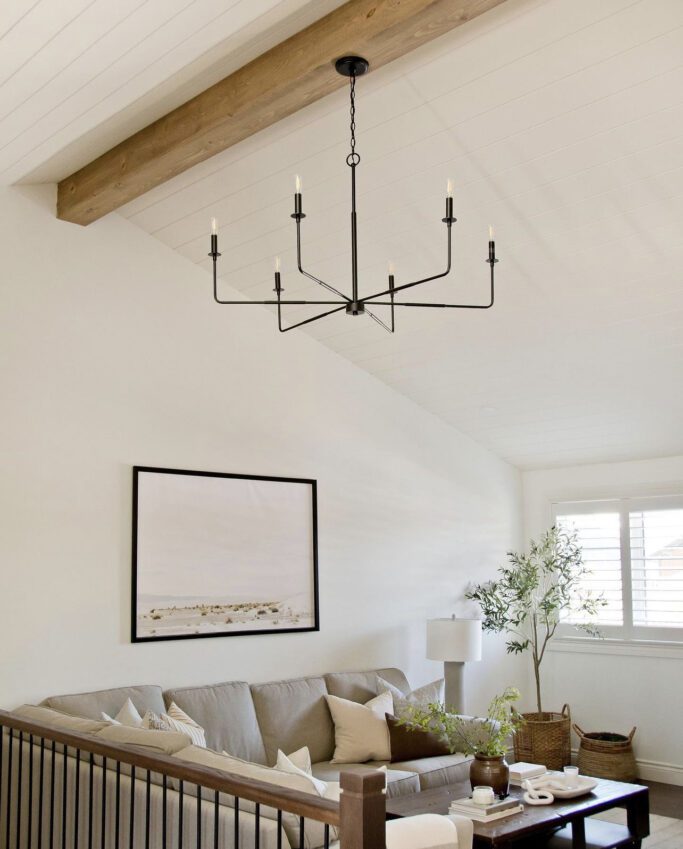
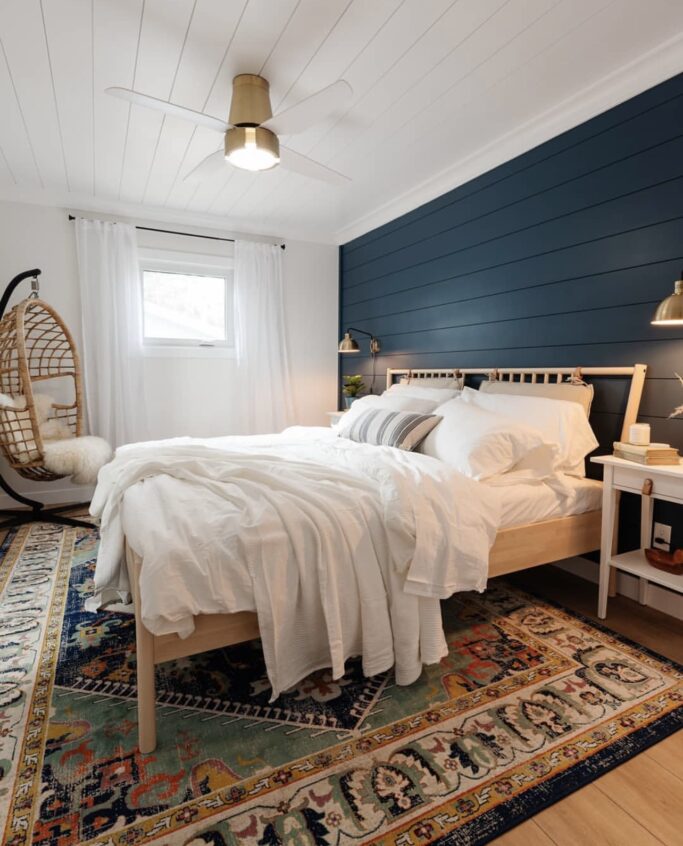
image via Keri Kuzma Interiors
Bathroom Shiplap // Built In Desk Design // DIY Privacy Fence
Hopefully this post was helpful as you start to plan your shiplap on your ceiling! Please let me know if you have any questions by leaving a comment below or feel free to DM me on Instagram!
Pin this for later!