Children's Decor, Easy DIY, Home Decor, Play Room
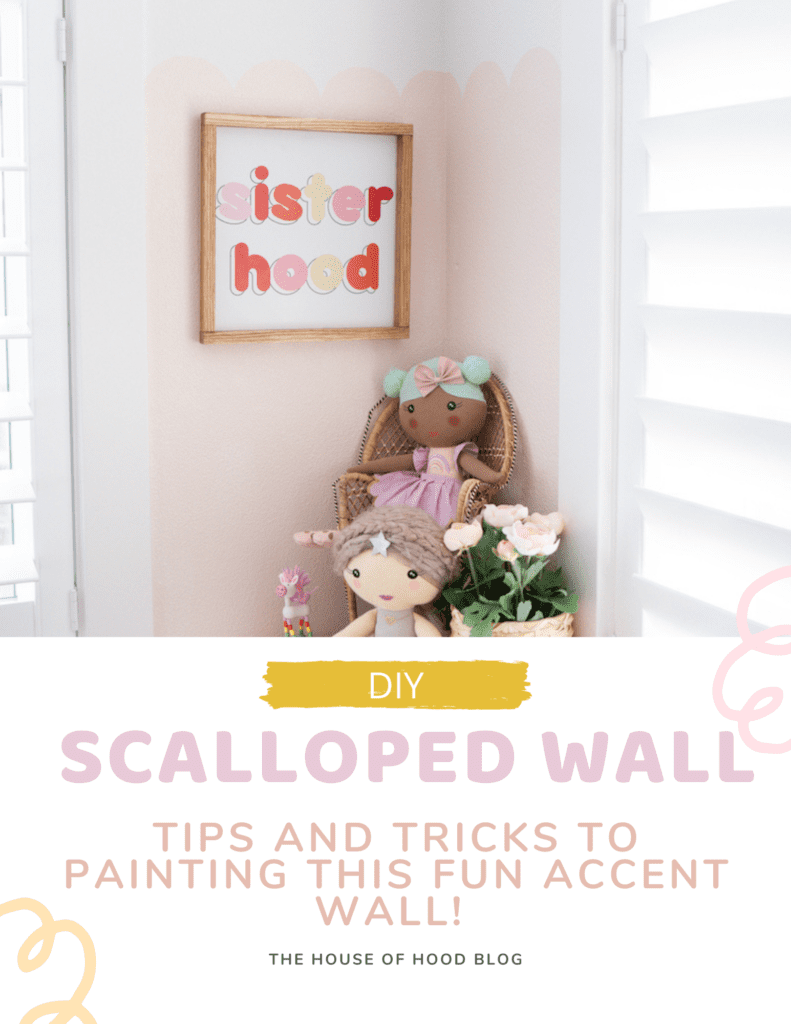
It's no secret we love girly things around here. I love the look of scallops since they sort of resemble ruffles and I've been wanting to paint them on a wall for a while now! I've been sprucing up the girls playroom over the last few days. The idea popped in my head to paint a scalloped wall border in the little nook area in their playroom.
We have a small table and chairs along with their toy cubbies here. It's the perfect spot because it's not too large, so this project took me no time at all! Keep reading for my tips and tricks to creating the perfect painted scallops in less than 2 hours.
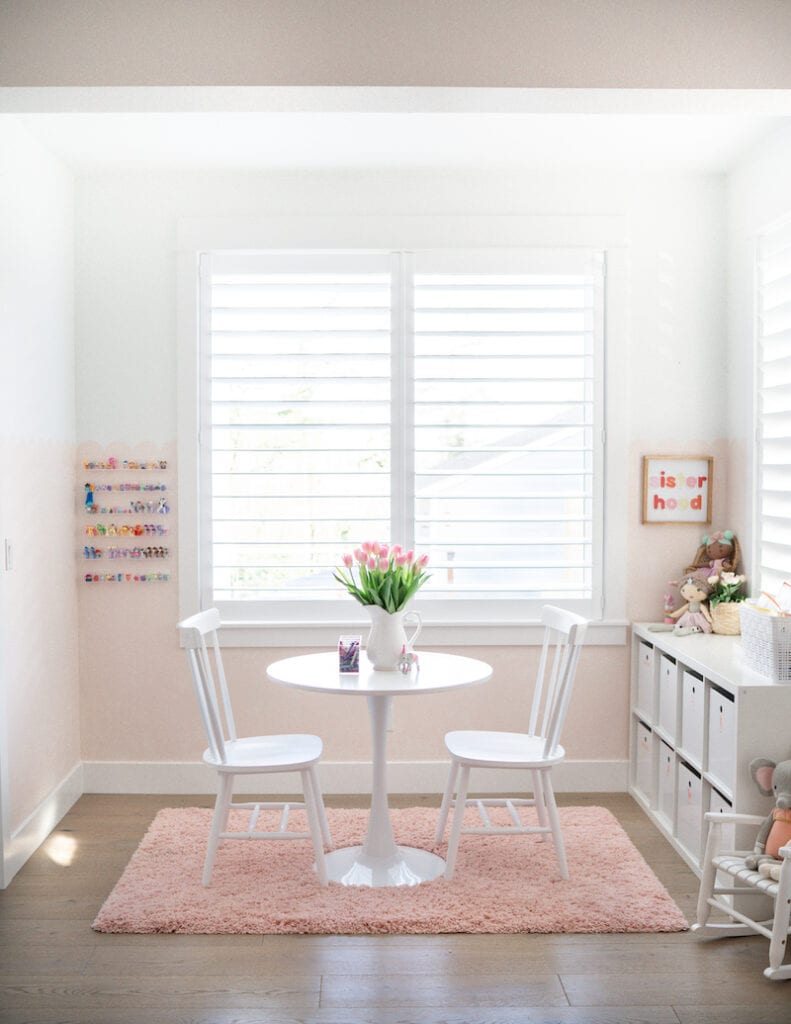
For our accent wall, I went with one of our favorite pink paint colors. Intimate White by Sherwin Williams is gorgeous! It's a very subtle pink and is perfect in my opinion. We also used this in our girls bathroom and in Madison's bedroom.

I love how this turned out so much, I am contemplating painting the whole room like this! These pictures don't do it justice unfortunately. It is still a subtle pink, but the scallops don't show up well in photos.

The color we used is a very subtle pink. If you want it to really stand out, you'll probably want to use a brighter or deeper color!

acrylic shelves // check out this post for our playroom organization favorites!
This DIY really couldn't be easier. Here are all the steps you'll need to complete to make your scalloped wall:
Tape off your wall. I used the green frog tape as I think it works best. We did stripes in our daughters rooms at our old house and in their playroom, and it helps to keep the paint from bleeding. You'll want to decide how far up the wall you want your scallops. I randomly went with 55 inches up from the baseboards just because I liked the way it looked. Choose whichever height works for your space!
Once you decide where you want the scallops, use a long level and tape off your line. I did not use a pencil because I didn't want it to show through. I just taped along the level.
Next up, paint! Paint your desired wall starting with the trim first. I used a foam brush to paint the trim areas and then a roller to paint the main part of the wall. Along the top tape line, I used the foam brush using downward strokes. Before the paint dries, take off your tape. I find that this helps to prevent any bleeding.
Once you decide where you want the scallops, use a long level and tape off your line. I did not use a pencil because I didn't want it to show through. Just tape along the level!

I forgot to take a before picture, but I used this long level and a shorter level to make sure my painting tape was straight!

Next up, paint! Paint your desired wall starting with the trim first. I used a foam brush to paint the trim areas and then a roller to paint the main part of the wall. Along the top tape line, I used the foam brush using downward strokes. Before the paint dries, take off your tape. I find that this helps to prevent any bleeding.

perfectly clean/straight line!
Now for the tedious work! The scallops weren't too difficult, they just took some time. I am not super technical here, so I went around my house to find a circular shape around 5 inches in diameter. I used tape to tape at the center of the object (I used a lid from protein powder!). This was my 'template'.
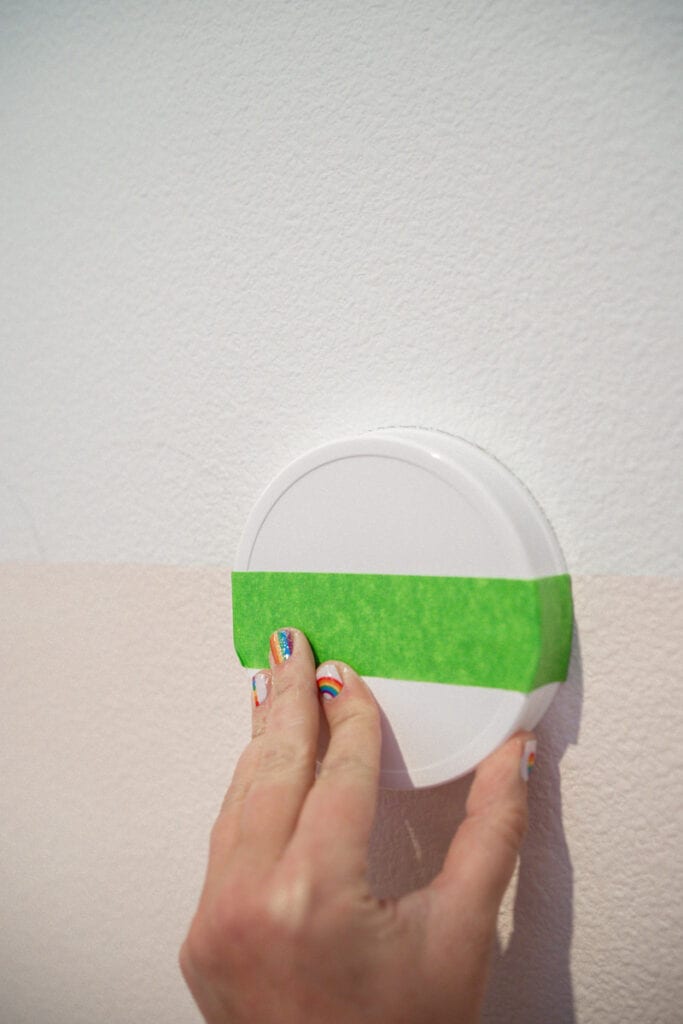
here is my very professional template
You'll then take your template and place it up against the painted line on your wall. Use a pencil to lightly trace around the half circle starting from the point where the tape is on the circle. When you hit a corner and run out of room for a full half circle, you will have to free hand trace the remaining portion.
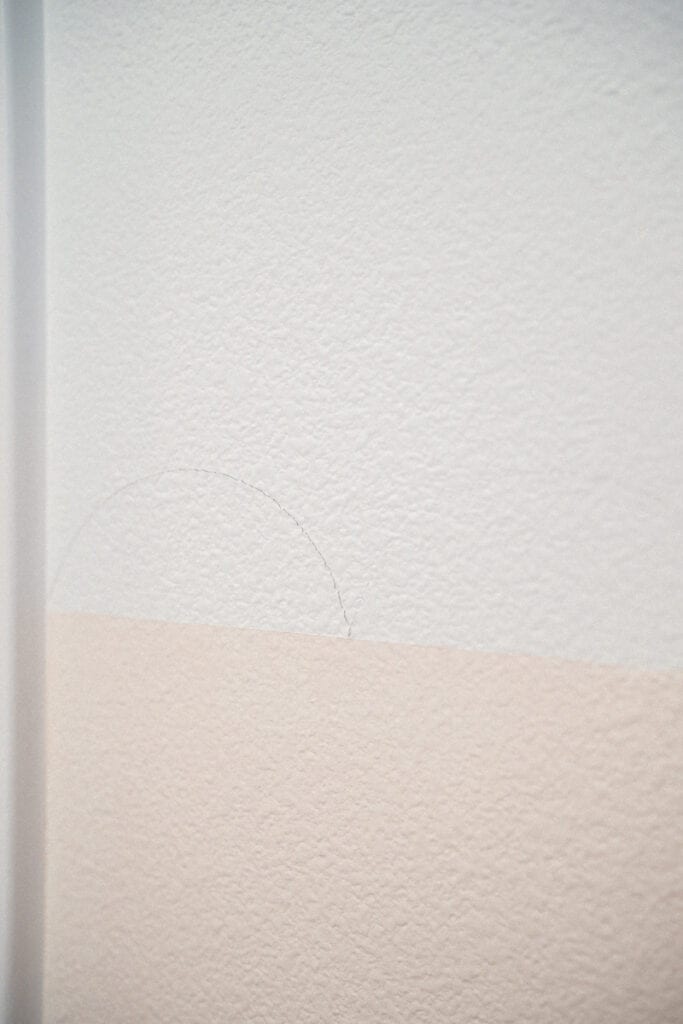
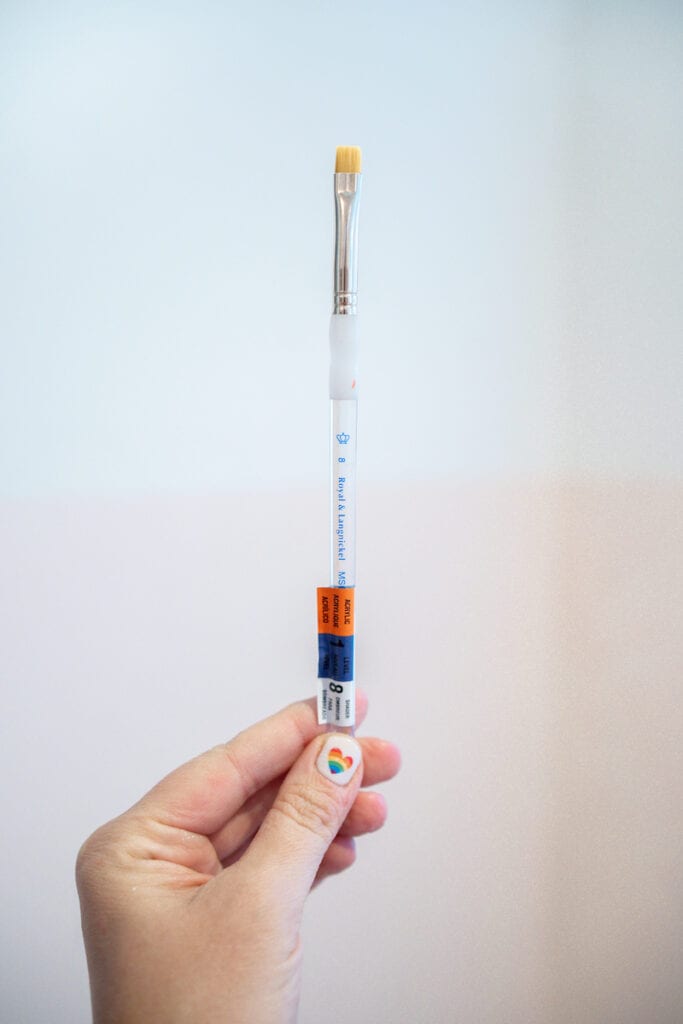
Once you have all your half circles traced, use a small flat brush to paint your circles. I used the foam brush to paint the bulk of the half circle and the small brush to paint the edges. I ended up needing to do 2-3 coats to cover up the pencil since I used a light color paint. You might be able to do just 1 coat if your color is dark enough.

That's it! I am obsessed with how cute this little nook came together and I may have to replicate this in another space (maybe a wall in our girls bedrooms?!).


this is from my friends daughters nursery! Check out her Instagram here!
I love the small scalloped wall details in this nursery. They're so dainty and I love the dusty pink color!

image via Two Little Taylors
I love how this wall does a 'reverse' scalloped wall design. I love the pop of color too!

image via Stephanie Hanna
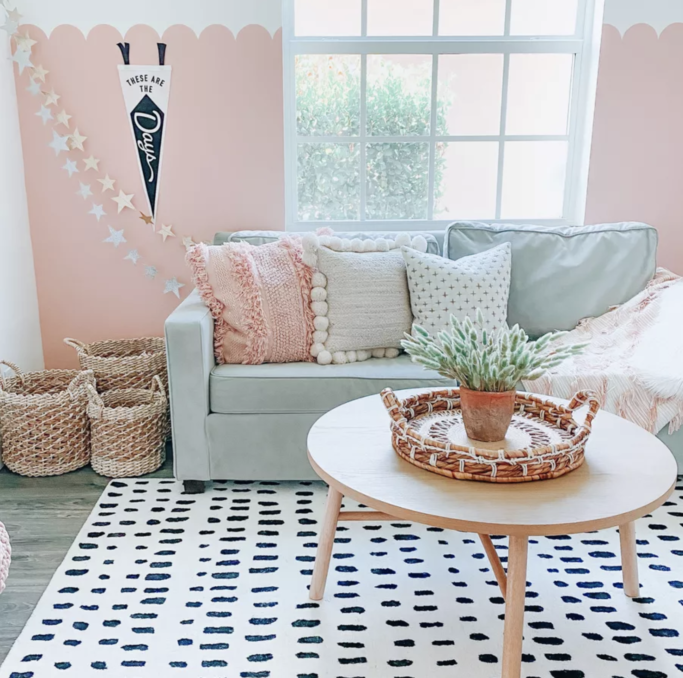
image via Stephanie Hanna
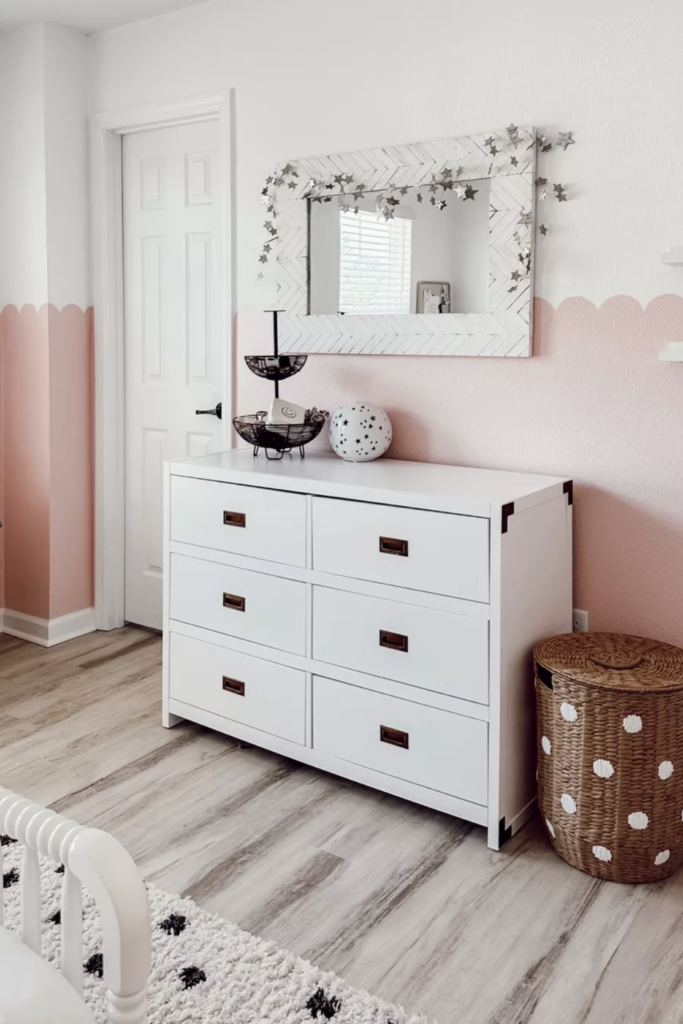

image via Holman Home on Instagram
This room is gorgeous and I love how they pulled the scalloped wall details over the door too!
Popular White Paint Colors // Pink Pineapple Girls Decor // Playroom Book Nook
Hopefully this scalloped wall tutorial helped! If you're planning on re-creating this I'd love to see! Please let me know if you have any questions by leaving them in the comments below or feel free to DM me on Instagram.